
I really can’t think of a good reason why you wouldn’t want to cure your own bacon. IT’S BACON, PEOPLE. More is better! Homemade is even better than that. So then, do you like maple bacon? Black pepper bacon? Fancy herb-spiced yuppie bacon? Do you prefer it sliced thin, thick, halfway in-between? Well guess what, you get to choose. Control your own bacon destiny!
” Stop complaining and get to work “
Ok, so perhaps you don’t own a smoker and that concerns you. Sure, a smoker makes the roasting/smoking process a little bit easier, but it isn’t a 100% requirement by a long shot. There are a lot of perfectly viable workarounds, so don’t worry too much about it. The only truly “specialty” item you’re going to need is curing salt, also known as “Prague powder #1“, “Instacure #1”, or “pink curing salt”. Himalayan pink salt is not the same thing as pink curing salt, so don’t confuse the two.

Just imagine of all the things you can do with your very own homemade bacon.
Curing isn’t anything to be afraid of. Curing salt is simply a mixture of sodium nitrite and regular old table salt. Prague Powder #1 happens to be 6% sodium nitrite and 94% regular salt and is the only type of cure you need to worry about. There is such thing as Prague Powder #2, but it contains a different ratio of ingredients and is for a completely different style of curing. What is sodium nitrite? It’s a common ingredient needed in the creation of all types of meats we know and love such as ham, pastrami, sausages, and of course bacon.
So here’s the deal. Curing requires a very specific curing-salt-to-meat ratio. Too much results in excess sodium nitrite which isn’t good for you, and too little could result in spoiled meat which is just gross. The rule is always one teaspoon of Prague Powder #1 per five pounds of meat, ground or otherwise. Easy. It’s printed right there on the container of curing salt. It gets very complicated when you start adding liquids because then you need to calculate the solution, weigh the ingredients, blah blah etc etc. If you search around the interwebs a bit you will find all sorts of opinionated rednecks arguing with one another about science and math in a very amusing manner. You will also find quite a lot of recipes that call for wildly incorrect amounts of curing salt, which is a little scary.
The good news about this particular recipe is that it’s very safe. We already know that we’re not using too much curing salt.. but what if there isn’t enough? Well even if you didn’t use any curing salt at all, the meat is refrigerated throughout the process and only “ages” for 7 days, which isn’t really enough time for it to spoil. There’s also copious amounts of regular old salt – an effective preservative – and the meat actually ends up getting cooked twice before it ever comes near your plate anyway. There, does that make you feel better? I thought so. Let’s get started then!

You don’t need a lot of gear to cure your own bacon.
Ingredients
- 5 lbs fresh pork belly, skin on
- 1 tsp Prague Powder #1
- 1/4 cup Kosher salt -or- 1/8 cup table salt
- 1/4 cup brown sugar, packed
- 1/4 cup maple syrup
Other stuff you’ll need
- a 2.5 gallon Jumbo Ziplock bag
- a smoker or barbecue and some applewood chips
- alternately, a normal oven and a bit of liquid smoke will work
- a meat thermometer
- a good, sharp knife, the longer the better
Directions
The first thing you need to do is locate five pounds of skin-on pork belly. You should be able to order one at the butcher counter in your local grocery store. Alternately, you can seek out a specialty butcher shop and see if they already have pork belly in the display case. My favorite haunt for this sort of thing is Schaub’s Meat, Fish, & Poultry in Palo Alto. They usually get their deliveries of pork on Thursday mornings, so if you’re quick about things you can often snag a hunk of belly that same day without calling ahead.
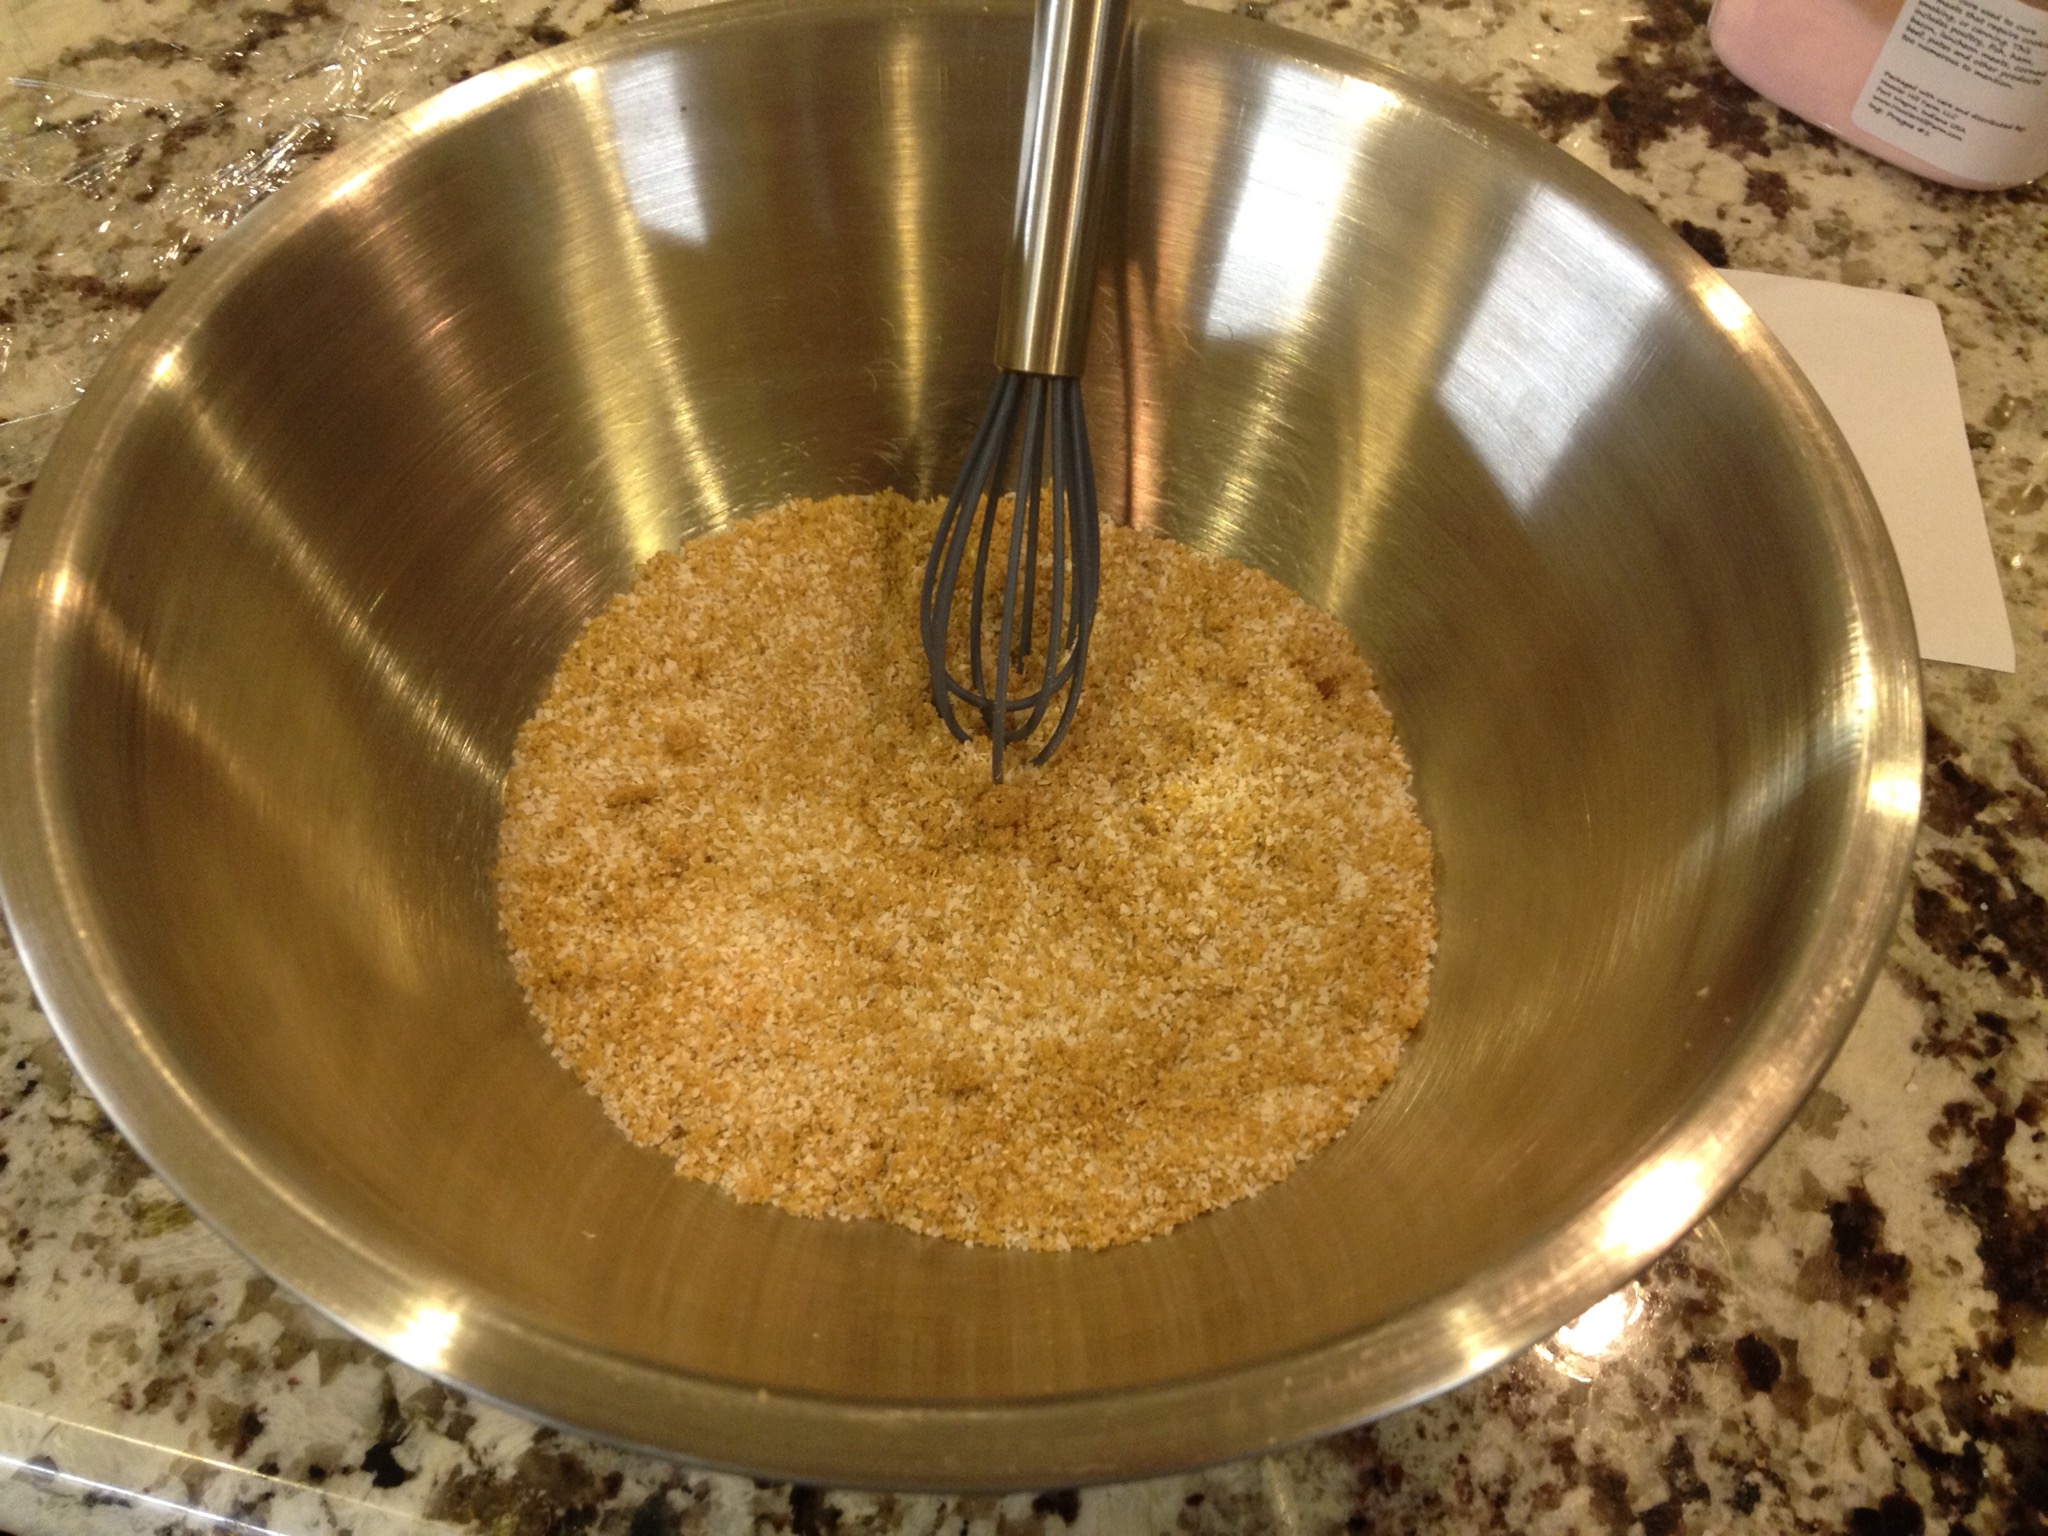
Whisking together the dry mix first helps ensure an even distribution of curing salt.
Rinse the pork belly with cold water, pat dry with paper towels, and put it in that 2.5 gallon Jumbo Ziplock bag you set aside. The next thing you want to do is whisk together all of the dry ingredients in a small bowl. Note that Kosher salt measures differently than table salt does. A good general rule is that you should double the measure when using Kosher instead of table salt or halve it when going the other way. If you want your bacon a little on the salty side, allow the measuring cup to heap a little bit, otherwise make sure it’s a level scoop. Dump the dry ingredients into the Ziplock bag right onto the belly and add the 1/4 cup maple syrup as well.
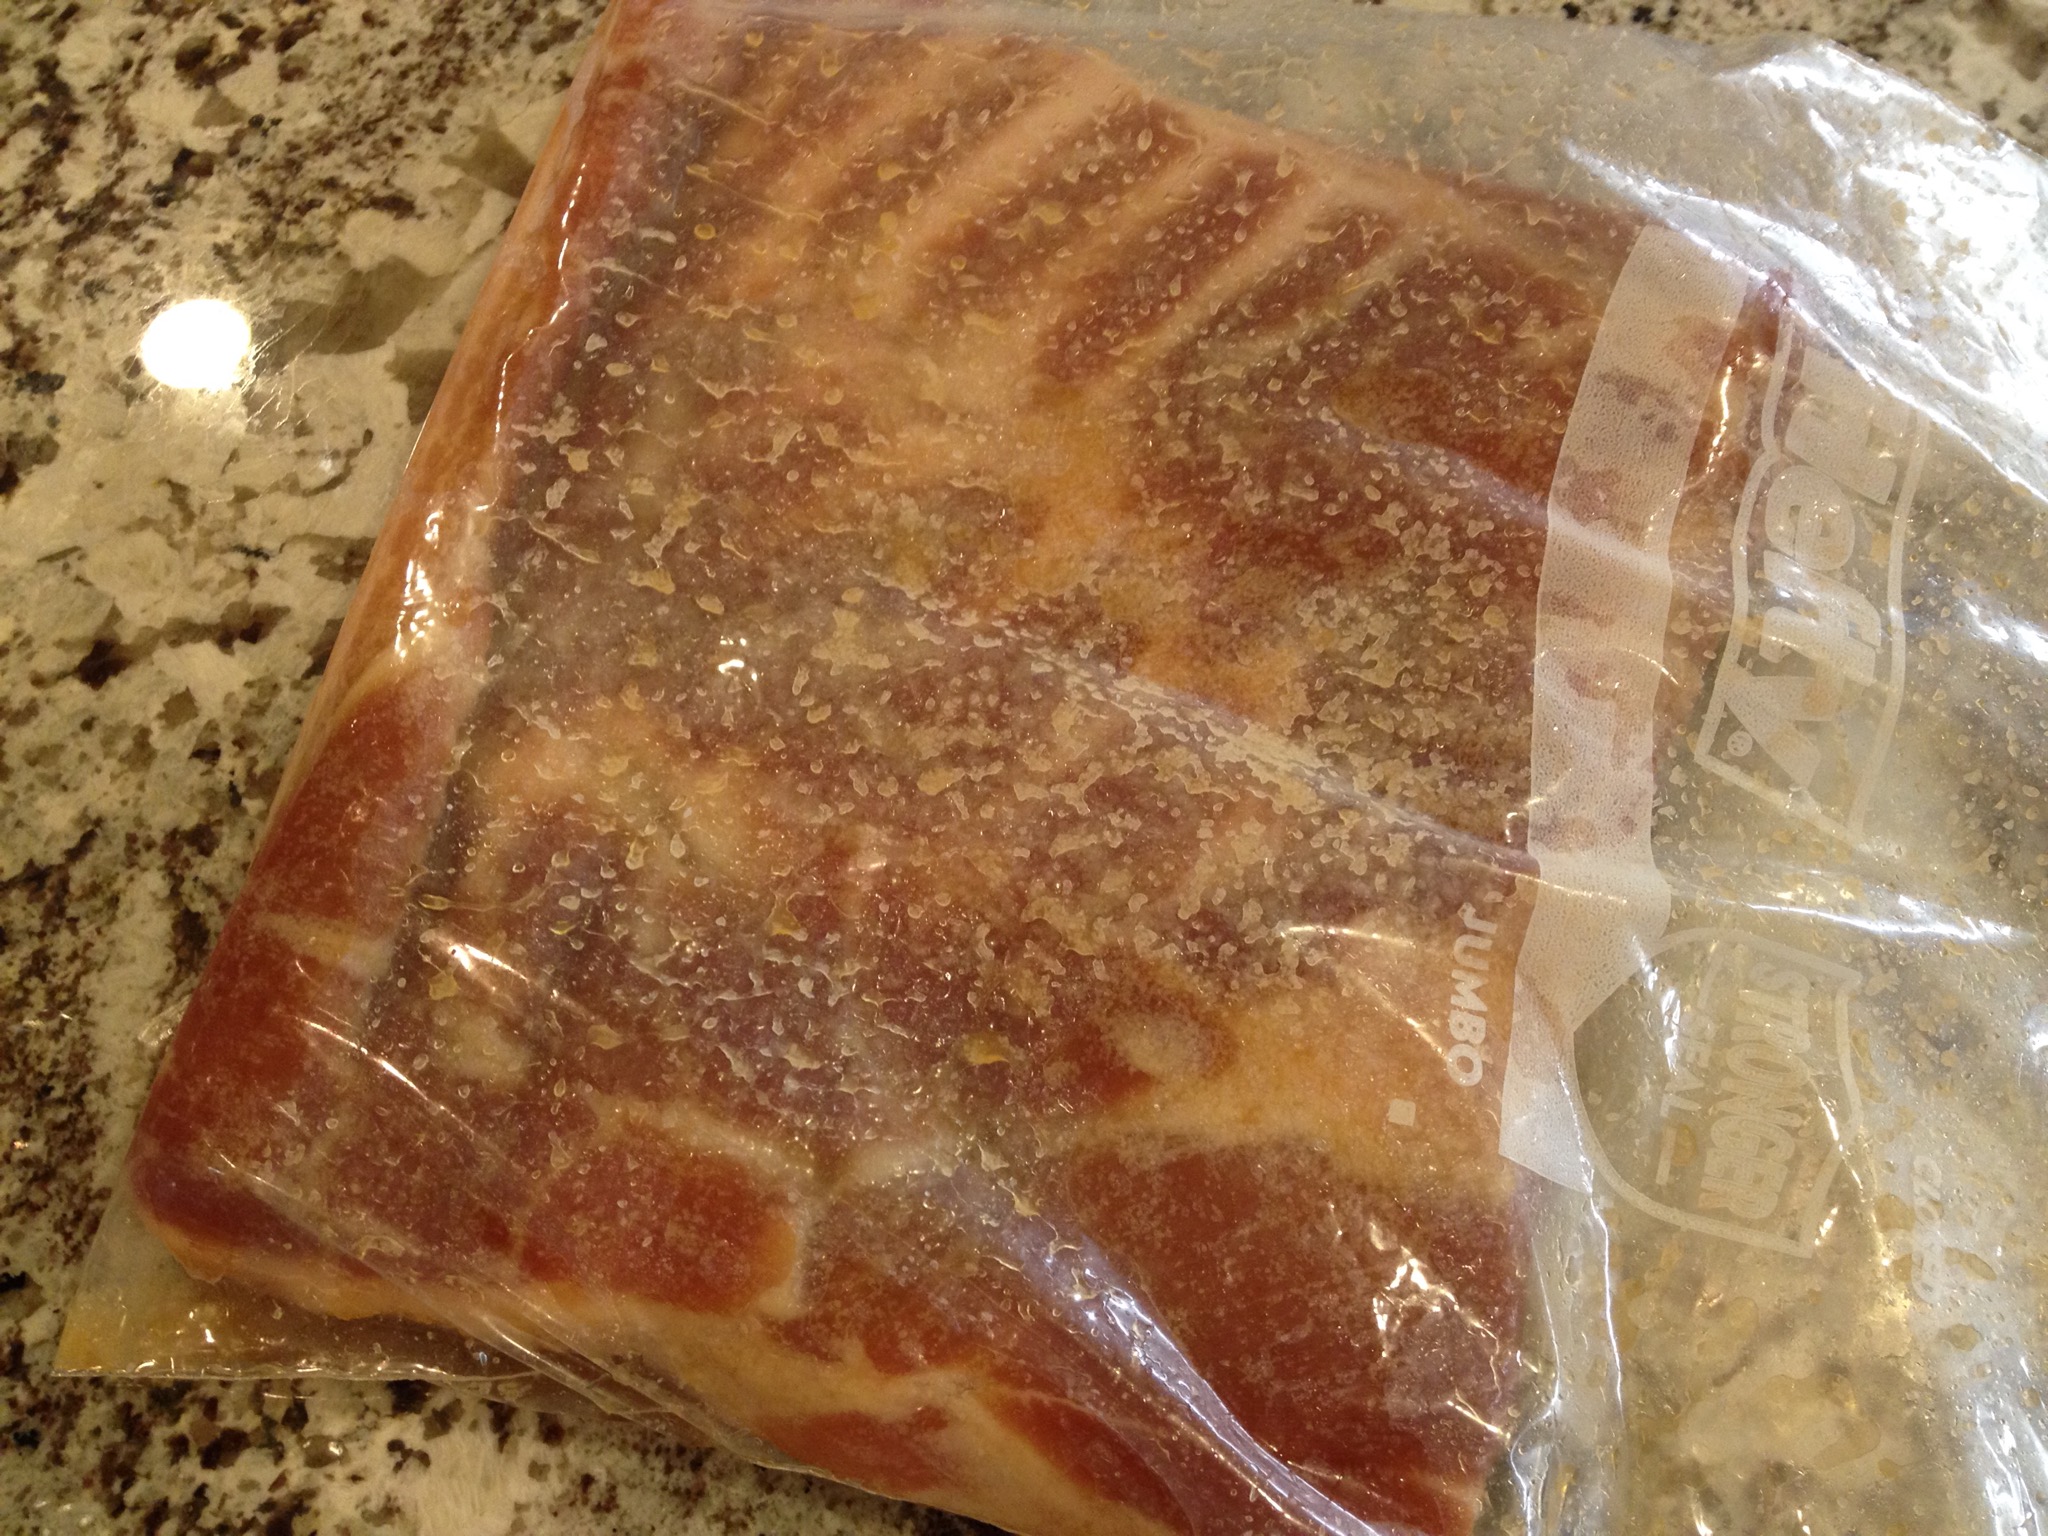
Belly in a bag. Here we go.
Seal the zip on the bag and smoosh the ingredients around until the belly is completely covered. You might be thinking that it’s a pain to try and rub the ingredients on inside the bag, and you would be correct. You might also think it would be a better idea to apply the rub before putting the belly in the bag and you would be wrong. Remember that it’s important to apply exactly the correct amount of cure to the meat; if we rub the cure on first, we’re going to lose a good amount on our hands and on our working surface, meaning the bacon will turn out under-cured. Applying the rub inside the bag also helps ensure the correct saltiness (and maple-y-ness) of the finished product. It only takes an extra minute or two, so stop complaining and get to work.
Once the belly is covered, lay it flat in the refrigerator and let the cure do its thing. Every day or two, flip the belly over and give it a pat and a rub to help make sure the cure is distributed evenly.

After a week of quality fridge time it should look about like this.
Your bacon is now officially cured, but we still have some work to do. Remove the cured belly from the Ziplock bag, rinse it thoroughly, and pat it dry with a paper towel. Some people recommend letting it hang dry in the fridge for as long as two or three days in order to form a magical barrier-like thing called a pellicle that somehow simultaneously holds in juices, allows for even cooking, and makes smoke flavor “soak in better”. Gently warming your cured belly in a 100 degree oven for an hour is supposed to do the same thing. I have never beheld the forming of this mystical meat coating myself, but I’m not about to argue with an entire Internet full of other self-titled experts who say it’s for real. Personally I don’t bother with pellicle summoning (or whatever the activity is called), and my bacon still rocks. Do it if you feel it’s a worthwhile step, otherwise don’t. Your call.
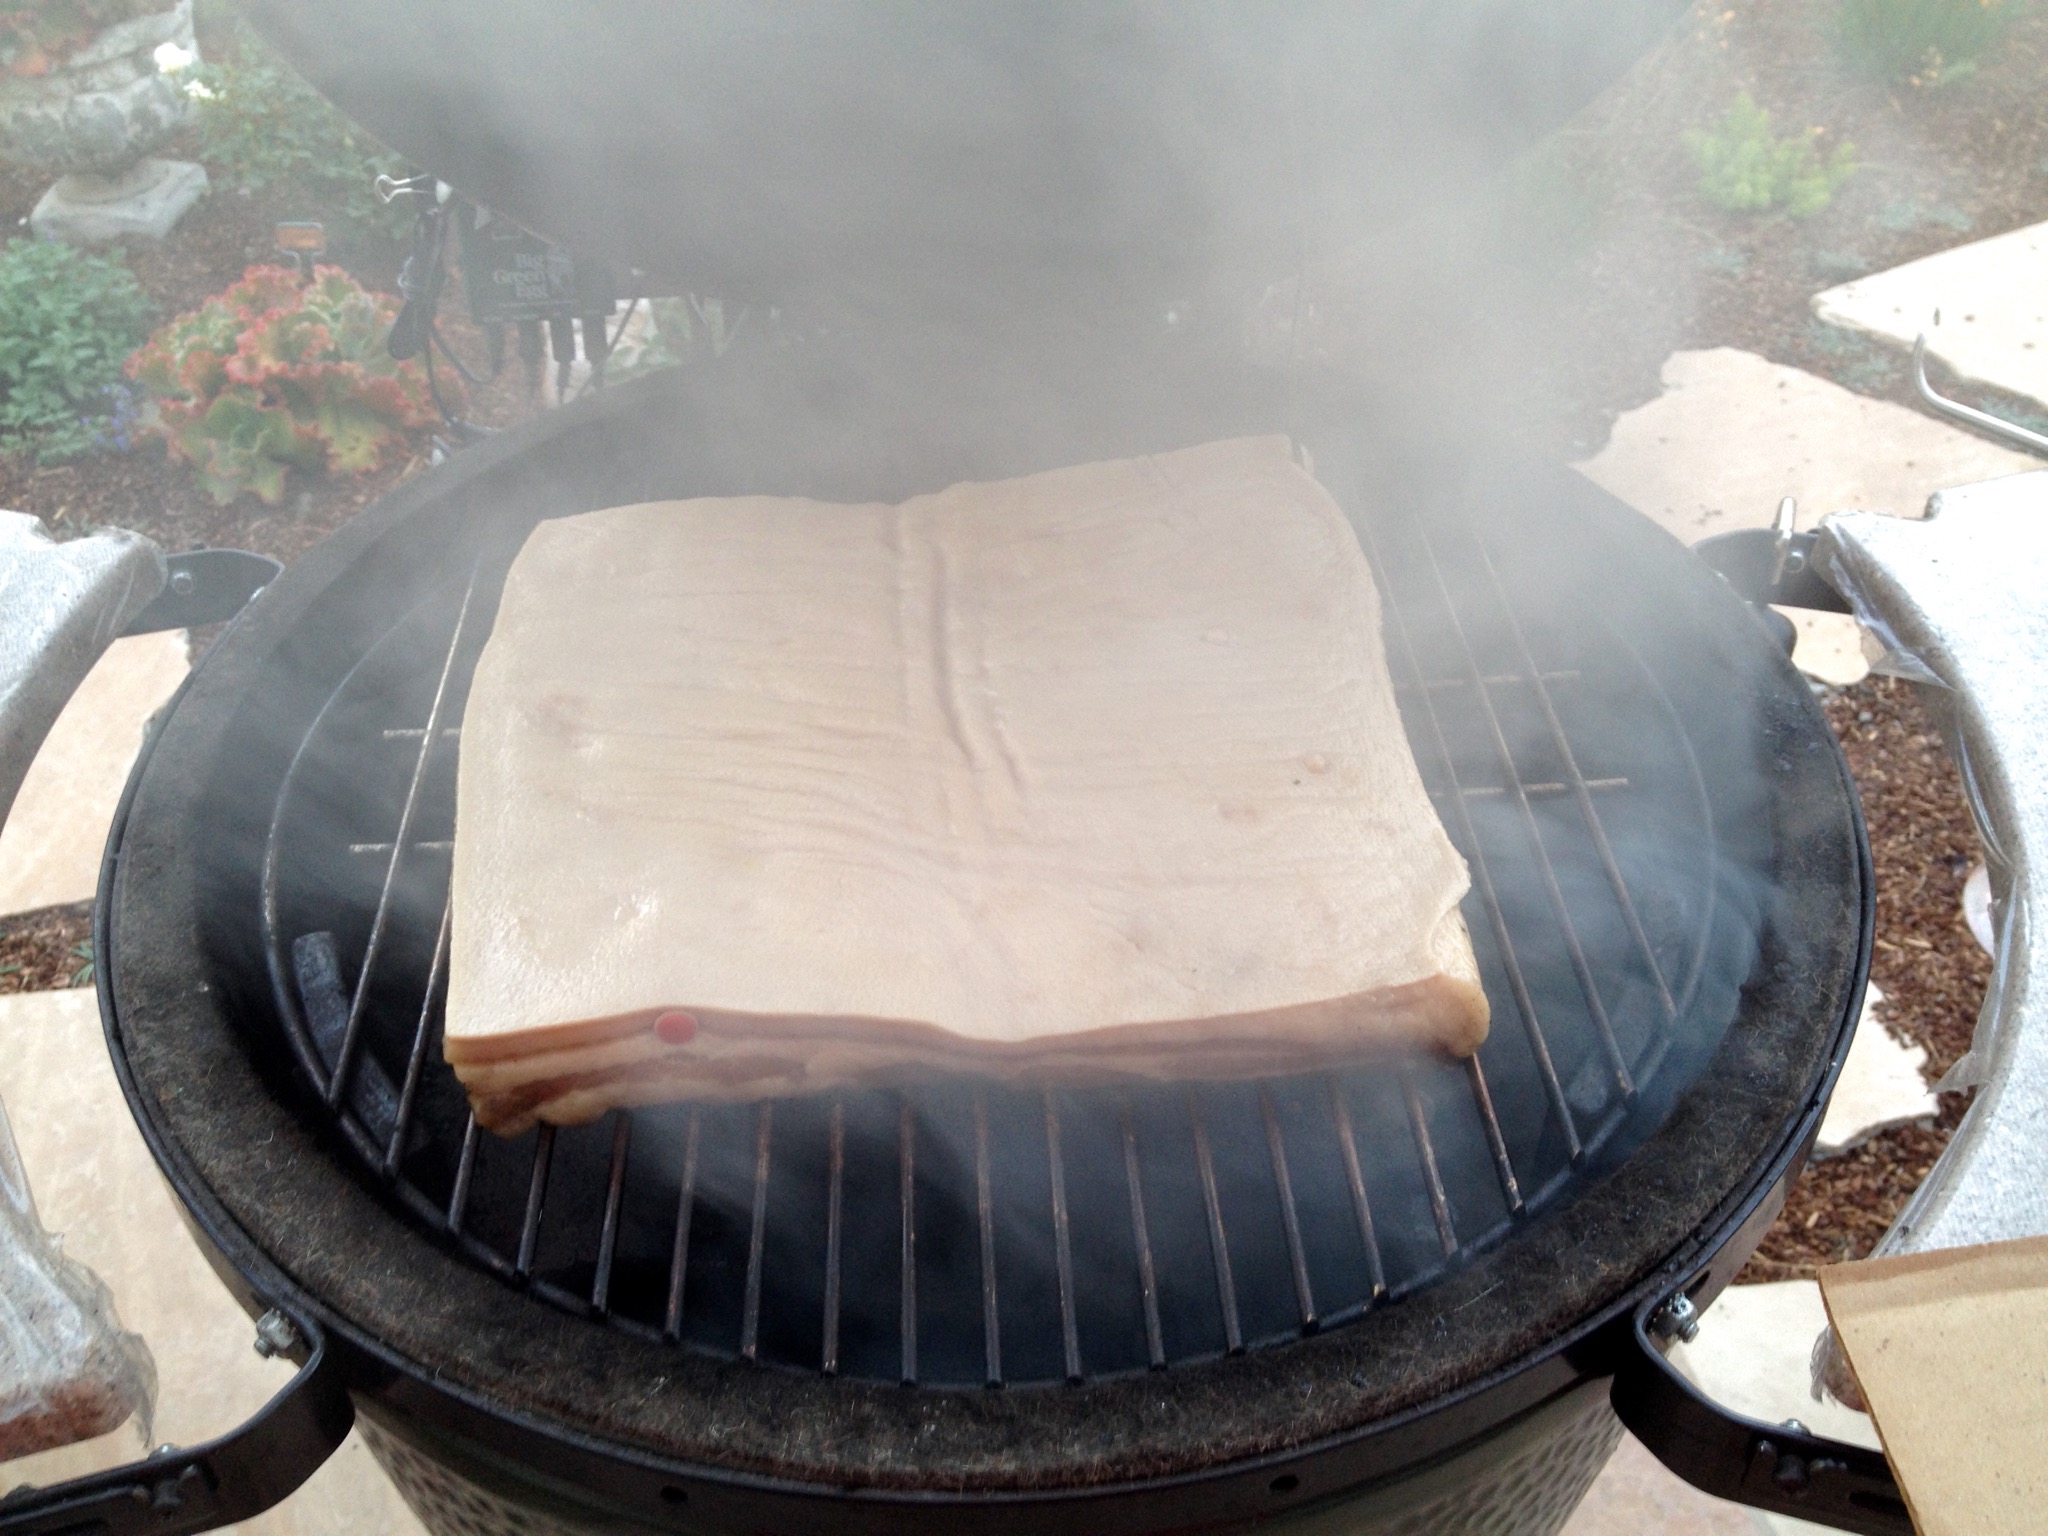
This little piggy went to the smoker.
This next step is where the meat thermometer comes in. What we want to do is cook the belly, as slowly as possible, until the internal temperature reaches 150 degrees F. If you have a smoker, great. Set the temperature to 200 degrees F (or as close as you can get it), throw some applewood chunks or chips onto the fire, and put the cured belly skin side up on the grill for two or three hours. If you don’t have a smoker but you do have a regular charcoal or gas barbecue, configure it for low, indirect heat, and it will do just fine for smoking the cured belly. The different methods and techniques for configuring regular barbecues for indirect heat is a whole other can of worms that I won’t cover here, but I will say that there are plenty of options available to you. A regular old oven will work just fine as well, and you can still add smoke flavor by introducing a little liquid smoke to the process.
Yes, it does smell as amazing as it looks. Be jealous.
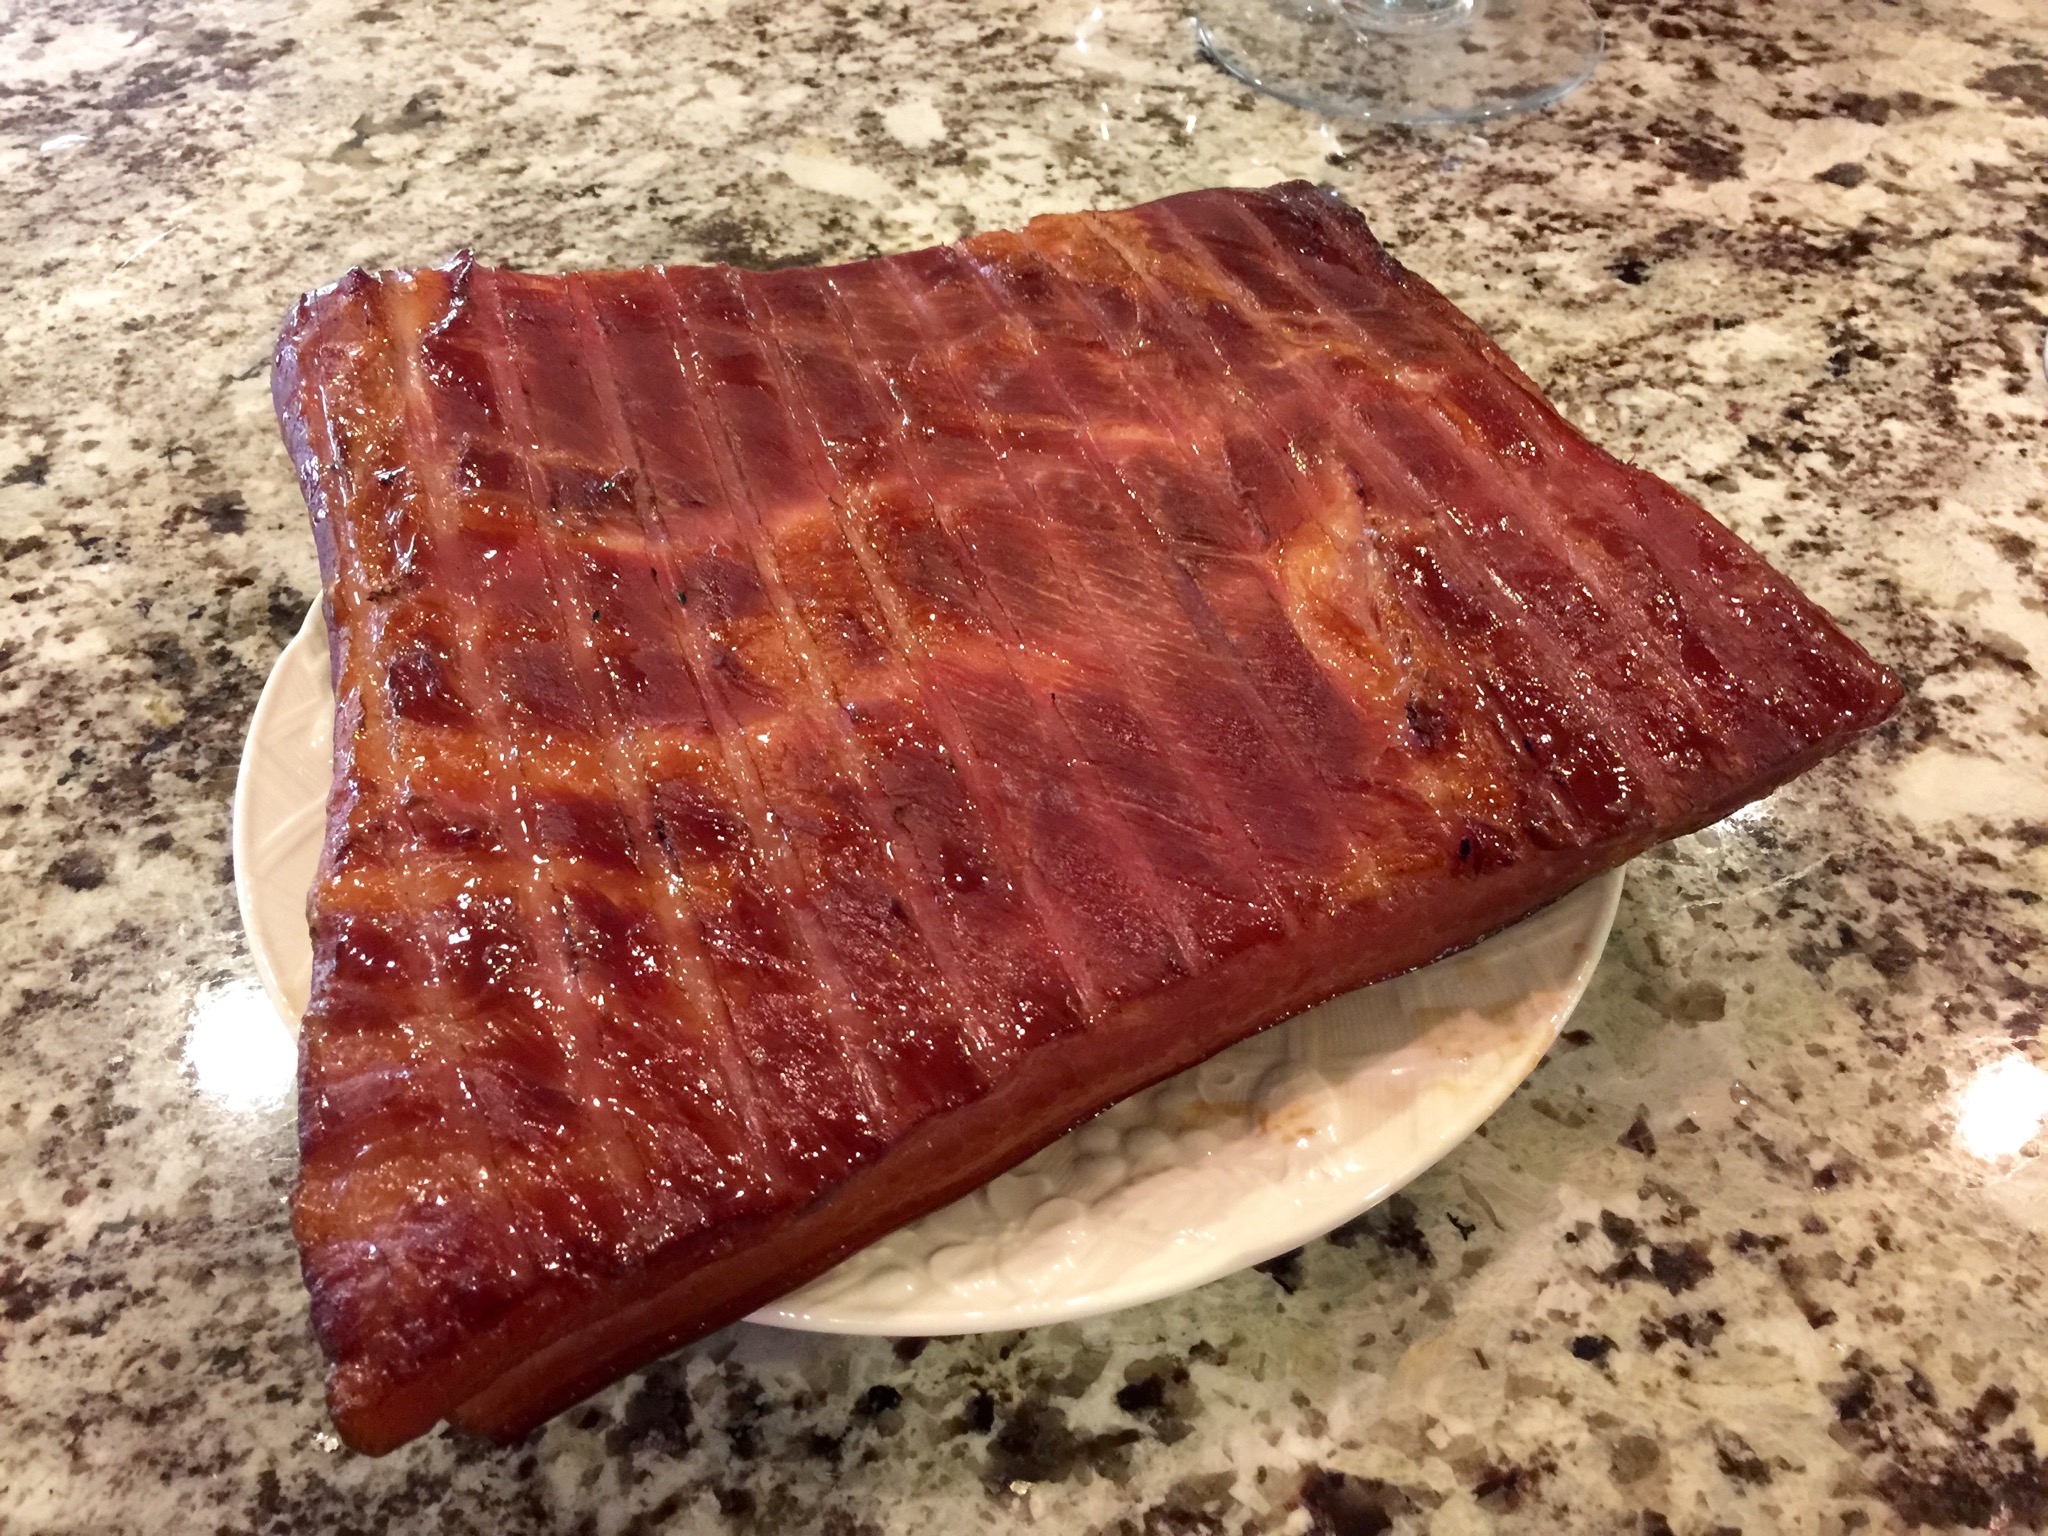
Once the belly reaches an internal temperature of 150 to 155 degrees F, remove it from the smoker/grill/oven and allow it to cool. Remove the skin while it’s still warm and stick it in the freezer for later use. That salty, smoky pig skin has all sorts of fabulous uses (e.g., chitlins, flavoring soups and beans, etc.) so definitely don’t just throw it away. What you do from here is now completely up to you. You can slice your bacon, cut it into chunks and give it away to friends, freeze it, chop it into bits and make lardons, use it as a pillow, etc. In my opinion, the very best option is to slice some of it up and make BLT sandwiches for dinner while you decide what to do with the rest. There are no bounds to what you and your bacon can accomplish together.

A 14″ brisket knife and a steady hand make for nice, even strips.
Now that you know how to cure your own bacon, you can start messing with the recipe a bit. Just remember that it’s always one teaspoon of Prague Powder #1 to five pounds of belly in a dry (or mostly dry) mix. From there do whatever you like. Add spices, pepper, bay leaves, espresso… pretty much anything really. Get out there and conquer your own world of bacon.
tl;dr
Cure your own bacon
Ingredients- 5 lbs fresh pork belly, skin on
- 1 tsp Prague Powder #1
- 1/4 cup Kosher salt
- 1/4 cup brown sugar, packed
- 1/4 cup maple syrup
Other stuff you’ll need
- a 2.5 gallon Jumbo Ziplock bag
- a smoker or barbecue and some applewood chips
- a meat thermometer
- a sharp knife
Directions
Rinse pork belly with cold water, pat dry with paper towels, and place in Jumbo Ziplock bag. Whisk together dry ingredients, stir in maple syrup, and add to bag. Seal zip on bag and work cure mixture around until entire belly is covered. Place in refrigerator for at least 7 days, flip daily. Remove belly from bag and thoroughly rinse in cold water. Smoke at 200 degrees F until internal temperature of belly reaches 150 to 155 degrees F. Remove skin while warm, cut bacon into slices and refrigerate or freeze.
See also
- Taking the Cure: Of Nitrites, Prague Powder, and Other Curing Salts
- Easy Bacon Making Recipe – Making Bacon at Home
- You Can Make Bacon At Home. And It’s Delicious.
*attempts to eat computer screen*
Standard Recipe Disclaimer
I don’t come up with a lot of my own recipes (unless you count my own personal milk-to-Grape-Nuts ratio), and chances are the recipe posted above belongs to or was inspired by a person other than me. So if you’re wondering whether or not I ripped somebody off, I probably did. Don’t get out the pitchforks and torches just yet though! I want to make absolutely sure I give credit where it’s due, so if you think someone deserves recognition for something that I haven’t already called out FOR CRYING OUT LOUD LET ME KNOW. Thanks, I appreciate it. Here’s a cookie.

