Macaroni and cheese is pretty much the greatest food in the entire world. If you disagree, you’re probably reading the wrong blog. For those of you that haven’t just hit the ‘back’ button, I present to you one of my own personal favorite recipes. This particular baked mac recipe is nothing new, but it represents quite a lot of experimenting and tweaking to get the texture, sauciness, and cheese mix just so. All of the magic takes place in a single skillet, which means fewer dishes to wash and more quality time to spend gloating over the fact that you made this all by yourself.
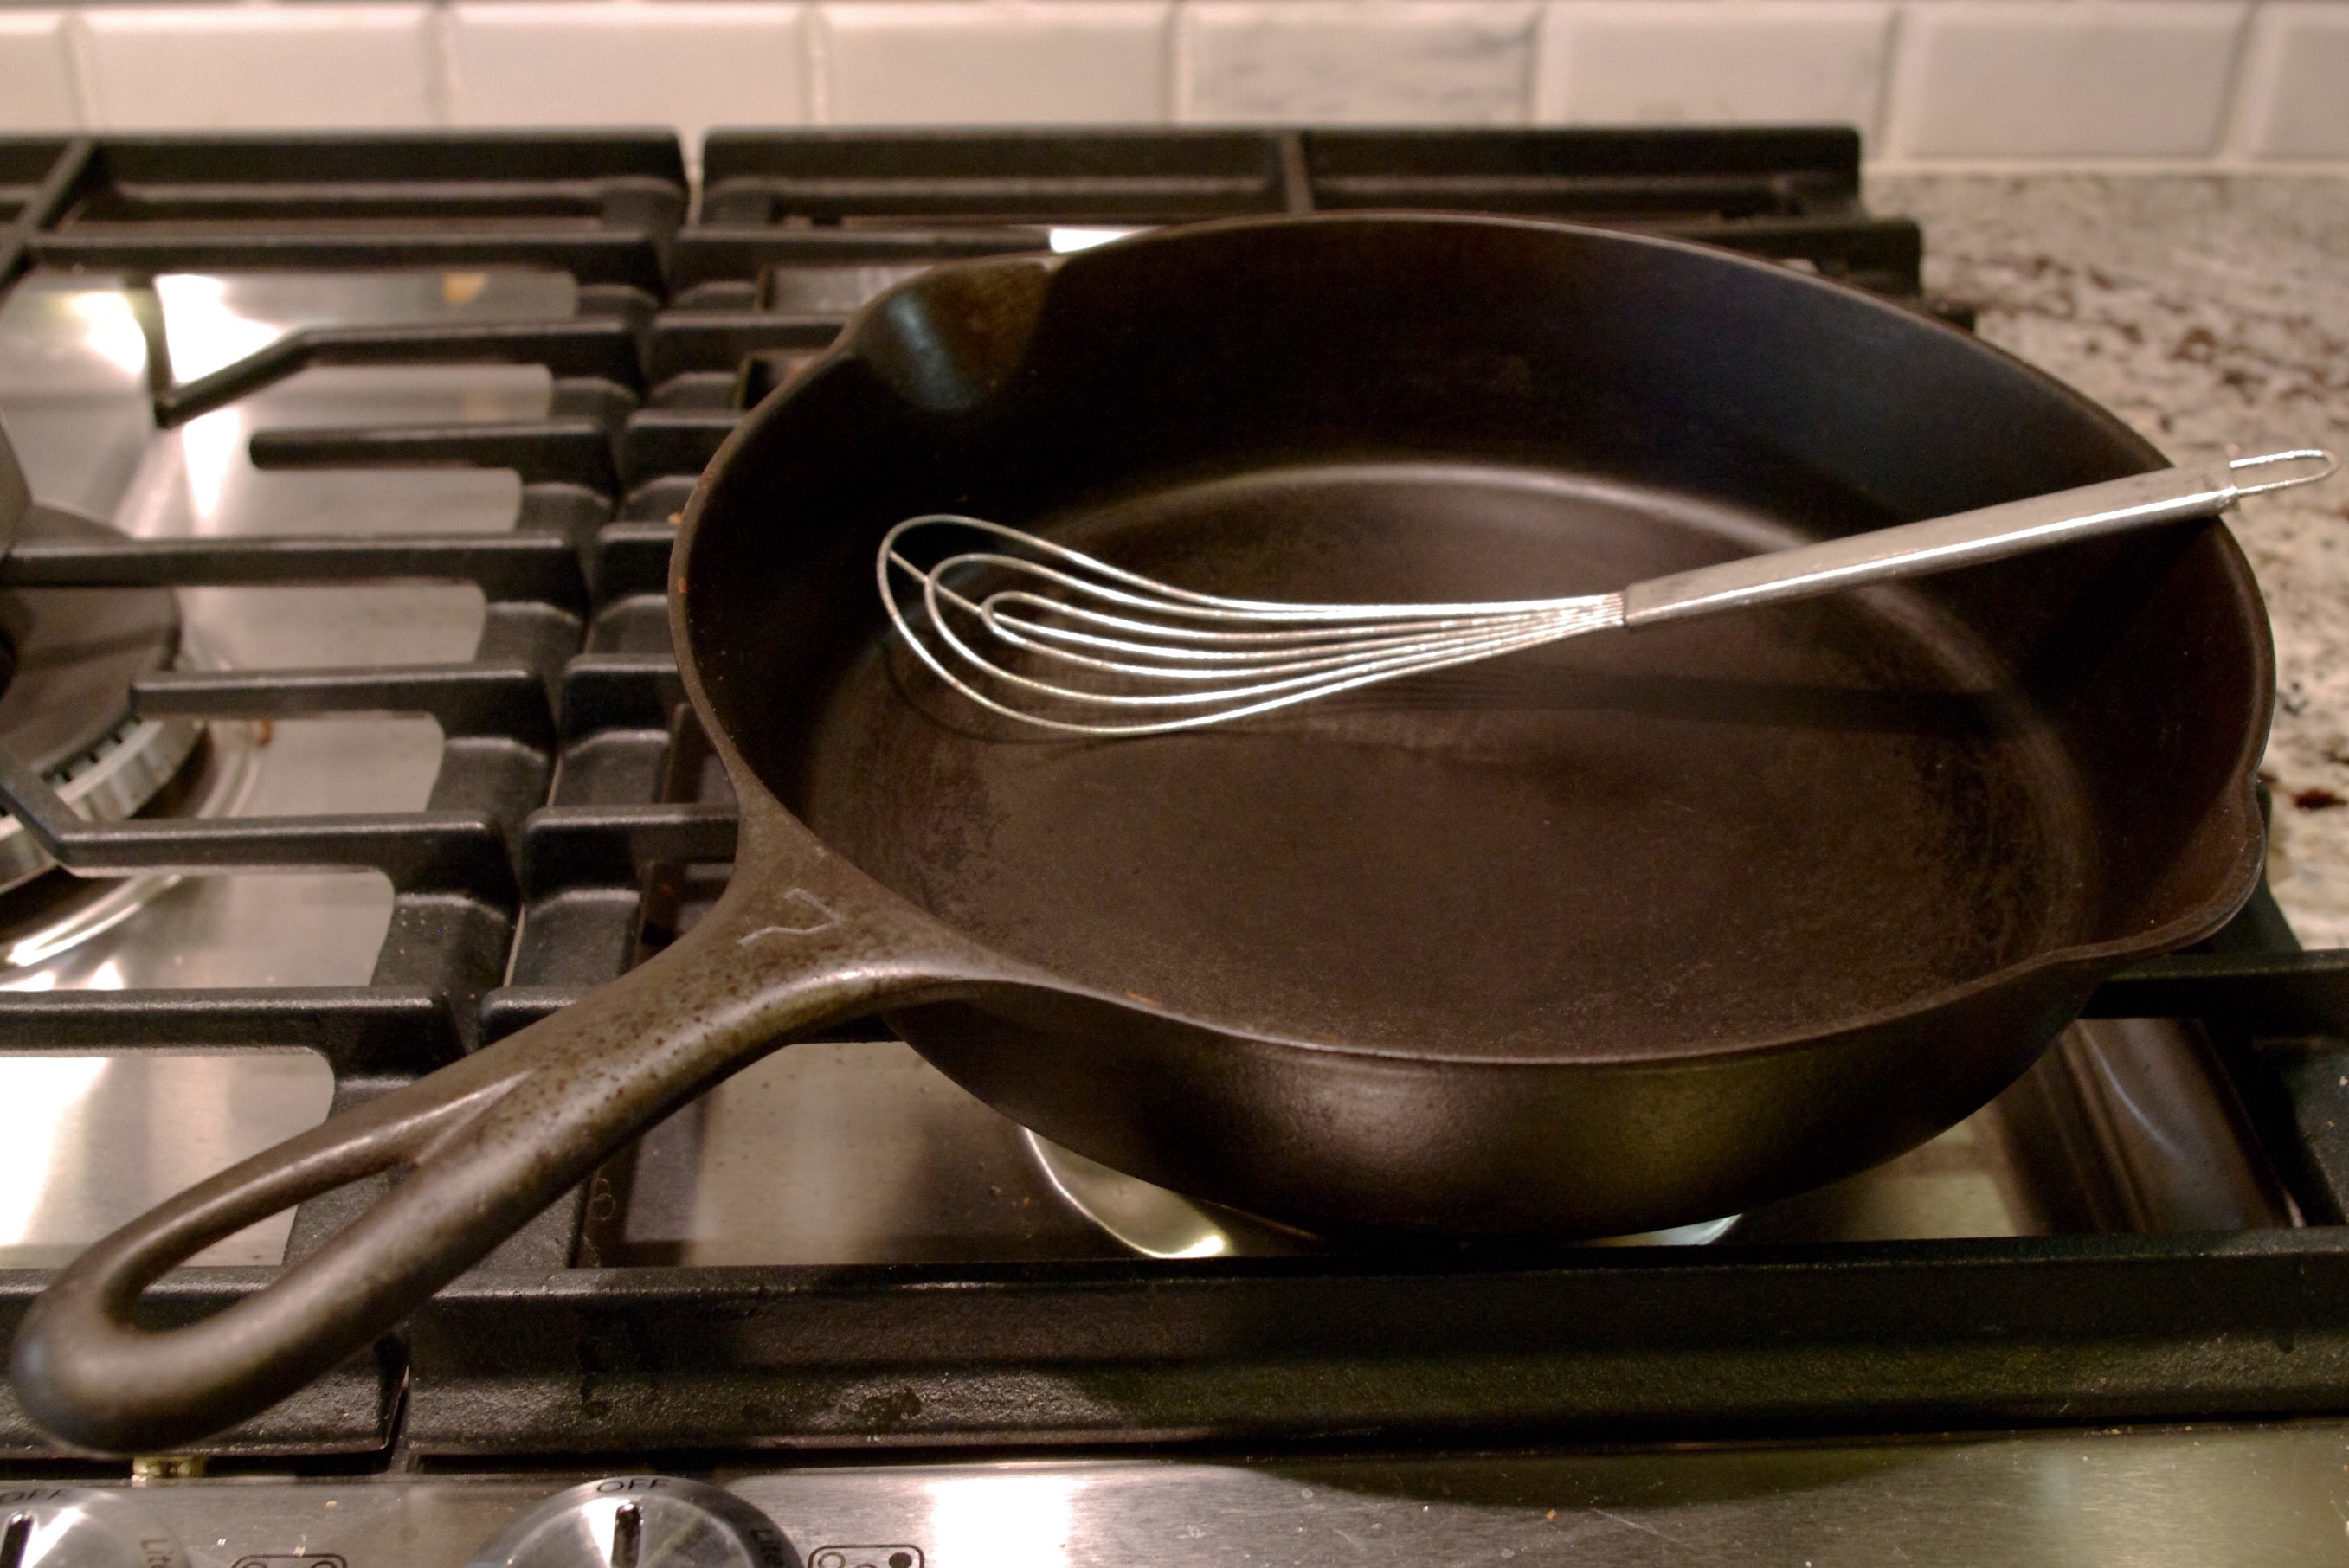
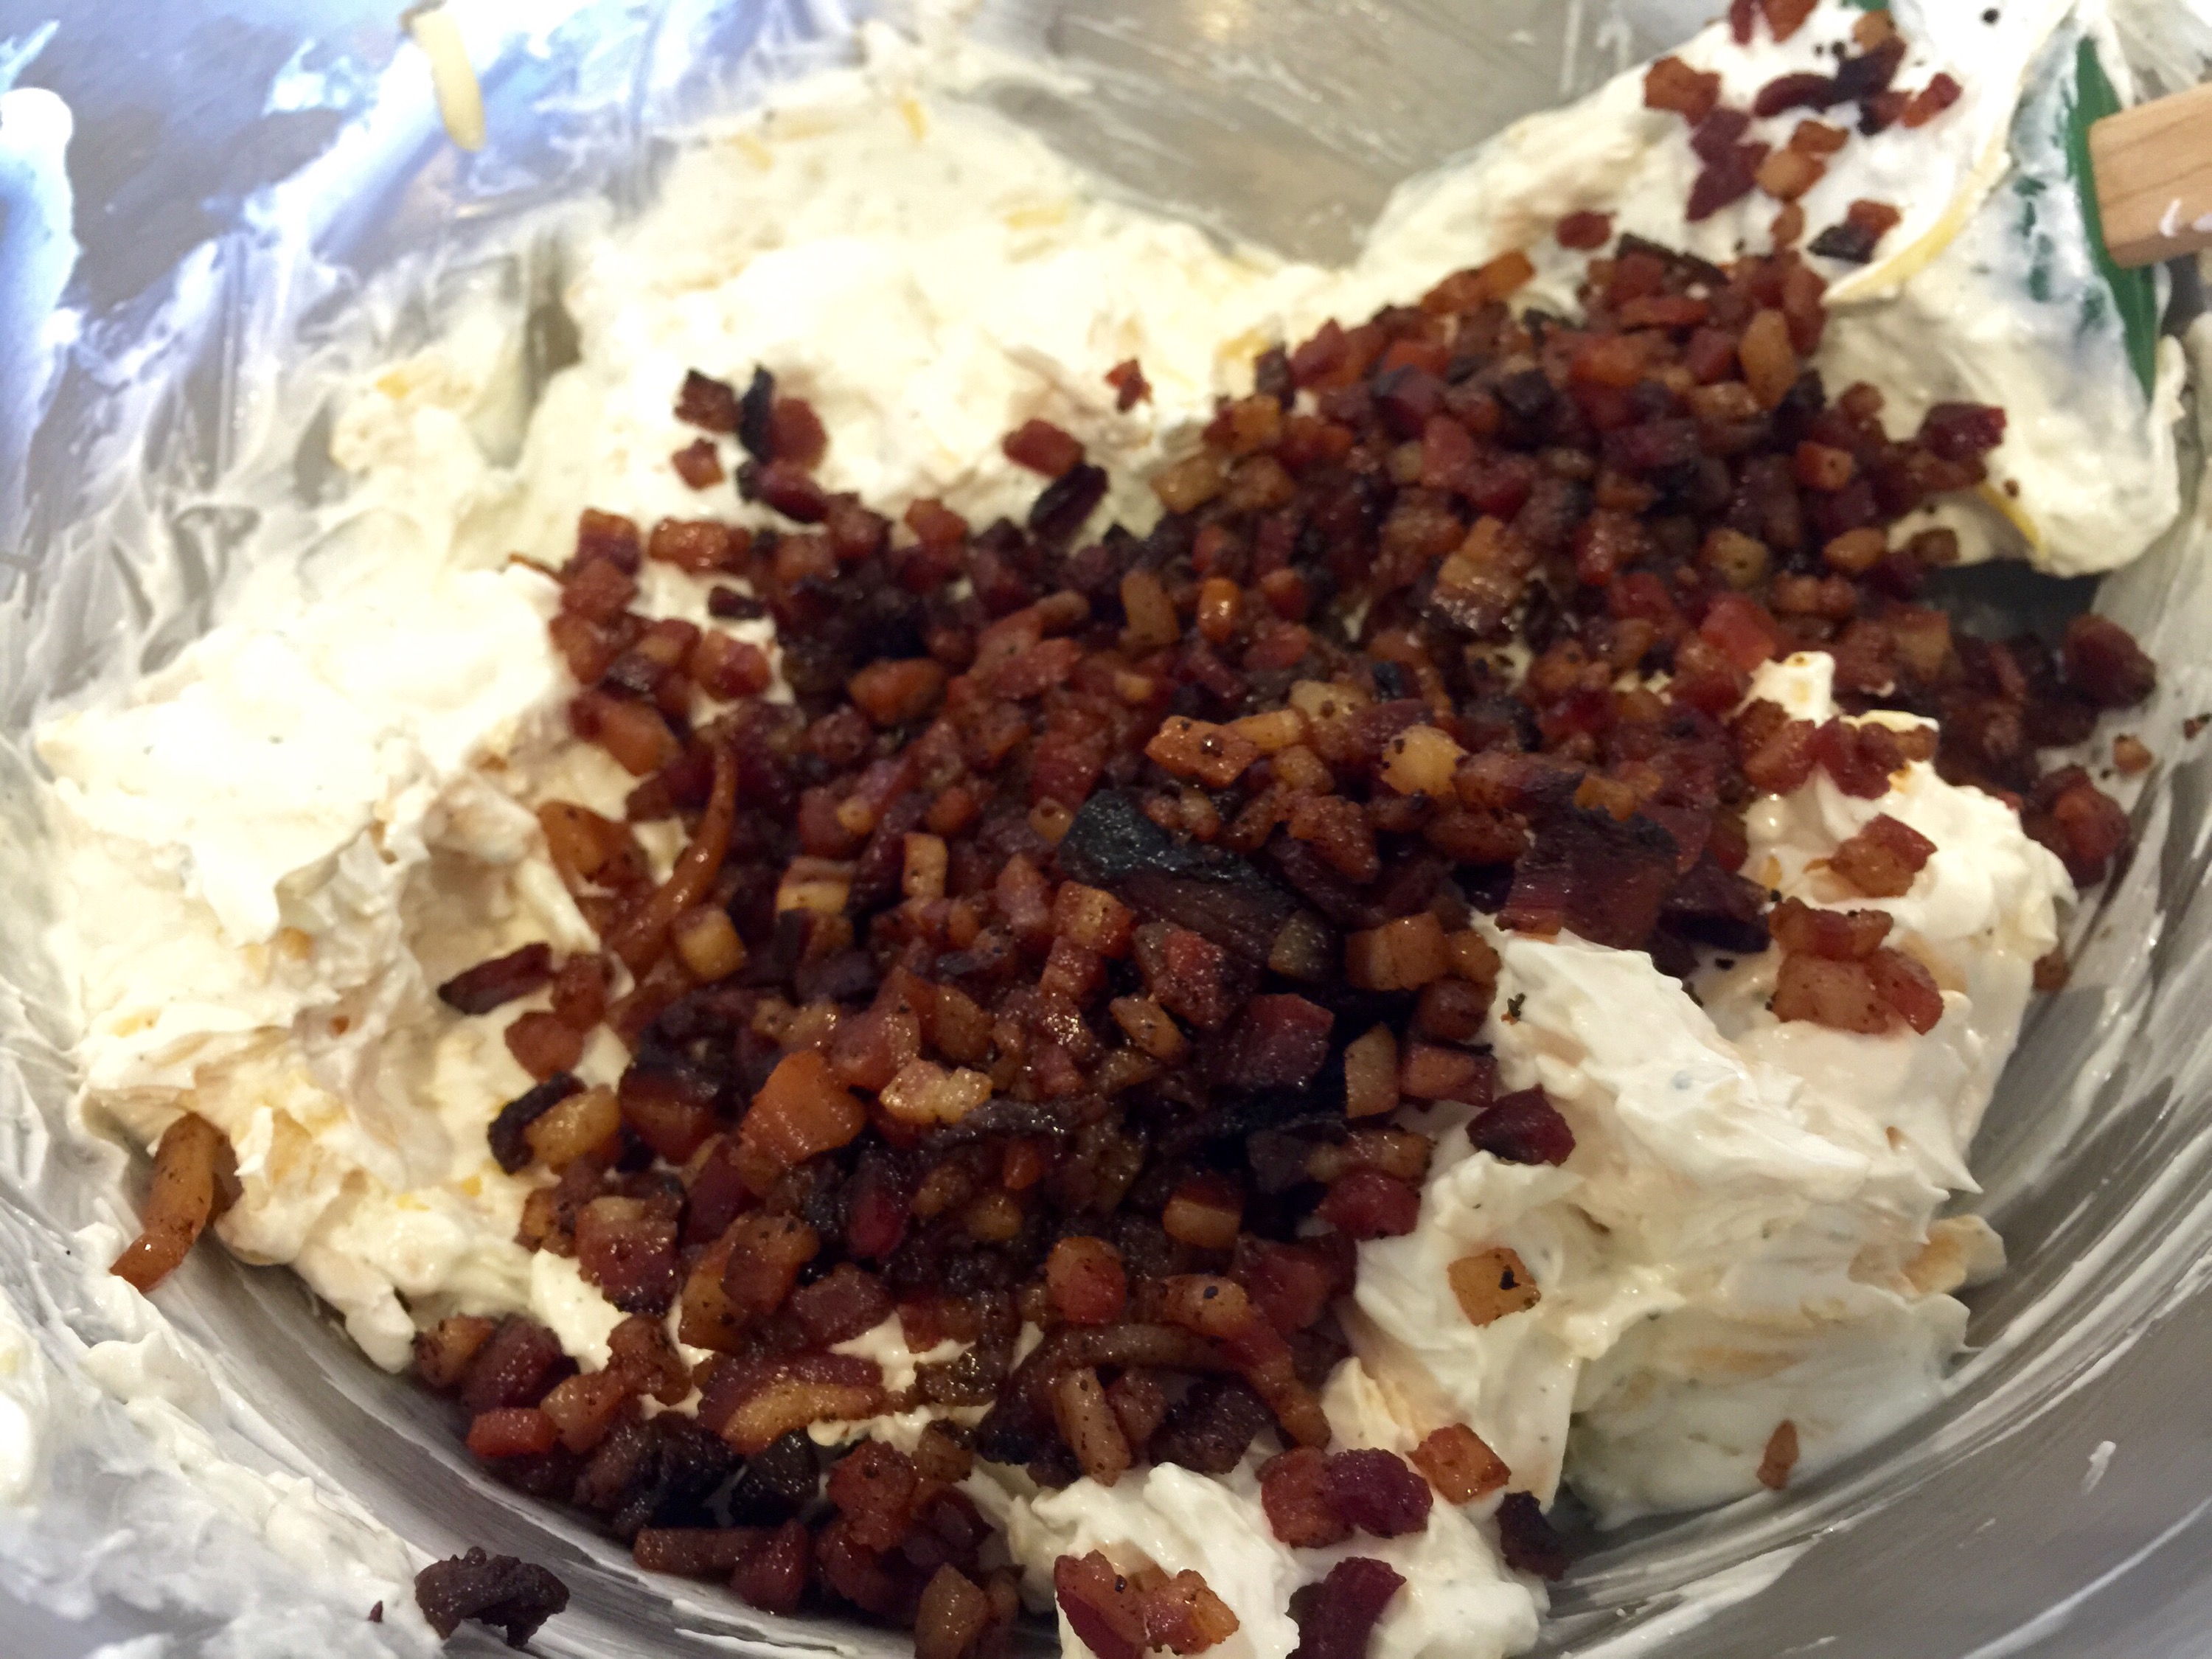
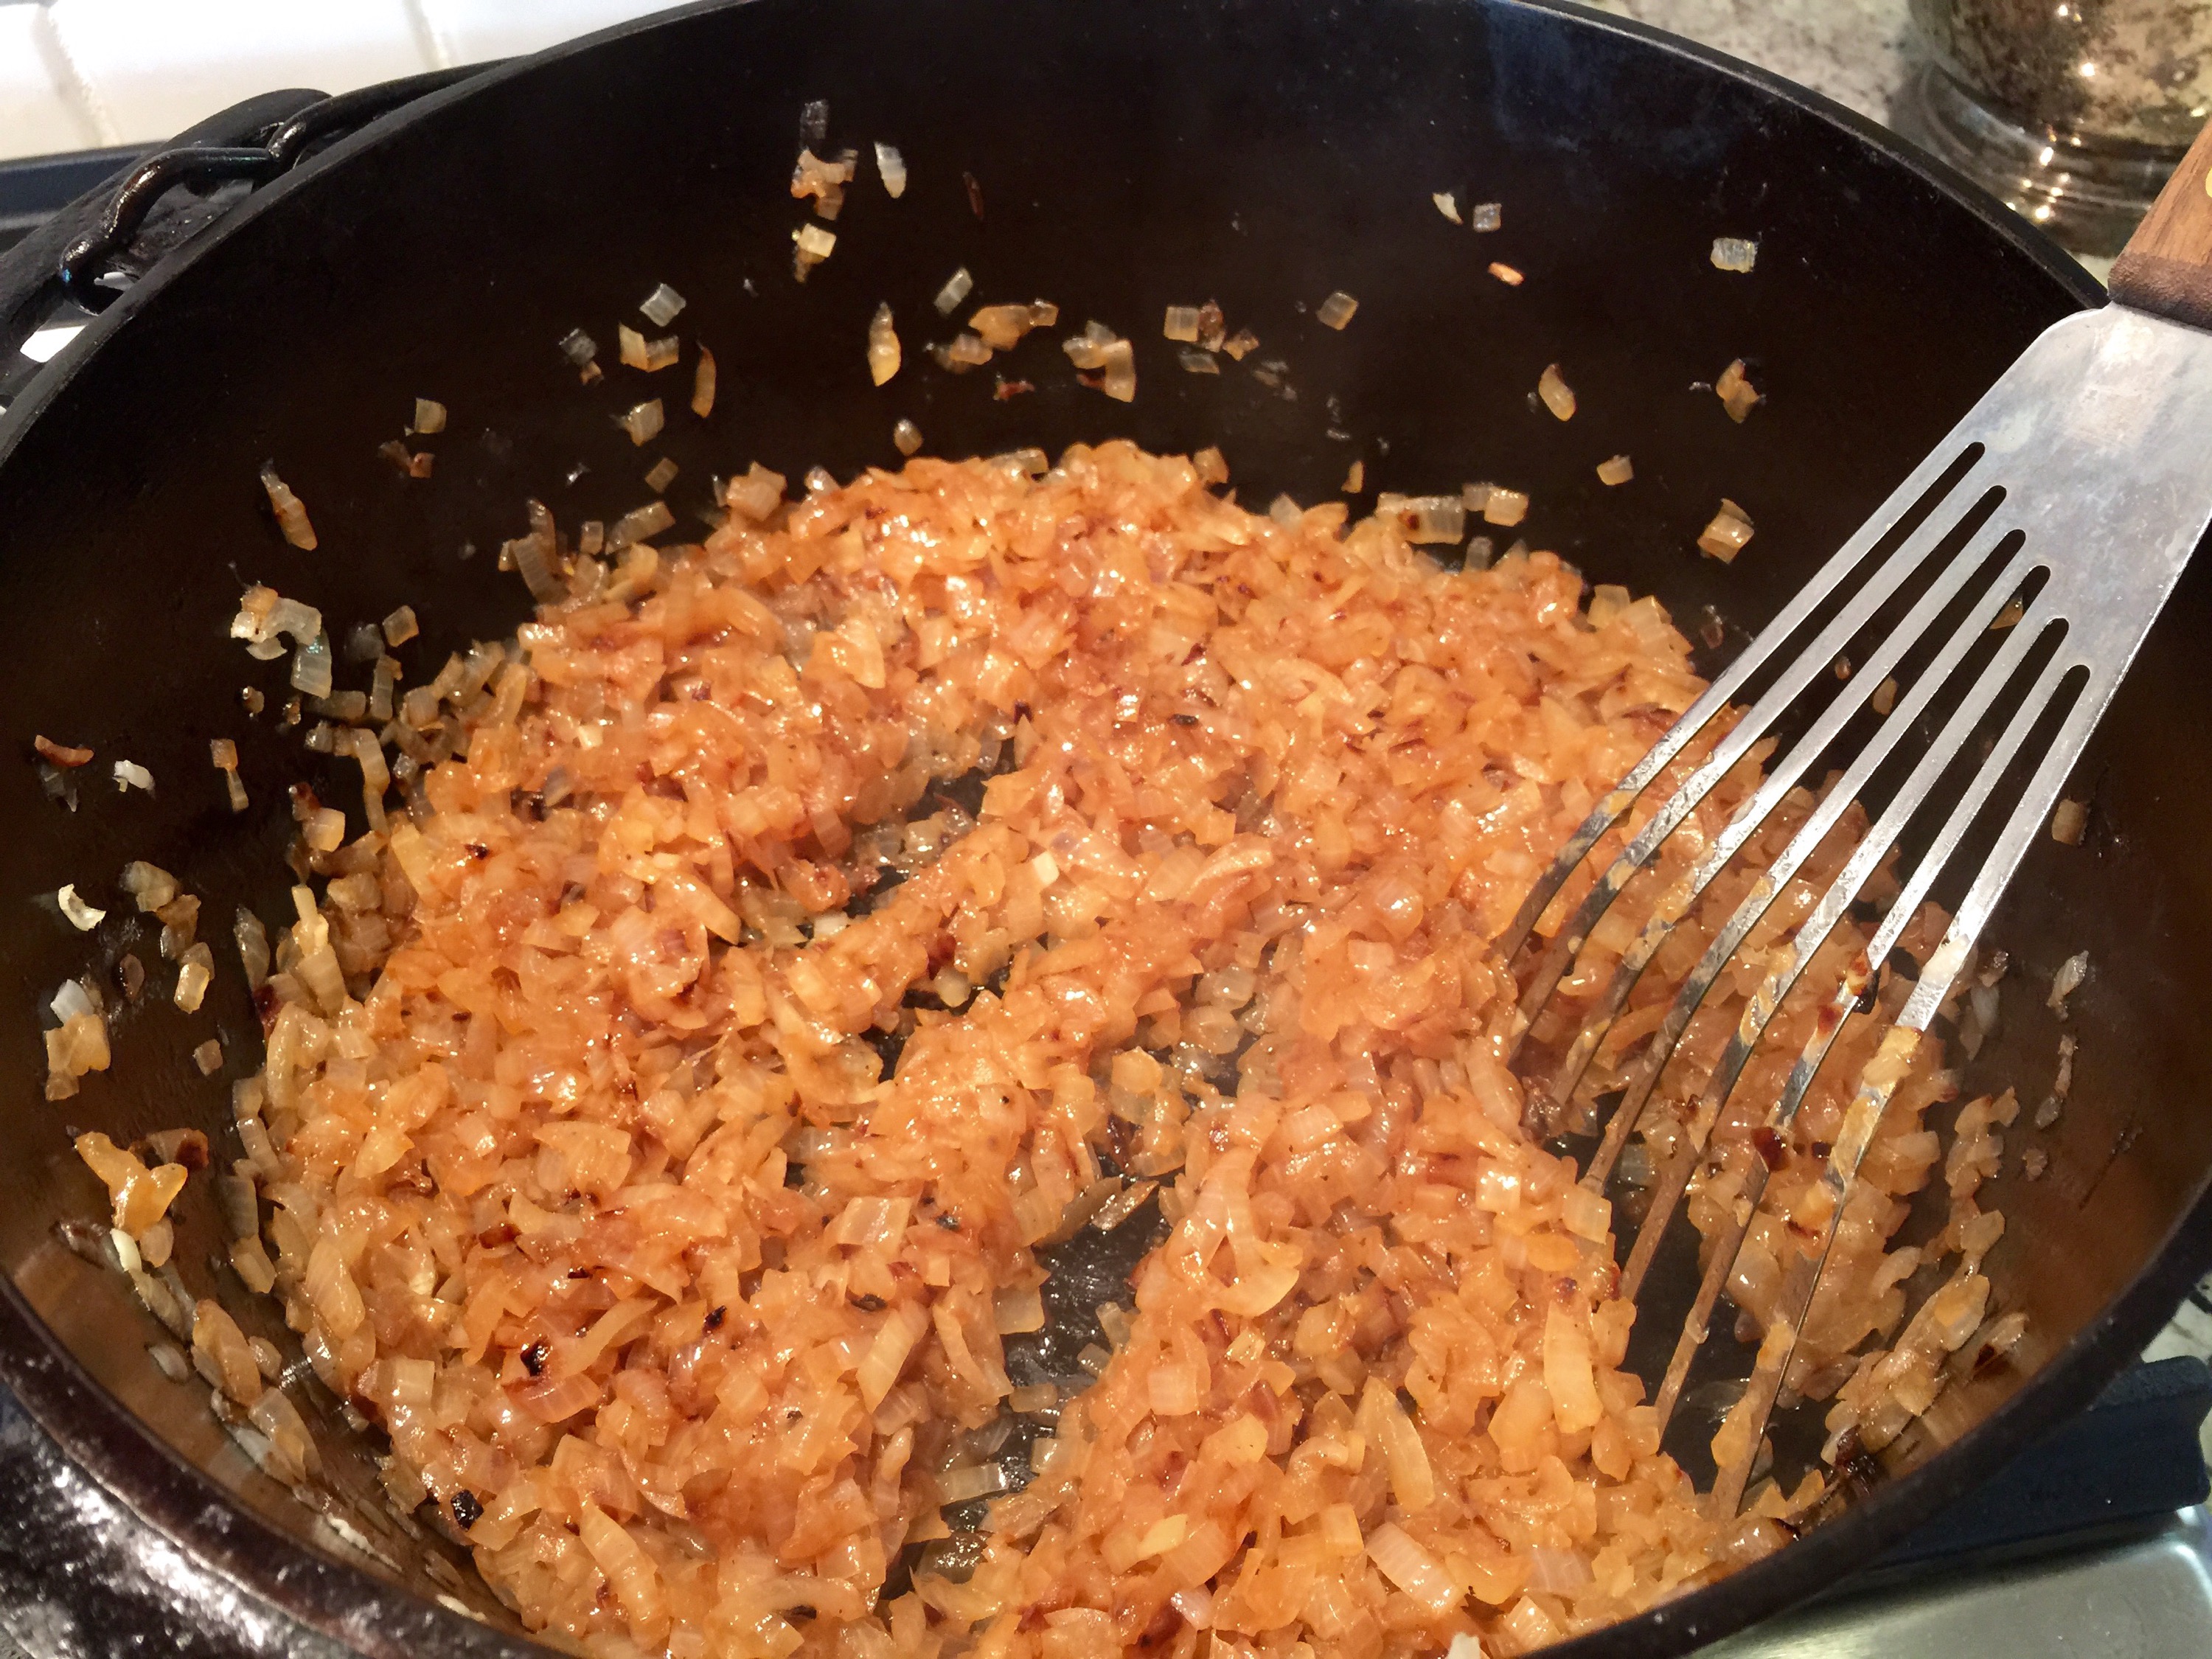
This is where all the magic happens.
” It will serve three normal humans or two greedy oinkers “
Everybody has their own preference for the way they like their macaroni and cheese prepared. I don’t personally like a ton of sauce; I prefer a nice crusty top and lots of stretchy cheesiness with only a modest amount of sauce, and that’s what this recipe is designed to accomplish. If you want more sauce and less pasta, double the cheese sauce part of the recipe.
The cheese mix is a critical part of this recipe and can be adjusted depending on your tastes. I have tried dozens of different cheeses with varying degrees of success, and I’ve settled on gruyère, mozzarella, and asiago as my go-to combination. Gruyère is the headliner and checks all the boxes when it comes to desired cheese behavior. Mozzarella’s job is to provide creaminess, stretch, and a lovely browned, bubbly crust. Asiago is there to add back some of cheese flavor that was given up as a result of including mozzarella, and also because it’s awesome. If you want less cheese flavor, replace the gruyère and asiago with something milder, like jack or colby. As much as I like cheddar, I don’t recommend it. Cheddar always seems to end up grainy and oily no matter how carefully I handle it; the gruyère/mozzarella/asiago mix is much more forgiving.
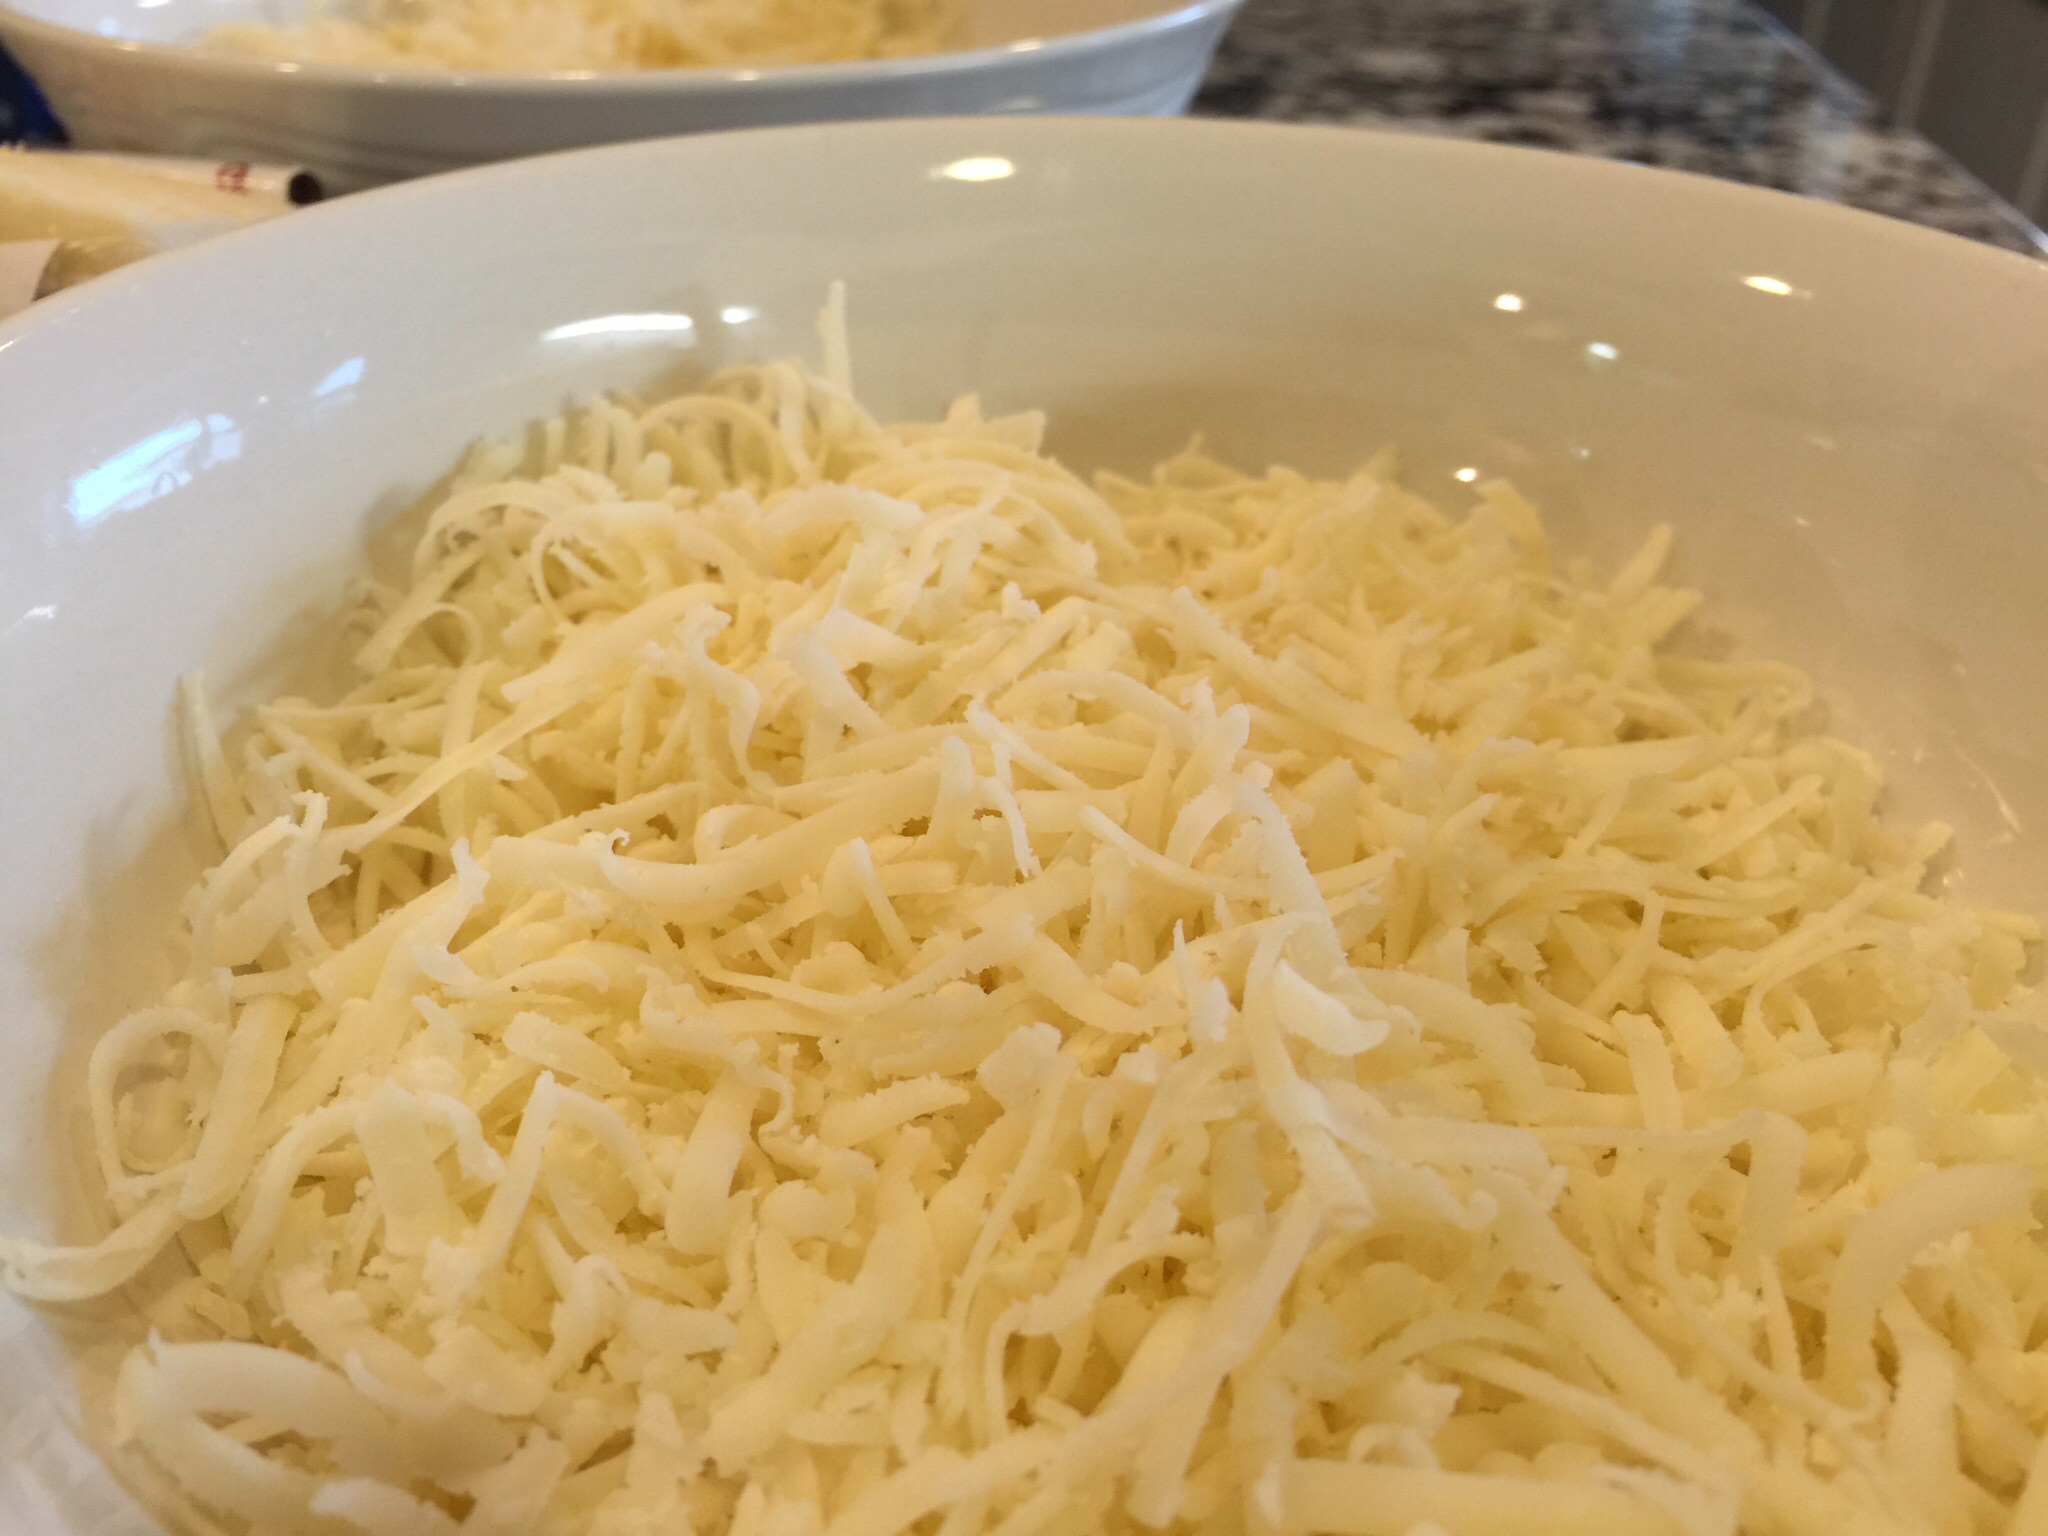
As usual, I have no reason to include this picture. I just like looking at cheese.
As a side dish, this recipe will serve perhaps five reasonable, polite individuals who don’t mind sharing. As a main course, it will serve three normal humans or two greedy oinkers.
Ingredients
Part 1: The sauce
- 1 tbsp butter (Yes, of course I mean real butter. No margarine. Don’t be silly.)
- 1 tbsp all-purpose flour
- 1 cup milk
- 1.5 cups grated gruyère
- 1.5 cups grated mozzarella
Part 2: Everything else
- 8oz pasta (cooked al dente)
- 1 cup grated gruyère
- 1 cup grated mozzarella
- 1 cup grated asiago
Other stuff you’ll need
- an oven-safe skillet, preferably cast iron
- a whisk
- extra butter, flour, and milk for when you screw up the sauce
Directions
Before you do anything else, preheat your oven to 350 degrees F and cook the 8oz of pasta so that it’s ready to go when you need it. The choice of pasta is entirely yours, but I prefer stouter stuff like large elbows or cellentani. It has to stand up to being stirred and baked without falling apart, and ideally it will be good at trapping cheese sauce. Absolutely do not overcook the pasta or you will regret it – go for al dente or even slightly more firm just to be safe.
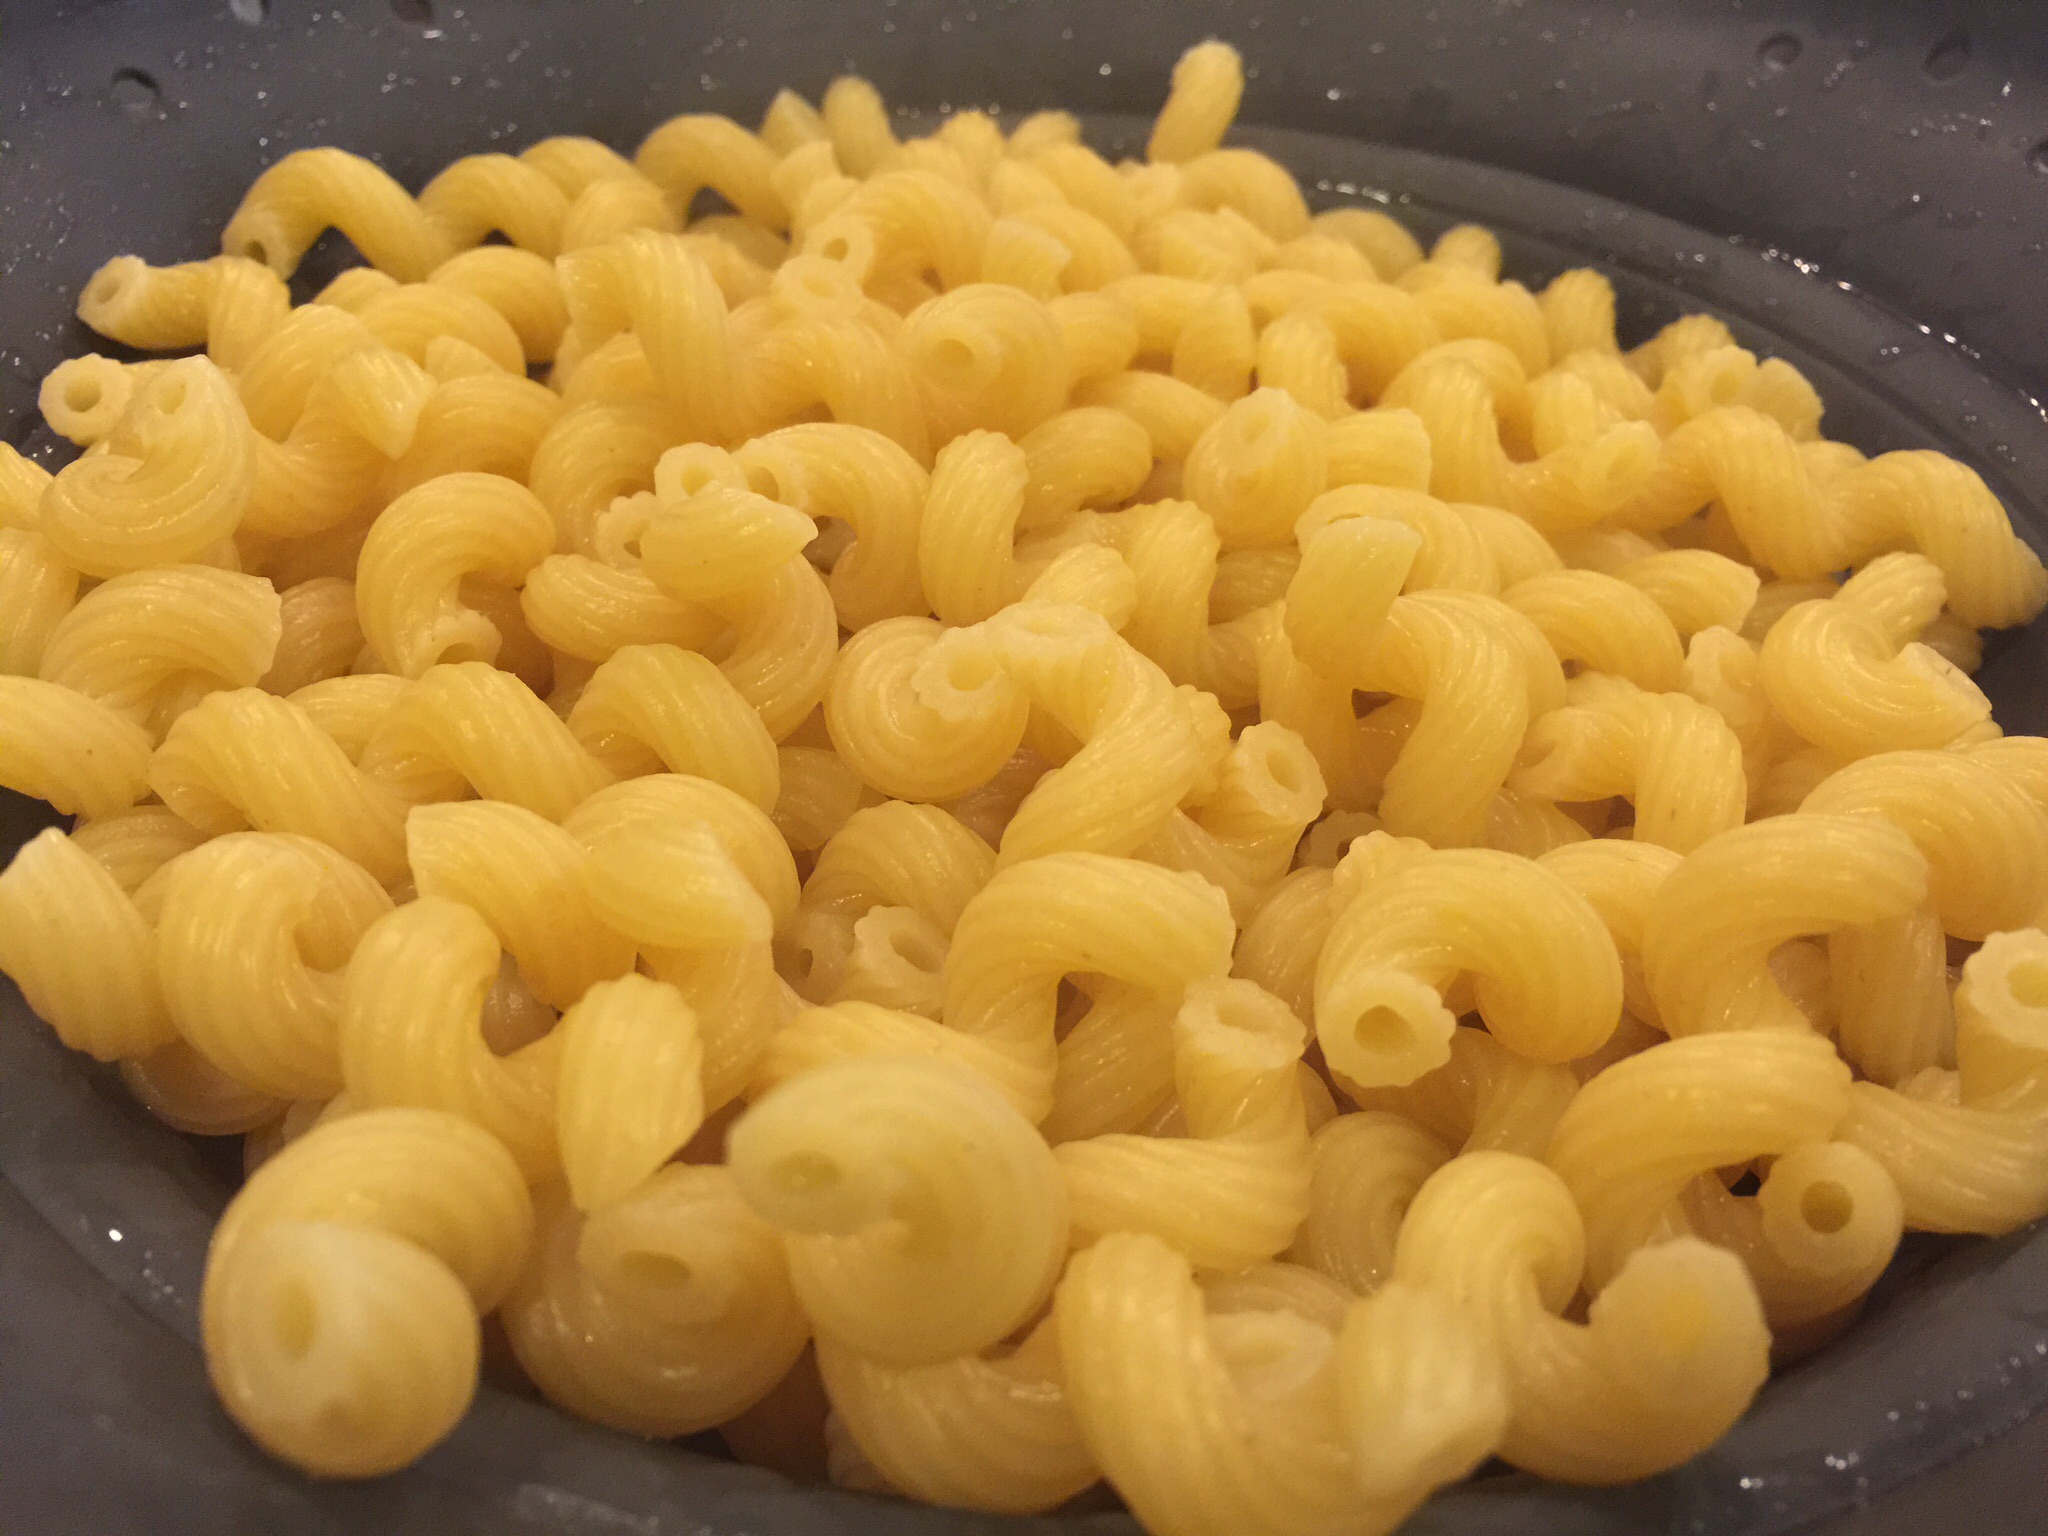
If you rinse your pasta with water after cooking it, somewhere a baby panda will die.
Part 1: The sauce
This part can be tricky until you get the hang of it. Regulating the heat correctly is a challenge, and your arm will probably get tired from all the whisking as well. The good news is that you’ll know pretty early if you’ve messed things up, and most of the time all you will have wasted is a little butter and flour. If you do end up screwing the pooch – and chances are you will the first couple times – don’t get discouraged. Just dump out the failed stuff, pretend like you did it on purpose, and start over. You’ll get there soon enough.
Preheat your skillet to medium heat and add the tablespoon of butter. You want the butter to sizzle and melt completely in about 20 seconds. Faster than that and the pan is too hot, slower than that and the pan isn’t hot enough. As soon as the butter is melted, sprinkle in the tablespoon of flour and whisk constantly for 90 seconds. Make sure there aren’t any dead zones where the butter/flour mixture is allowed to sit still. When the 90 seconds is up, remove the skillet from heat and continue whisking for another minute or two as the skillet cools down. If you’ve done this part right, you will have a creamy light brown paste about the same shade as lightly toasted bread. Congratulations, you’ve just made roux.
As you continue to whisk, add a couple drops of milk to the roux. The milk should NOT sizzle at all; if it does, your skillet is still too hot. Continue to whisk the roux for another minute and try again. Once you are able to add the milk without it sizzling, put the skillet back on the burner, set to low heat, and slowly whisk in the entire cup of milk. (This part can be made a little easier by heating up the milk separately before adding it to the roux, but I’m usually too lazy to bother.) The milk/roux mixture should be hot enough to steam but it should definitely not bubble excessively or foam up. If you get too aggressive with the heat in this step you will scald the milk and end up with gross chunks of cottage cheese in your sauce. Whisk the milk/roux mixture constantly for at least five minutes, until it starts to thicken. You are going for a consistency somewhere between gravy and melted ice cream. And just like that you’ve made bechamel.
If you’ve made it this far without your arm falling off, I applaud you. You are now ready to begin the fun part.
Take a bit of the grated gruyère and sprinkle it into the bechamel, stirring slowly until the cheese has melted completely and disappeared into the sauce. Now sprinkle a bit of mozzarella in, stirring well, then go back to the gruyère, etc. (Note: The asiago does not belong in this step – it is only used in Part 2, below.) Continue alternating cheeses until you get a nice, stretchy, cheesy consistency. Remove from heat, give it a taste, and add salt and pepper as necessary.

Is there anything better than cheese sauce? Nope, there really isn’t.
Part 2: Everything else
Ditch the whisk and grab a rubber spatula or wooden spoon. Grab handfuls of the cooked pasta and sprinkle it into the cheese sauce, stirring gently as you go and making sure every piece of pasta is evenly coated. Resist the urge to dump the entire batch of pasta into the sauce at once; much of the pasta will be stuck together and needs to be separated before it can be properly sauced. (I’m not sure if ‘sauced’ is a verb or not, but I’m going with it.)

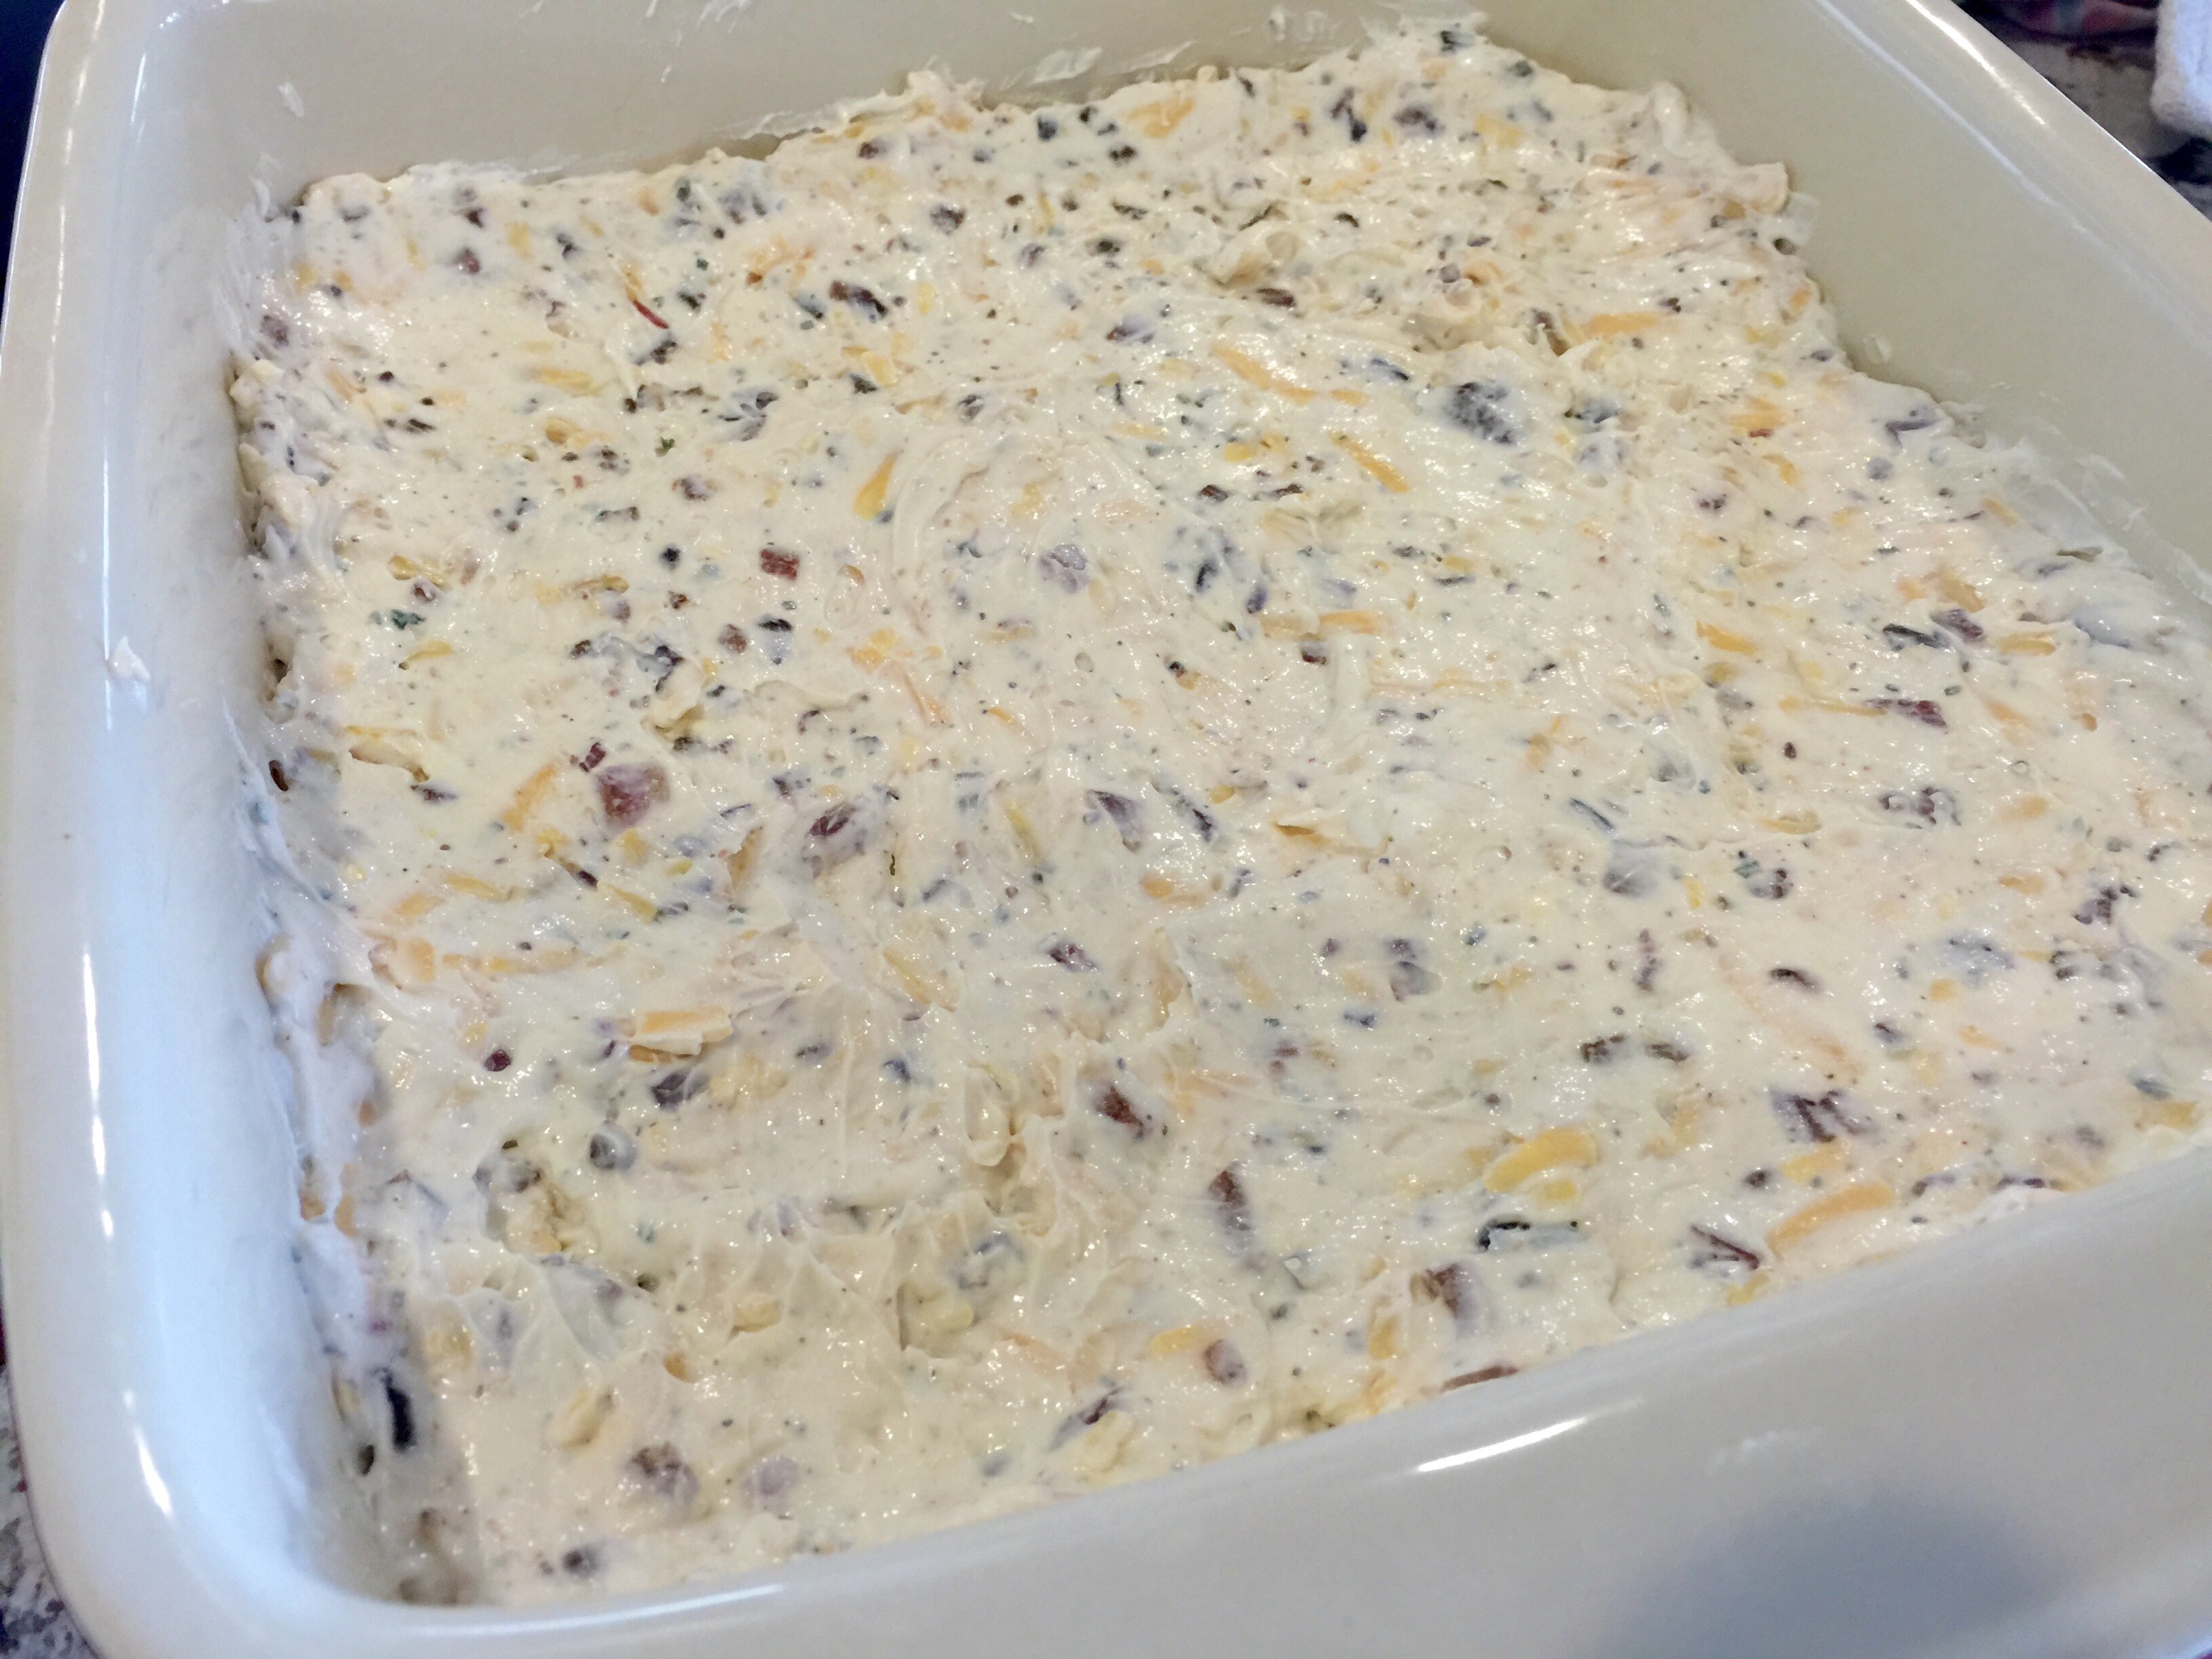
Juuuuust the right amount of sauce.
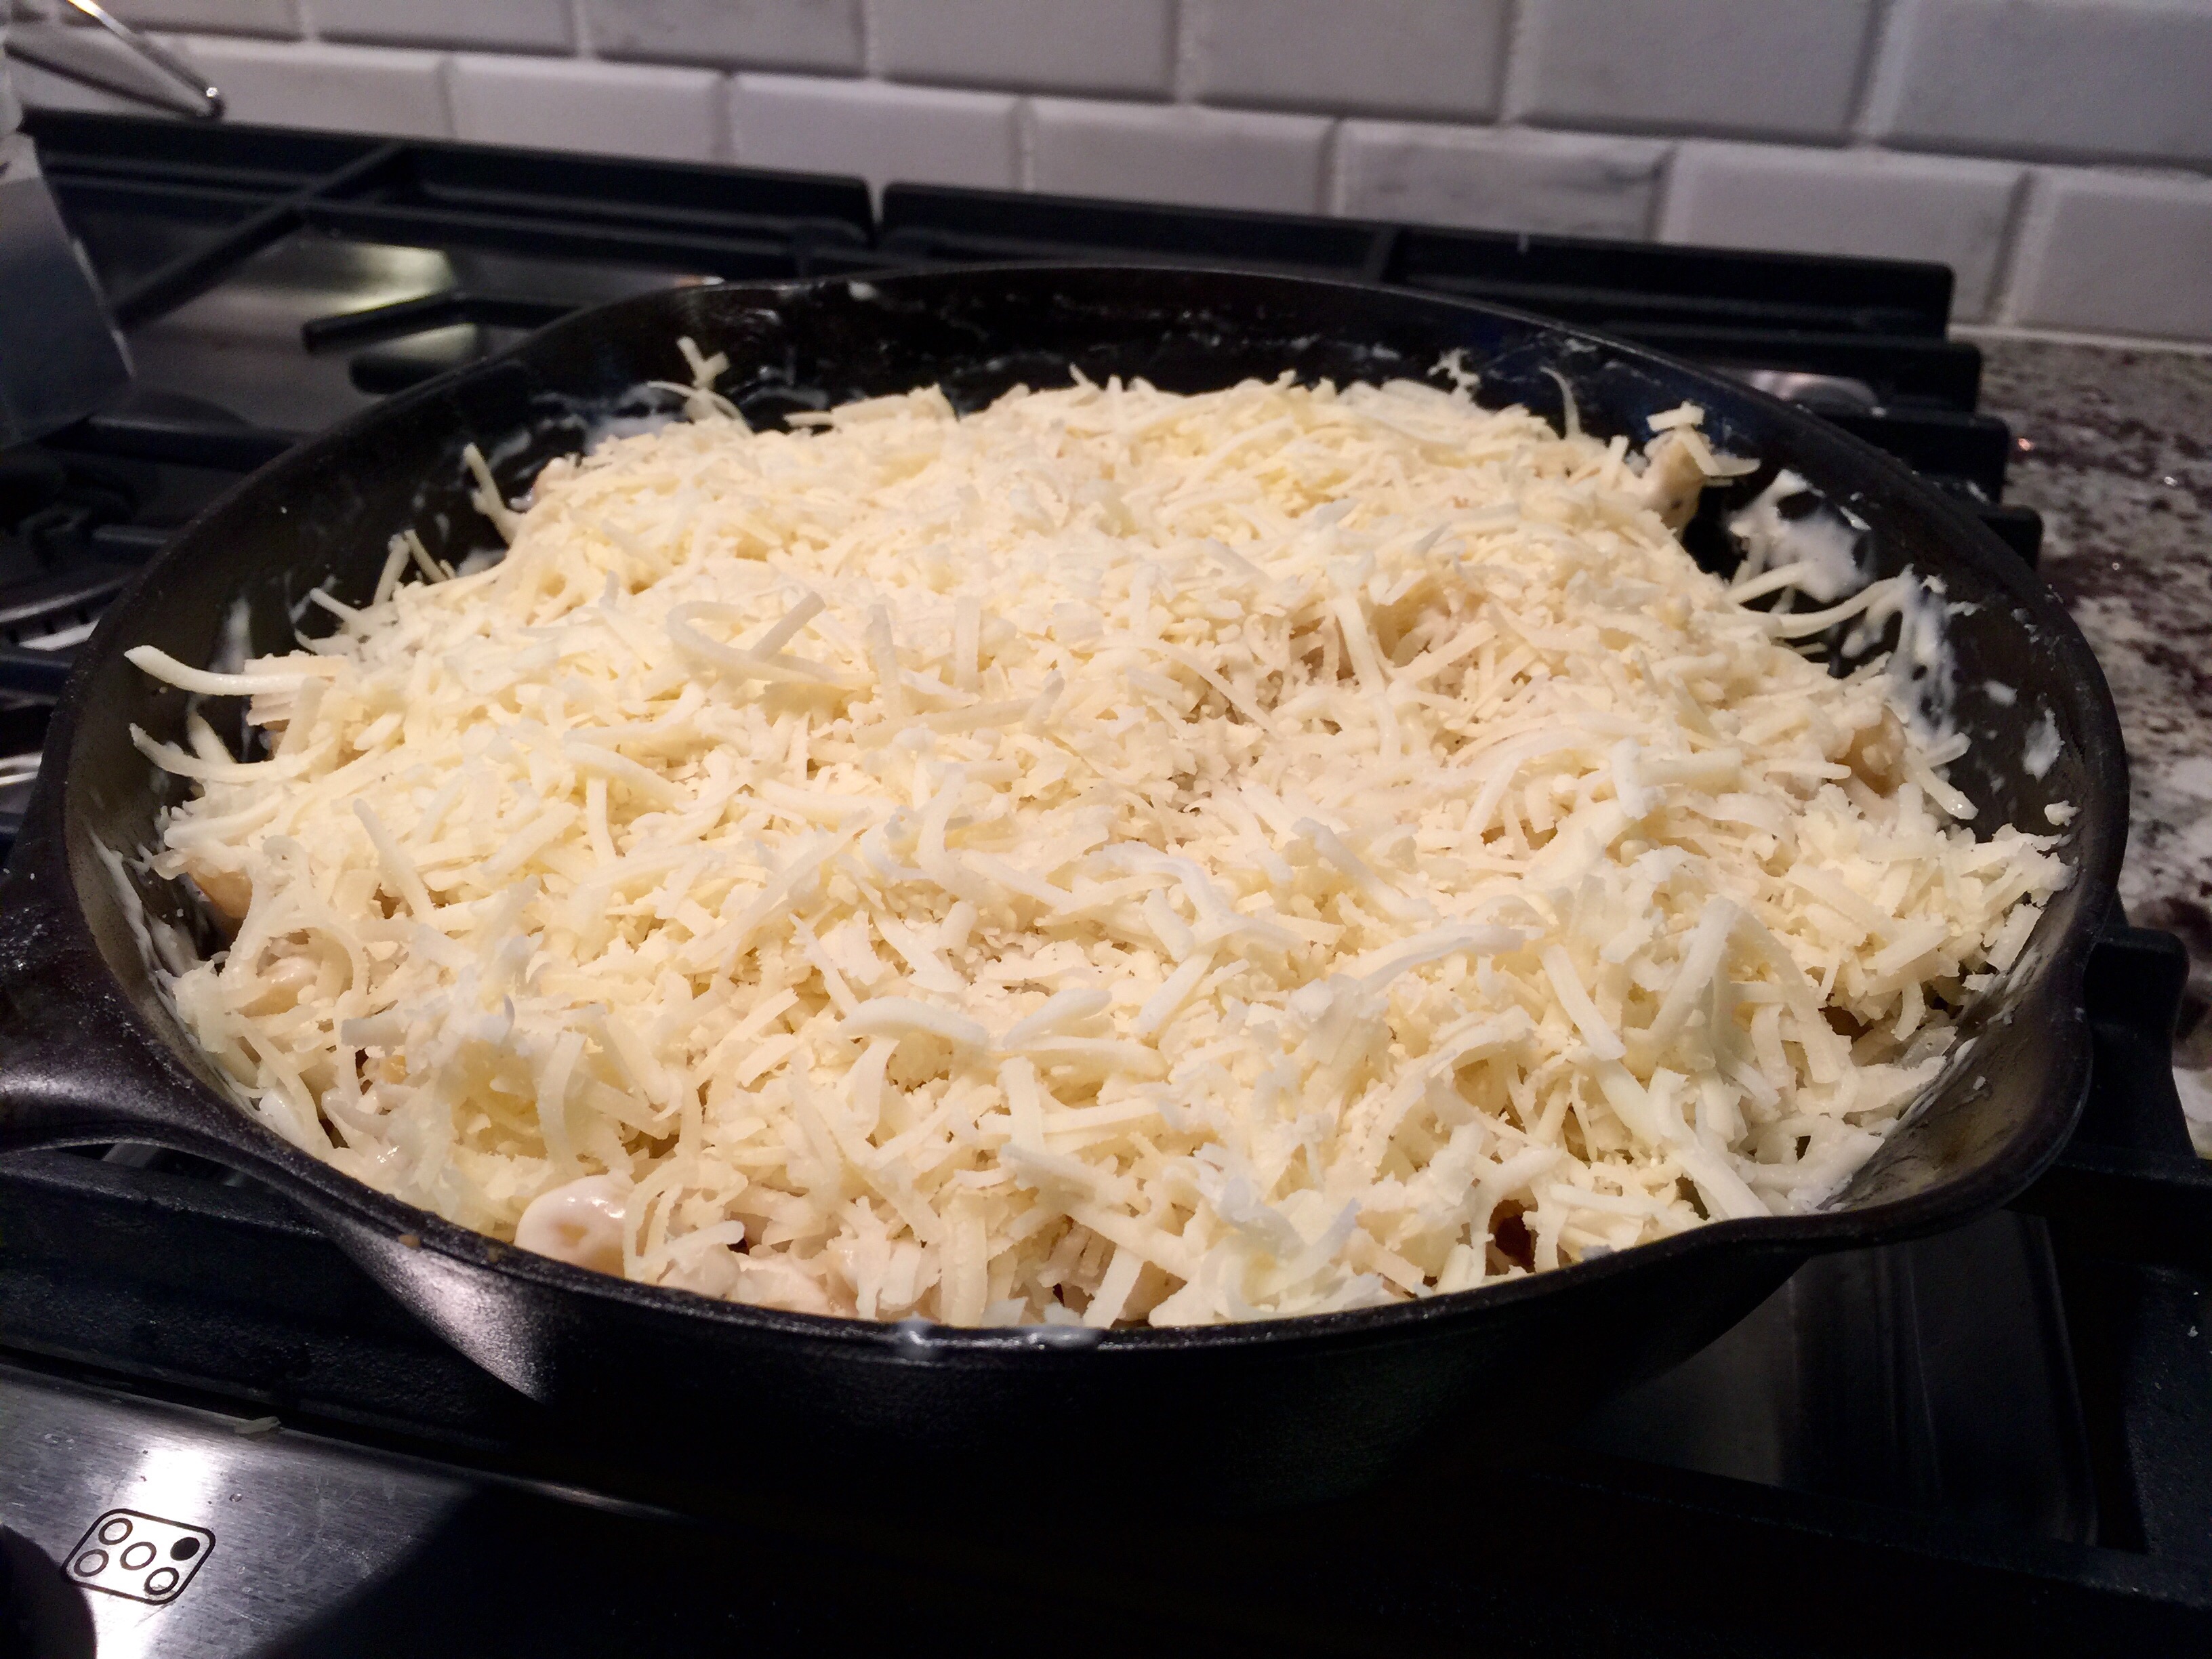
Toss together the grated gruyère, mozzarella, and asiago, and dump it liberally on top of the pasta mixture. If three cups of cheese seems like too much to you, it’s probably time to rethink your life choices. Just keep adding cheese until it seems like too much, then add some more. (On an interesting side note, this rule also applies to many other foods such as peanut butter, frosting, and bacon. Not all at the same time though.)
All cheeses grate and small.
Put the skillet in the oven, set the timer for 25 minutes, and try not to go insane with hunger while you wait. Start peeking into the oven at the 20 minute mark – once the top is browned and bubbly, your mac and cheese is done. Serve, enjoy, and schedule an appointment with a cardiologist right away.
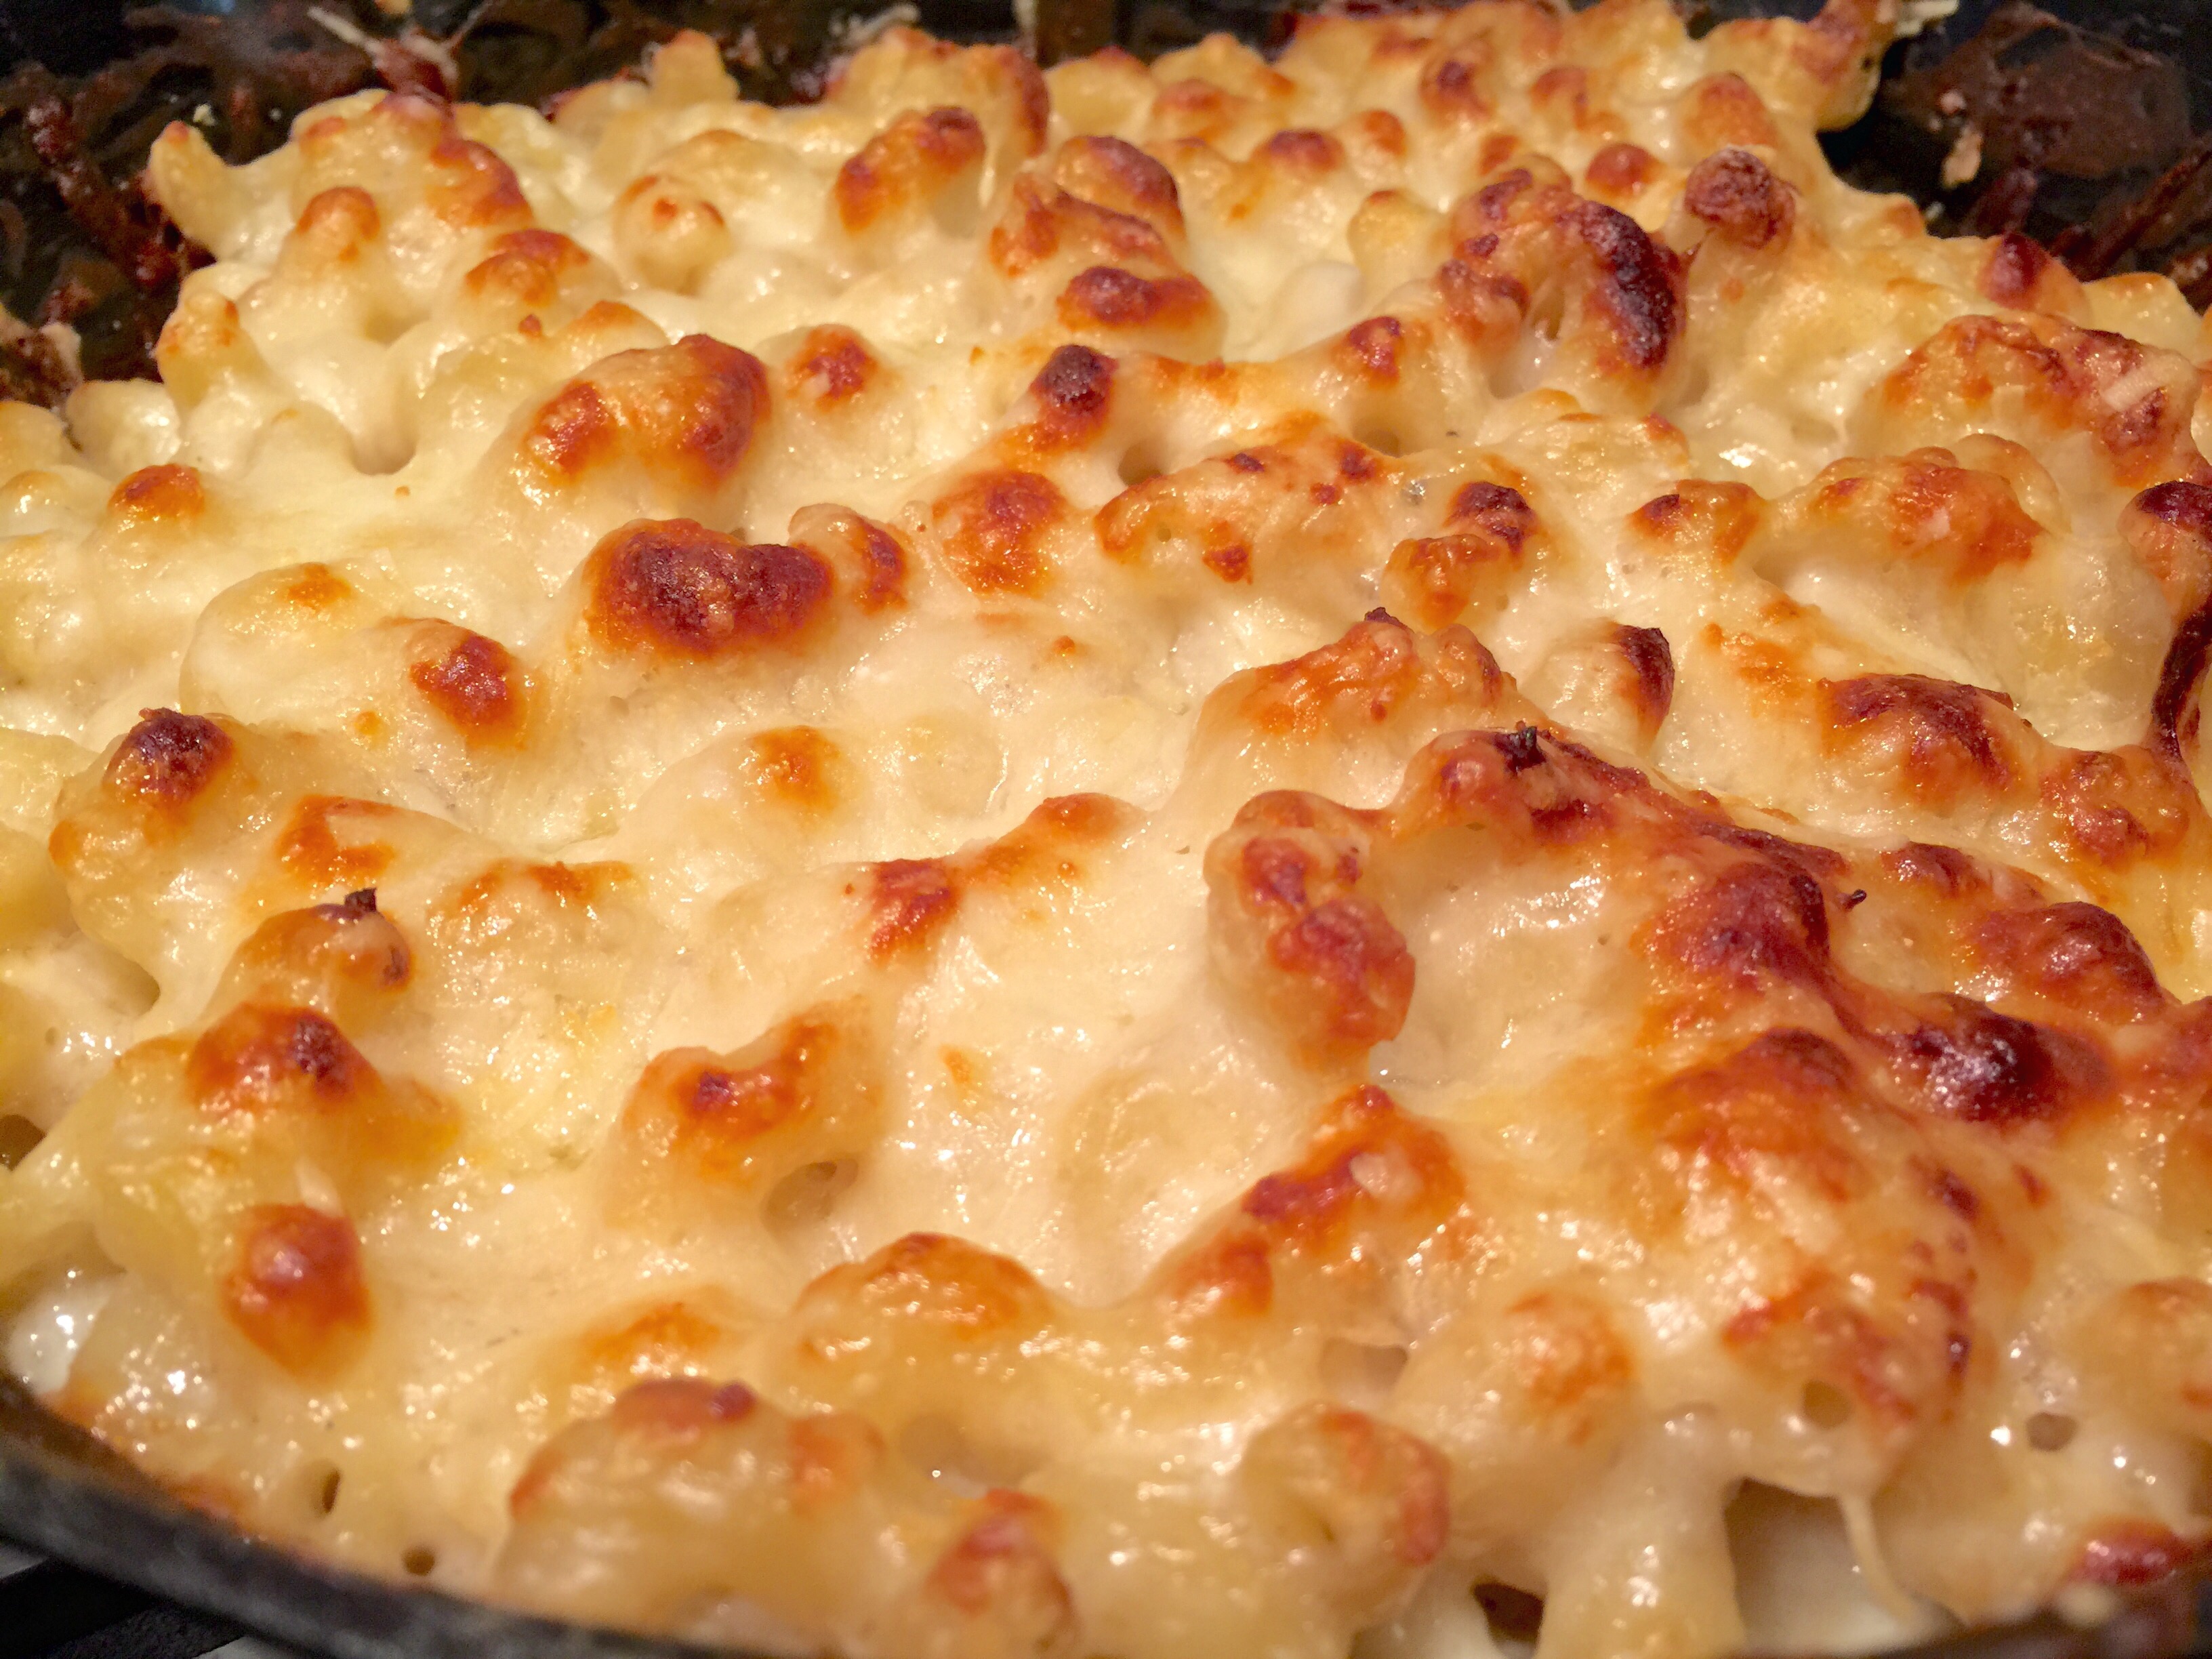
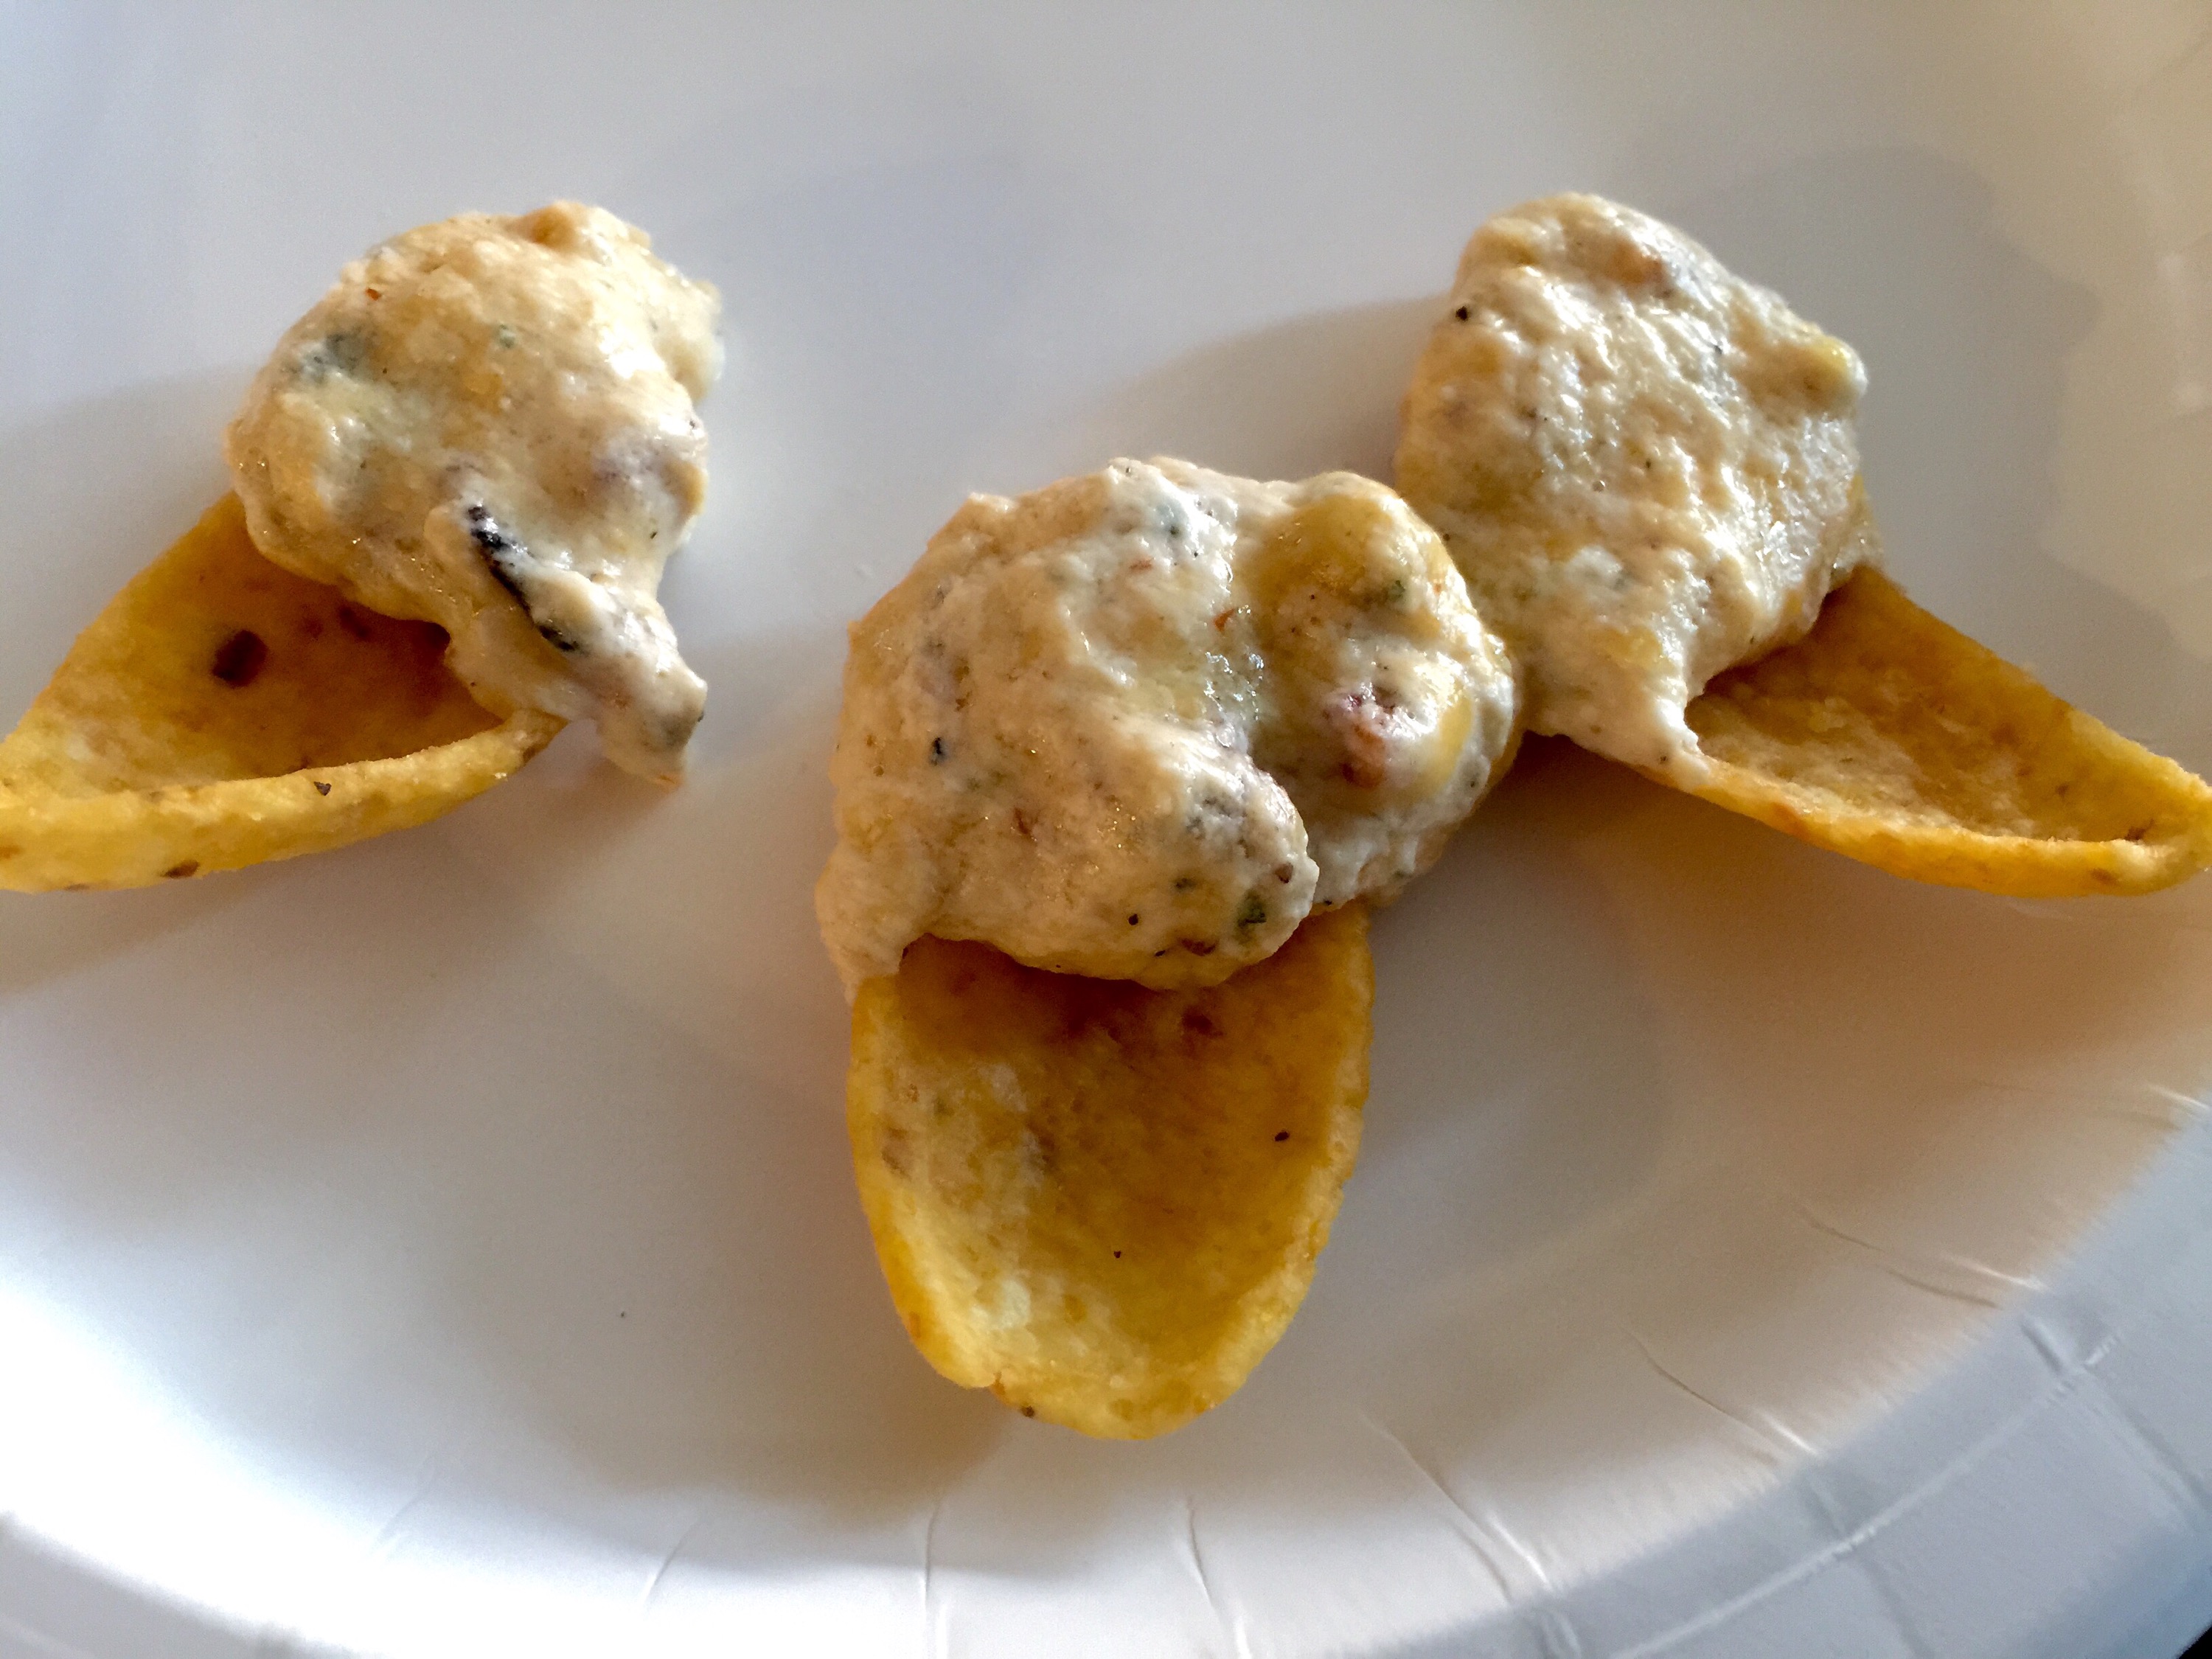
This is pretty much the best thing that comes out of my oven.
tl;dr
Skillet mac and cheese
IngredientsPart 1
- 1 tbsp butter
- 1 tbsp all-purpose flour
- 1 cup milk
- 1.5 cups grated gruyère
- 1.5 cups grated mozzarella
Part 2
- 8oz pasta (cooked al dente)
- 1 cup grated gruyère
- 1 cup grated mozzarella
- 1 cup grated asiago
Directions
Preheat oven to 350 degrees F. Cook pasta and set aside. Preheat skillet to medium heat and add the tablespoon of butter. Add flour and whisk constantly for 90 seconds. Remove from heat and continue whisking until roux is blond. Slowly incorporate milk into roux over low heat and whisk for 5 minutes, until thickened. Whisk in alternating handfuls of gruyère and mozzarella, salt and pepper to taste. Fold cooked pasta into cheese sauce. Toss together gruyère, mozzarella, and asiago and spread evenly over top. Bake for 25 minutes or until top is golden brown.
See also

sorry gtg can’t write any more, mac and cheese is ready