 Rico’s Hacienda is not the type of place you fly all the way to Texas to visit, but it does make for a solid dinner choice. The menu offers a good variety of authentic Mexican dishes to choose from, and the food itself is decent but perhaps a bit unremarkable.
Braving air travel during the holidays is not my very favorite thing in the world to do. Call me crazy, but being herded through mazes of security ropes while people take blurry X-ray photographs of me in my underpants is just not my cup of tea. Follow that up with several hours of being confined in a straight jacket cleverly disguised as an economy class airplane seat, and you have a perfect storm of misery on your hands. The one thing that makes this ordeal worthwhile for me is looking forward to the abundance of amazing restaurants located in and around the destination – in this case, Houston.
” The real test of a Mexican restaurant is the quality of their refried beans “
The flight was joyful. Someone had thoughtfully stuffed the seat pocket in front of me with about a thousand used snot rags, and it made a very nice cushion for my knees. After touching down in Houston, we waited a perfectly reasonable 35 minutes on the tarmac while we enjoyed the fragrance of jet fuel. We were then treated to a delightful half hour of relaxation at the baggage carousel, and by that time I was ready for murder. I mean hugs. I was ready to give hugs. Trying to think happy thoughts here.
My wife and I finally met up with the car load of relatives that had come to collect us from the airport, and as we fled the mayhem we discussed our collective dinner plans. Our primary focus was agreeing on a place that wouldn’t be too crowded on a Saturday night, and if they happened to serve decent food, that was a nice bonus. Appropriately, we settled on Rico’s Hacienda in The Woodlands.
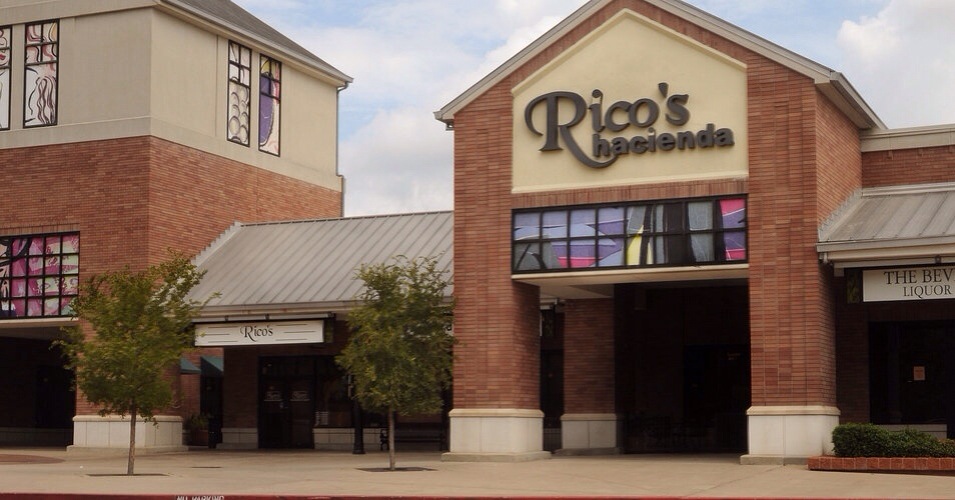
I’m not sure what a hacienda actually is, but I don’t think this is one.
Rico’s was exactly as I remembered it from the last time we’d been: Bustling, festive, and dimly lit. The whole place oozes with (relatively) authentic Mexican flair. We were seated immediately and served piping hot chips with fresh salsa. So far so good. Our competent and mostly prompt waiter visited shortly afterwards and took our drink and meal orders: Skillet queso, grilled tilapia, a couple orders of beef fajitas with bacon-wrapped shrimp, and an enchilada plate.
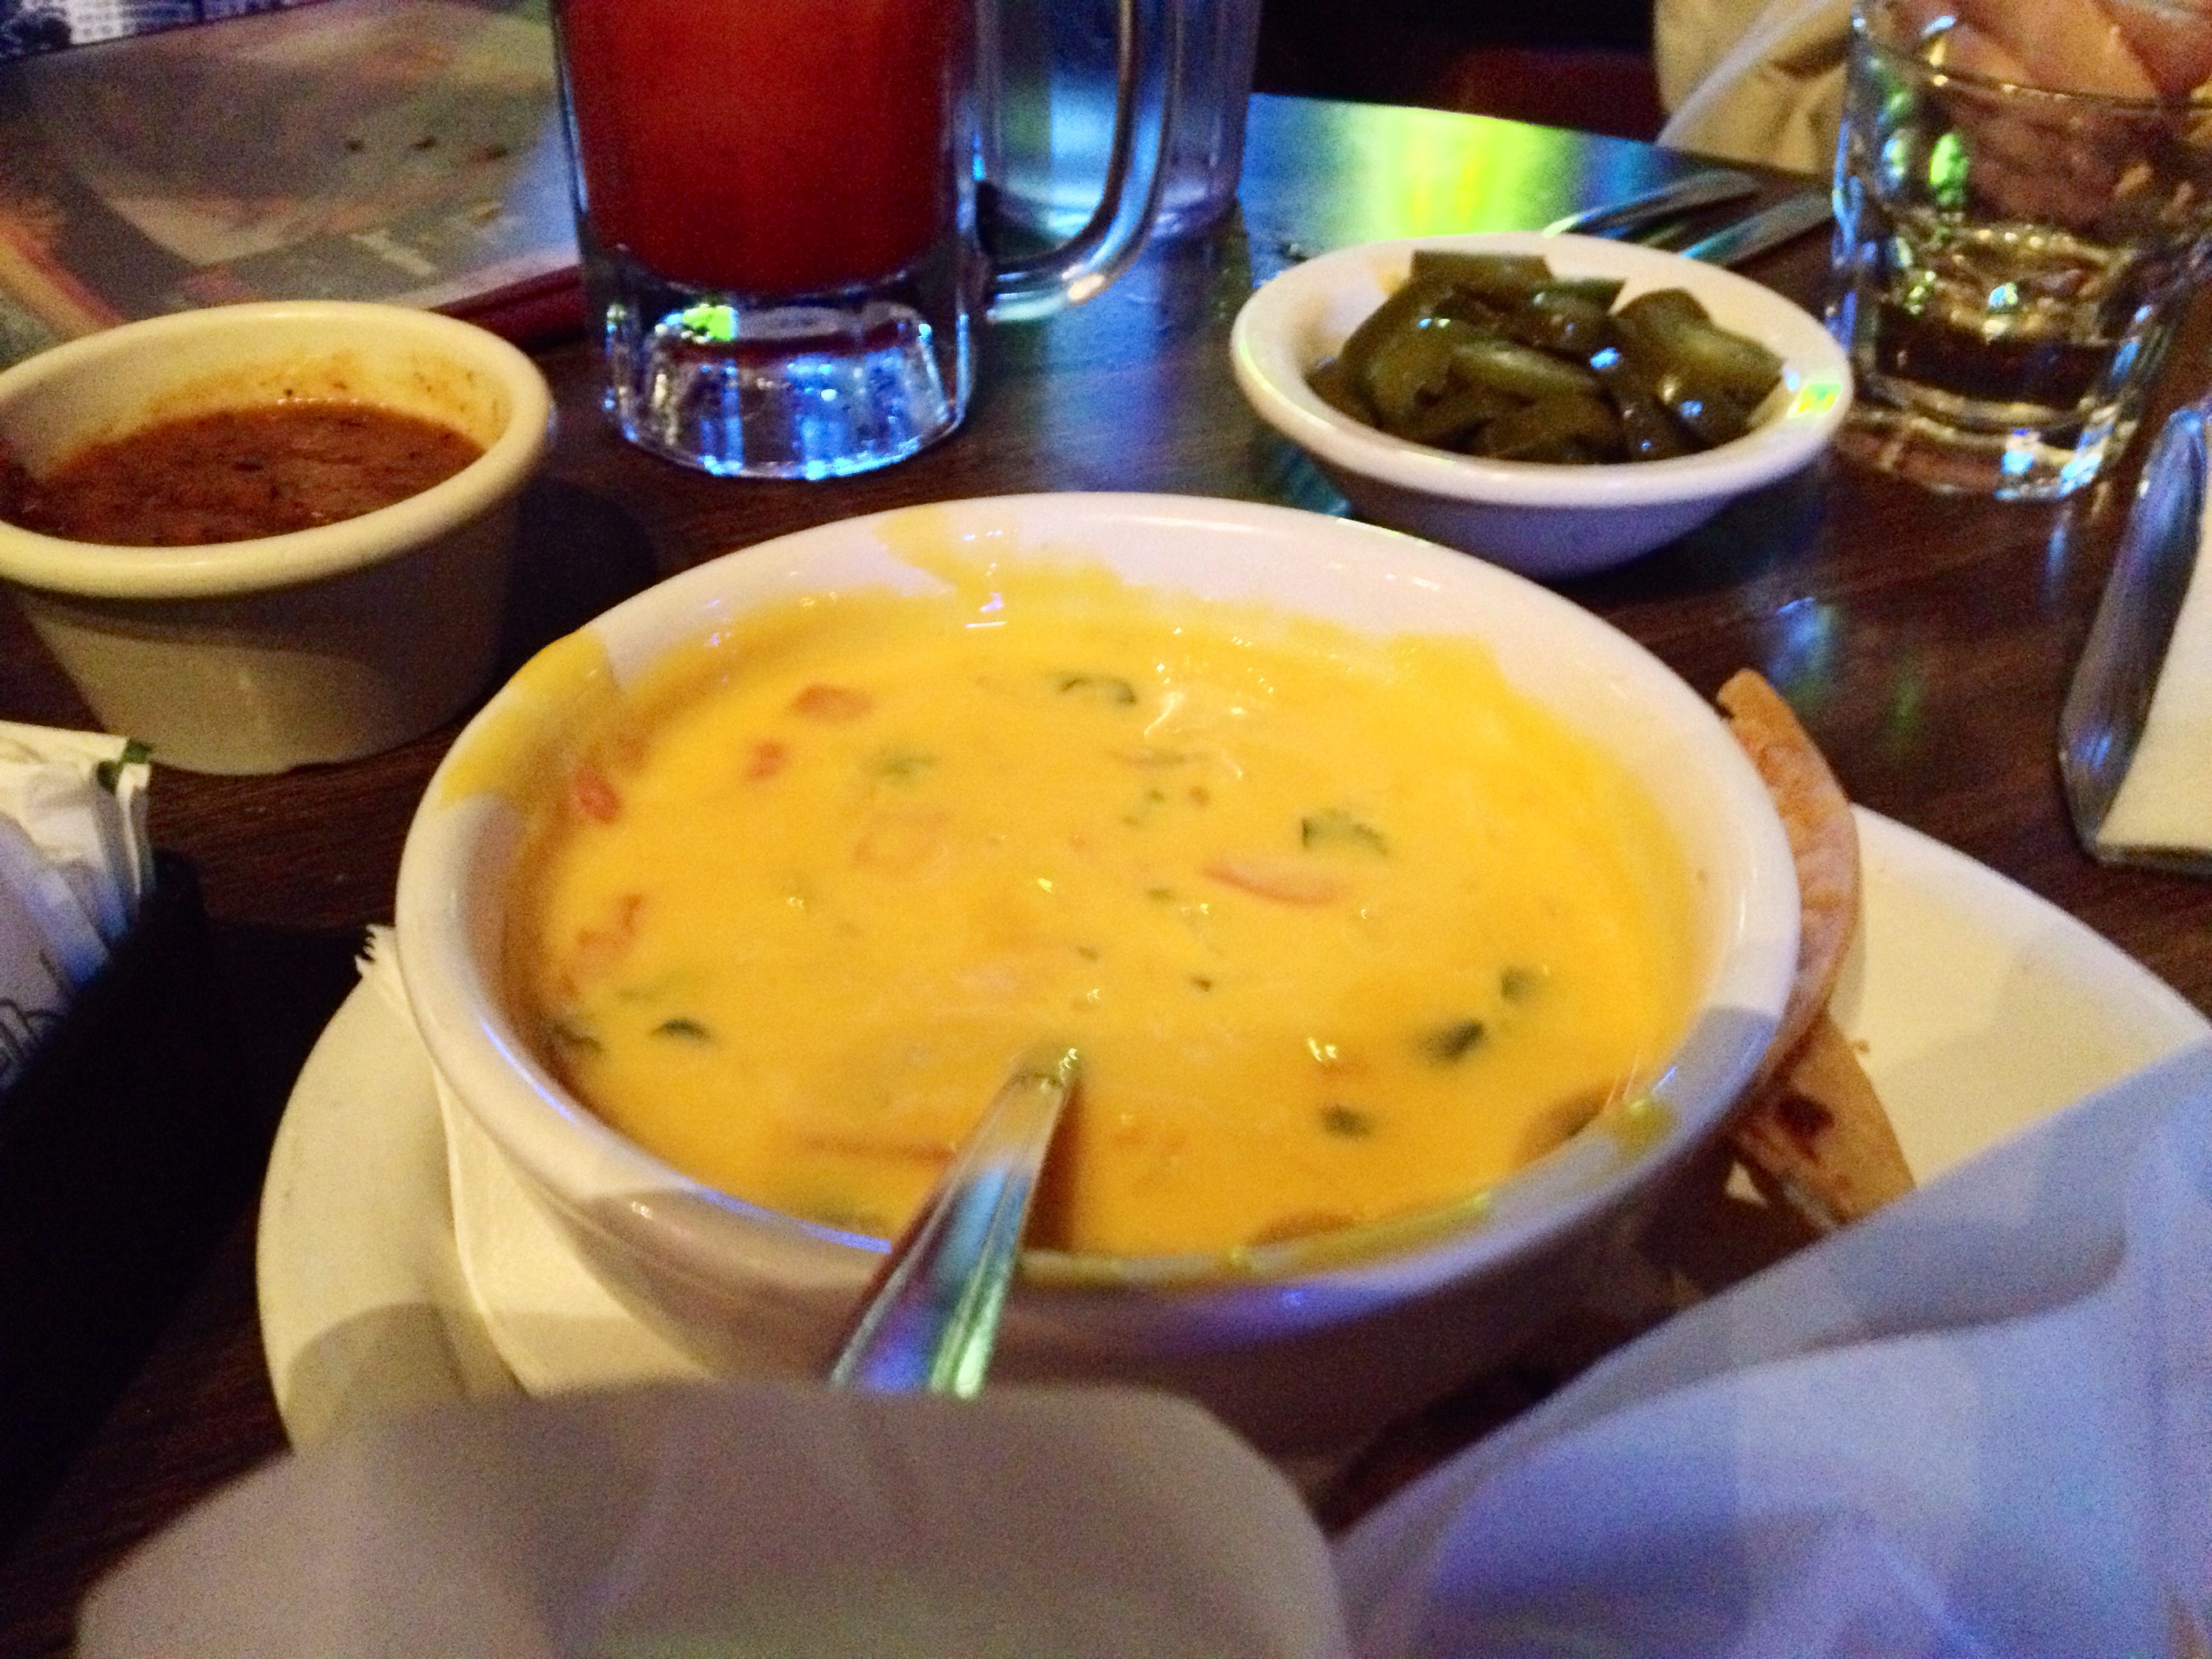
Queso is just better in Texas. I have no idea why.
Our food arrived after a short wait, and in no time flat our table was jam packed with plates, bowls, and mugs of frozen margaritas. Our waiter caught a mistake with my order before it even made it to the table, and in less than a minute the replacement was sitting in front of me. Bigtime kudos to the waitstaff for being on top of things.
The bacon wrapped shrimp were very flavorful but perhaps a bit dry, and it was the same story with the bed of beef fajitas they sat on. My enchiladas were ever so slightly on the plain side, but the beef was seasoned well, the rice was excellent, and everything was sizzling hot.
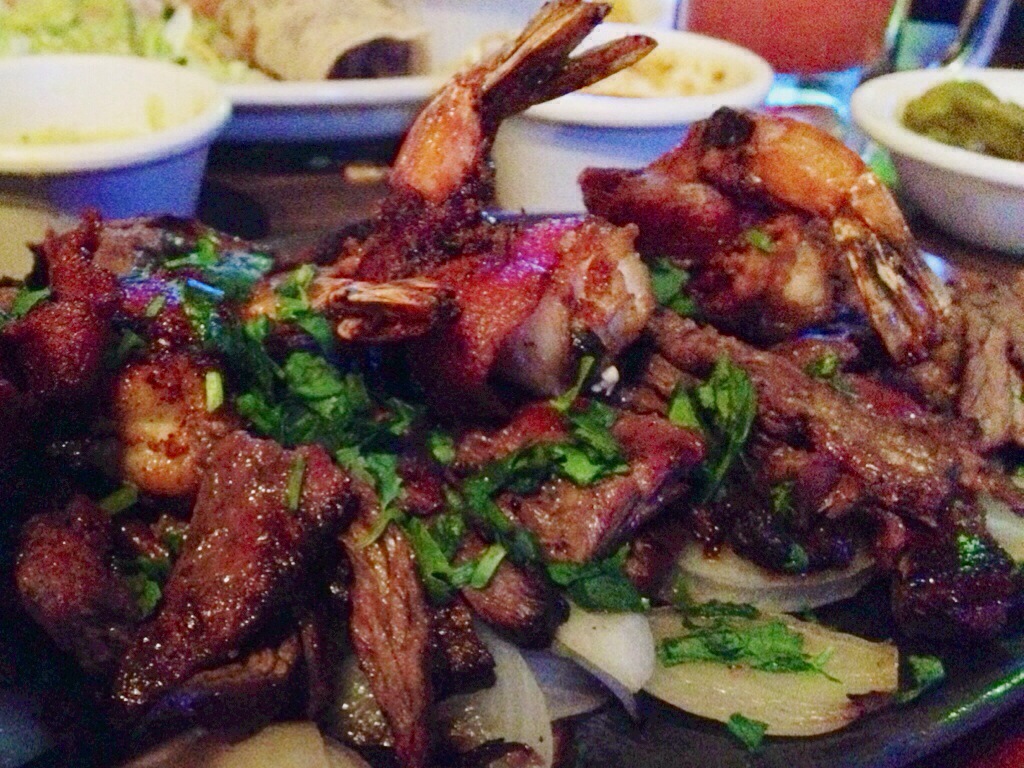
Traditional bacon-wrapped shrimp and fajitas. Whose tradition exactly is a mystery.
For me, the real test of a Mexican restaurant is the quality of their refried beans. Good beans don’t always equate to a good restaurant, but ill-prepared beans are the kiss of death as far as I’m concerned. Rico’s refried beans were just barely on the acceptable side of average, which is a shame. They did seem to be scratch made – a critical factor – but they were also lumpy and a bit bland. The beans weren’t meh enough to prevent me from coming back, but I wouldn’t exactly say that they passed with flying colors.
In the end, I like Rico’s Hacienda. I didn’t love absolutely everything about my most recent visit, but there were enough high points that I’d be happy to come back for another meal and a frosty margarita. My rating falls somewhere in the range of 3 out of 4 pounds of queso dip. If you’re looking for a decent, friendly restaurant that won’t be too crowded during peak hours, Rico’s is the place to be. If you want the very best Mexican food in the Houston area, there are probably better choices.
Rico’s Hacienda
8000 Research Forest Drive
The Woodlands, Texas 77382
(281) 465-4820
www.ricosgrill.com

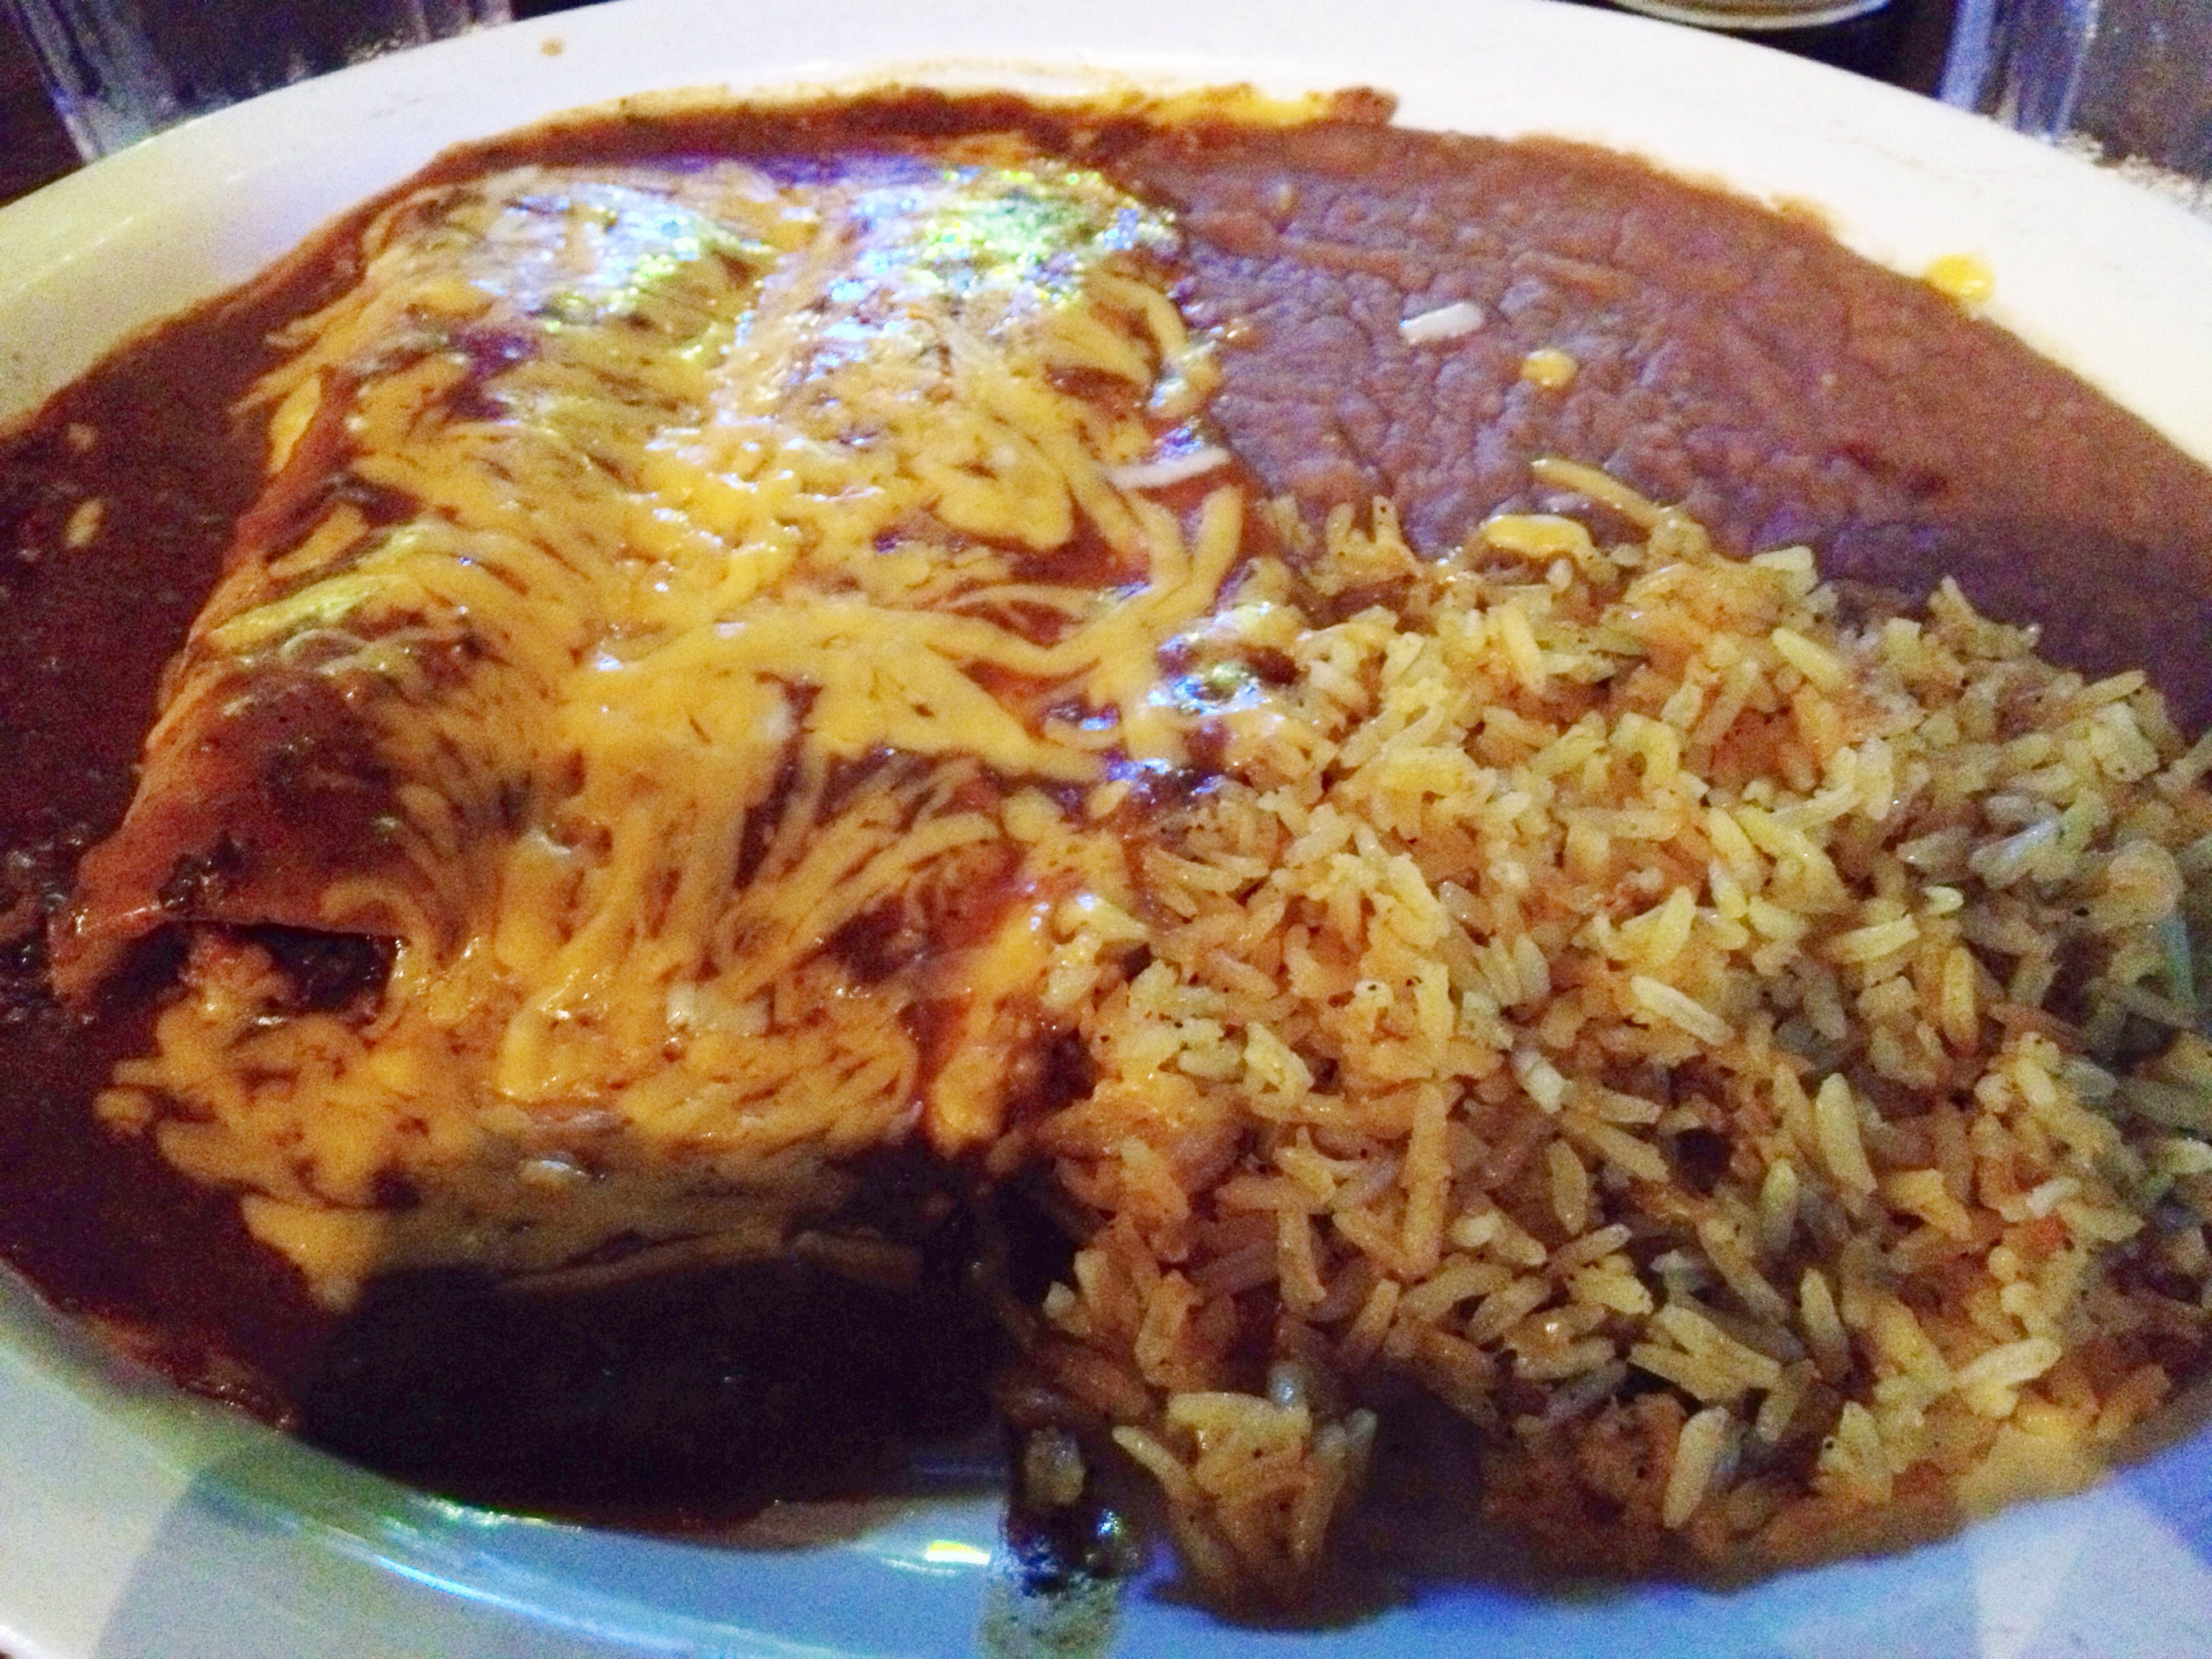
The holy grail of Mexican food: An enchilada platter.