 A friend recommended this Maui hotspot to me more than two years ago, and it’s taken me all this time to finally try it for myself. Frequent readers of my blog (my thanks and condolences to you all) know that I have a thing for sketchy food served on the side of the highway, so I’m sure you can imagine my excitement to visit this truck. In spite of nearly 800 days of anticipation, I was not disappointed in the slightest to experience Geste Shrimp for myself.
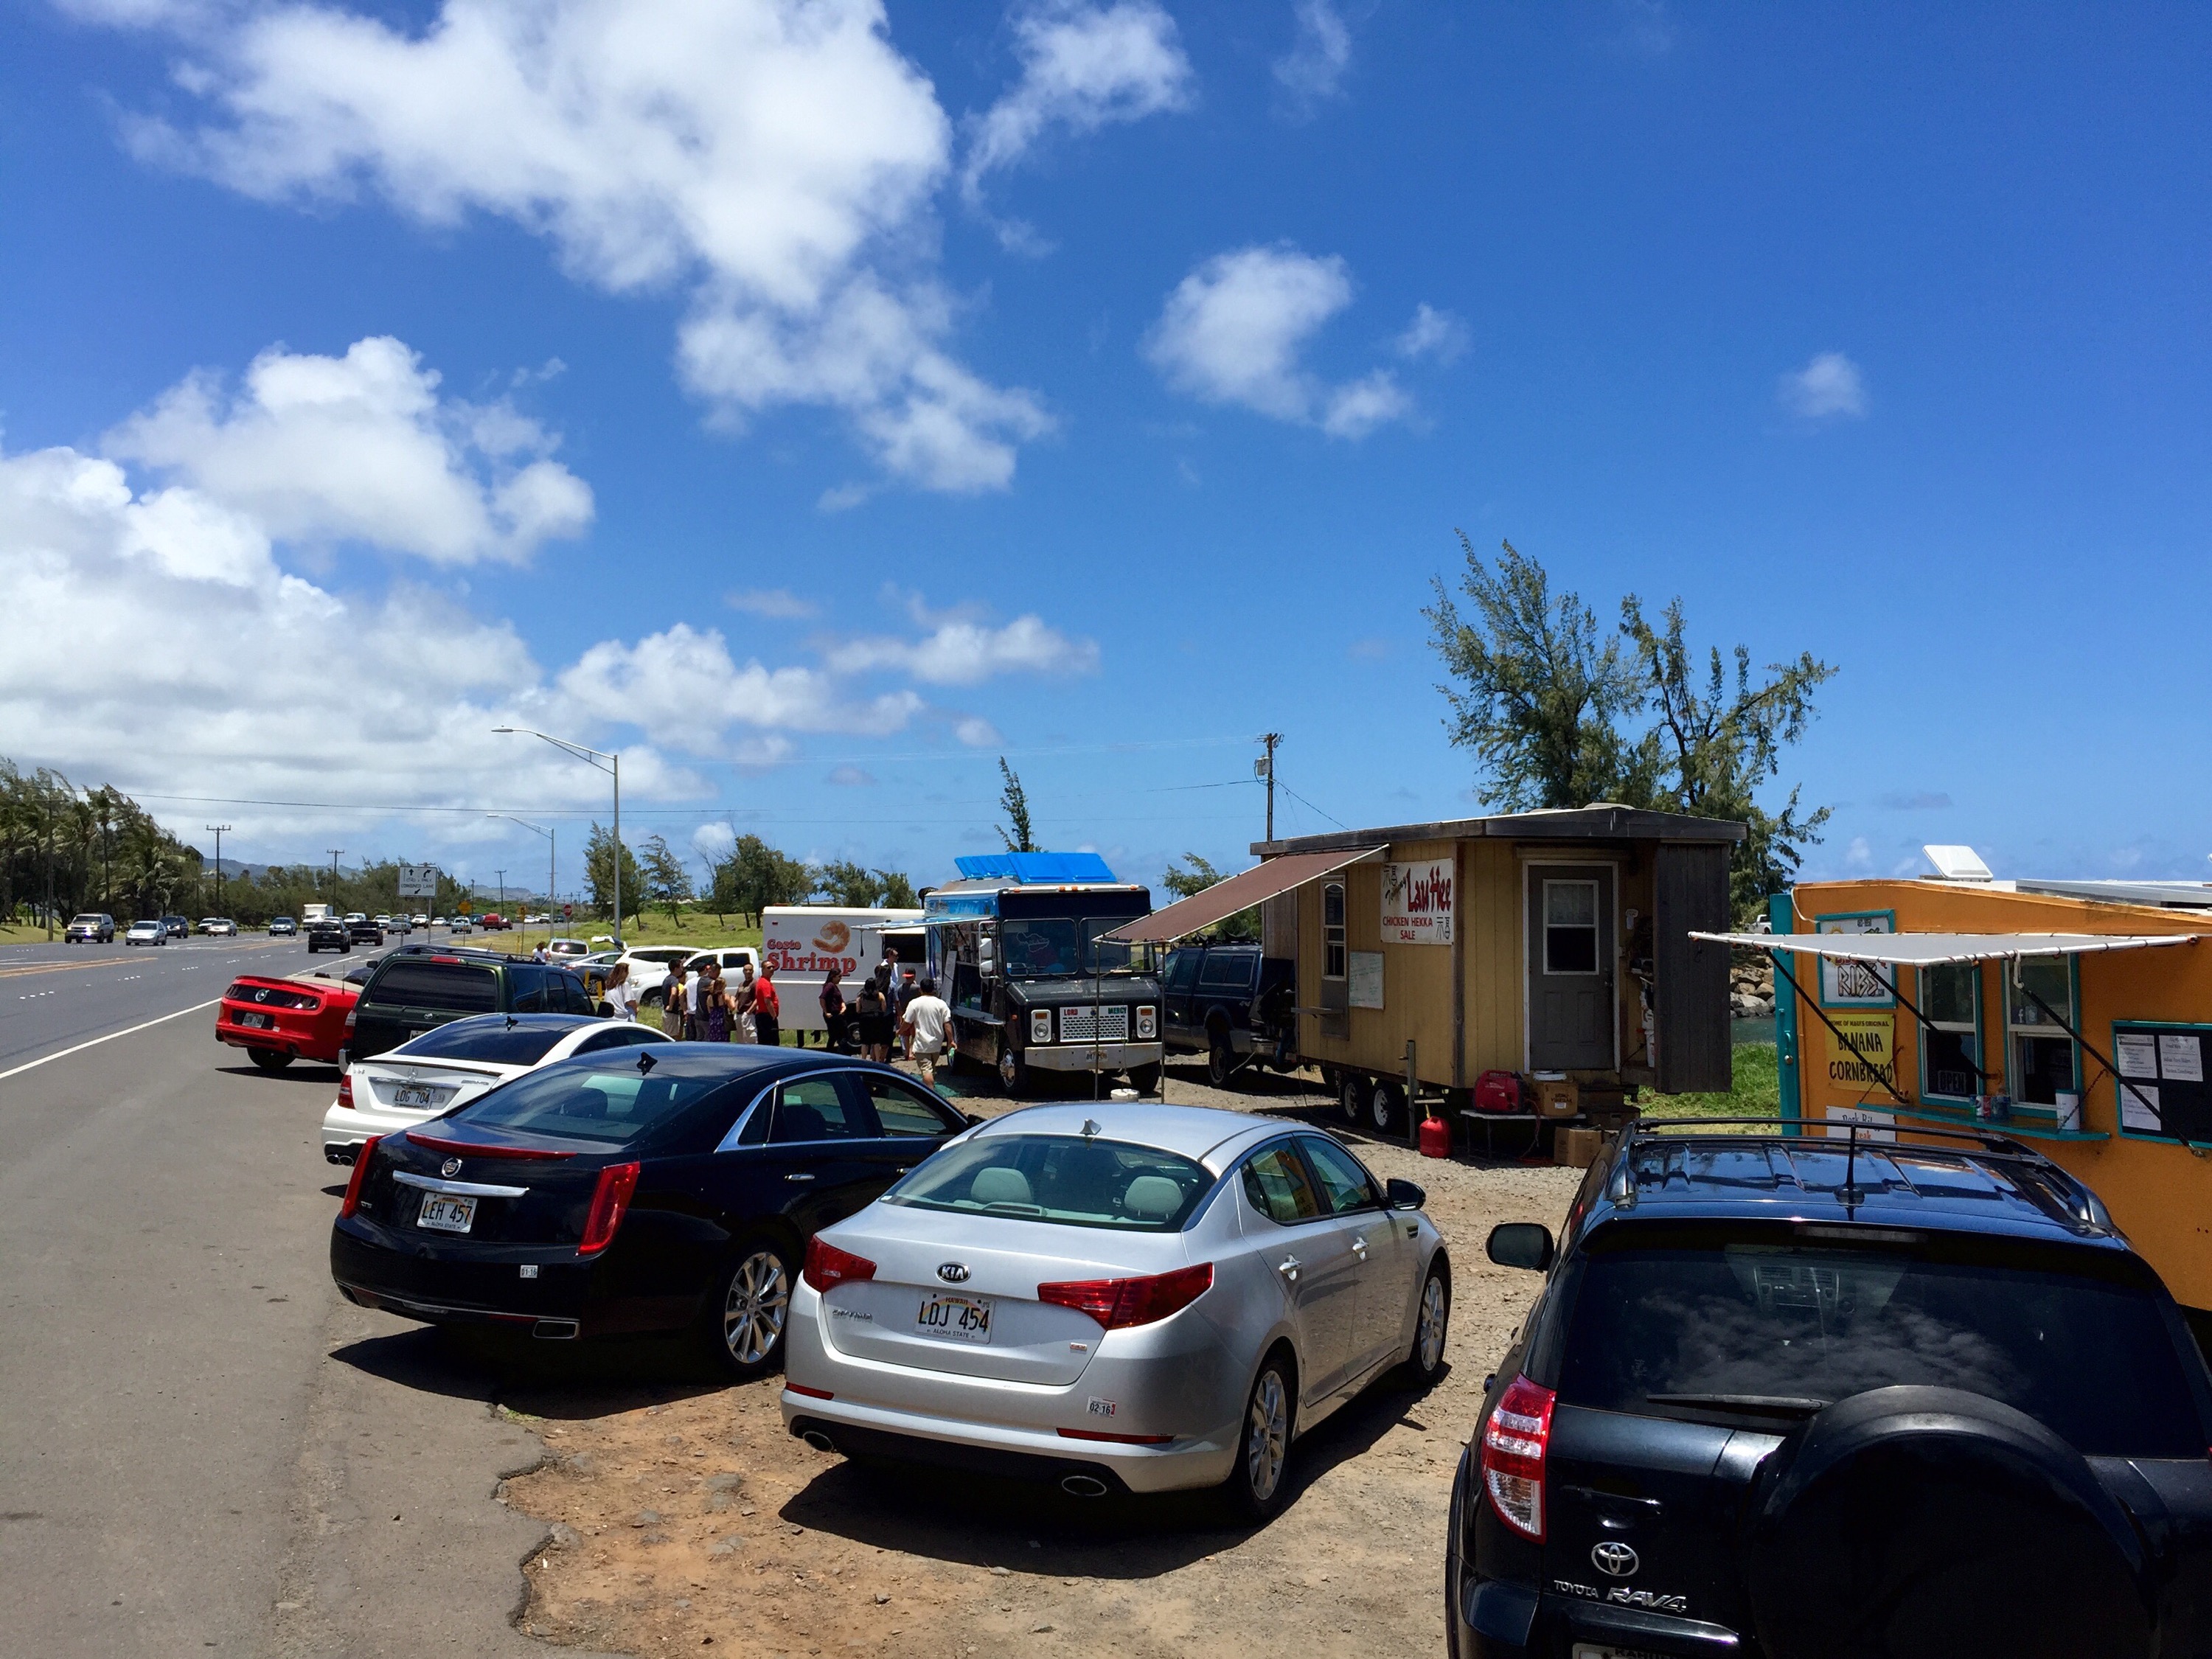
Food court, Maui style
” Our rental car was never going to smell the same again”
Within 45 minutes of touching down on the tarmac at Kahului Airport, my wife and I were on the backroads of Maui, headed straight towards Geste Shrimp. After a couple of wrong turns in the industrial part of town, we finally spotted a cluster of cars stopped on the side of the highway. We parked amidst half a dozen food trucks and trailers and looked for the one with all the people hanging around it. Yep, there was Geste. It sure wasn’t much to look at – nothing more than a drab white box with a window cut in the side of it – but that didn’t have much effect on our appetites. We headed over to that side of the dirt lot and got in line.
The menu at Geste Shrimp is short and mostly devoid of useful information. We decided on spicy pineapple shrimp and placed our order. The soft-spoken and patient cashier explained that we would need to wait for about twenty minutes, and we were ok with that. Everybody else seemed fine hanging around waiting and besides, we were on island time. Nobody gives a crap how long anything takes when they’re in Hawaii.
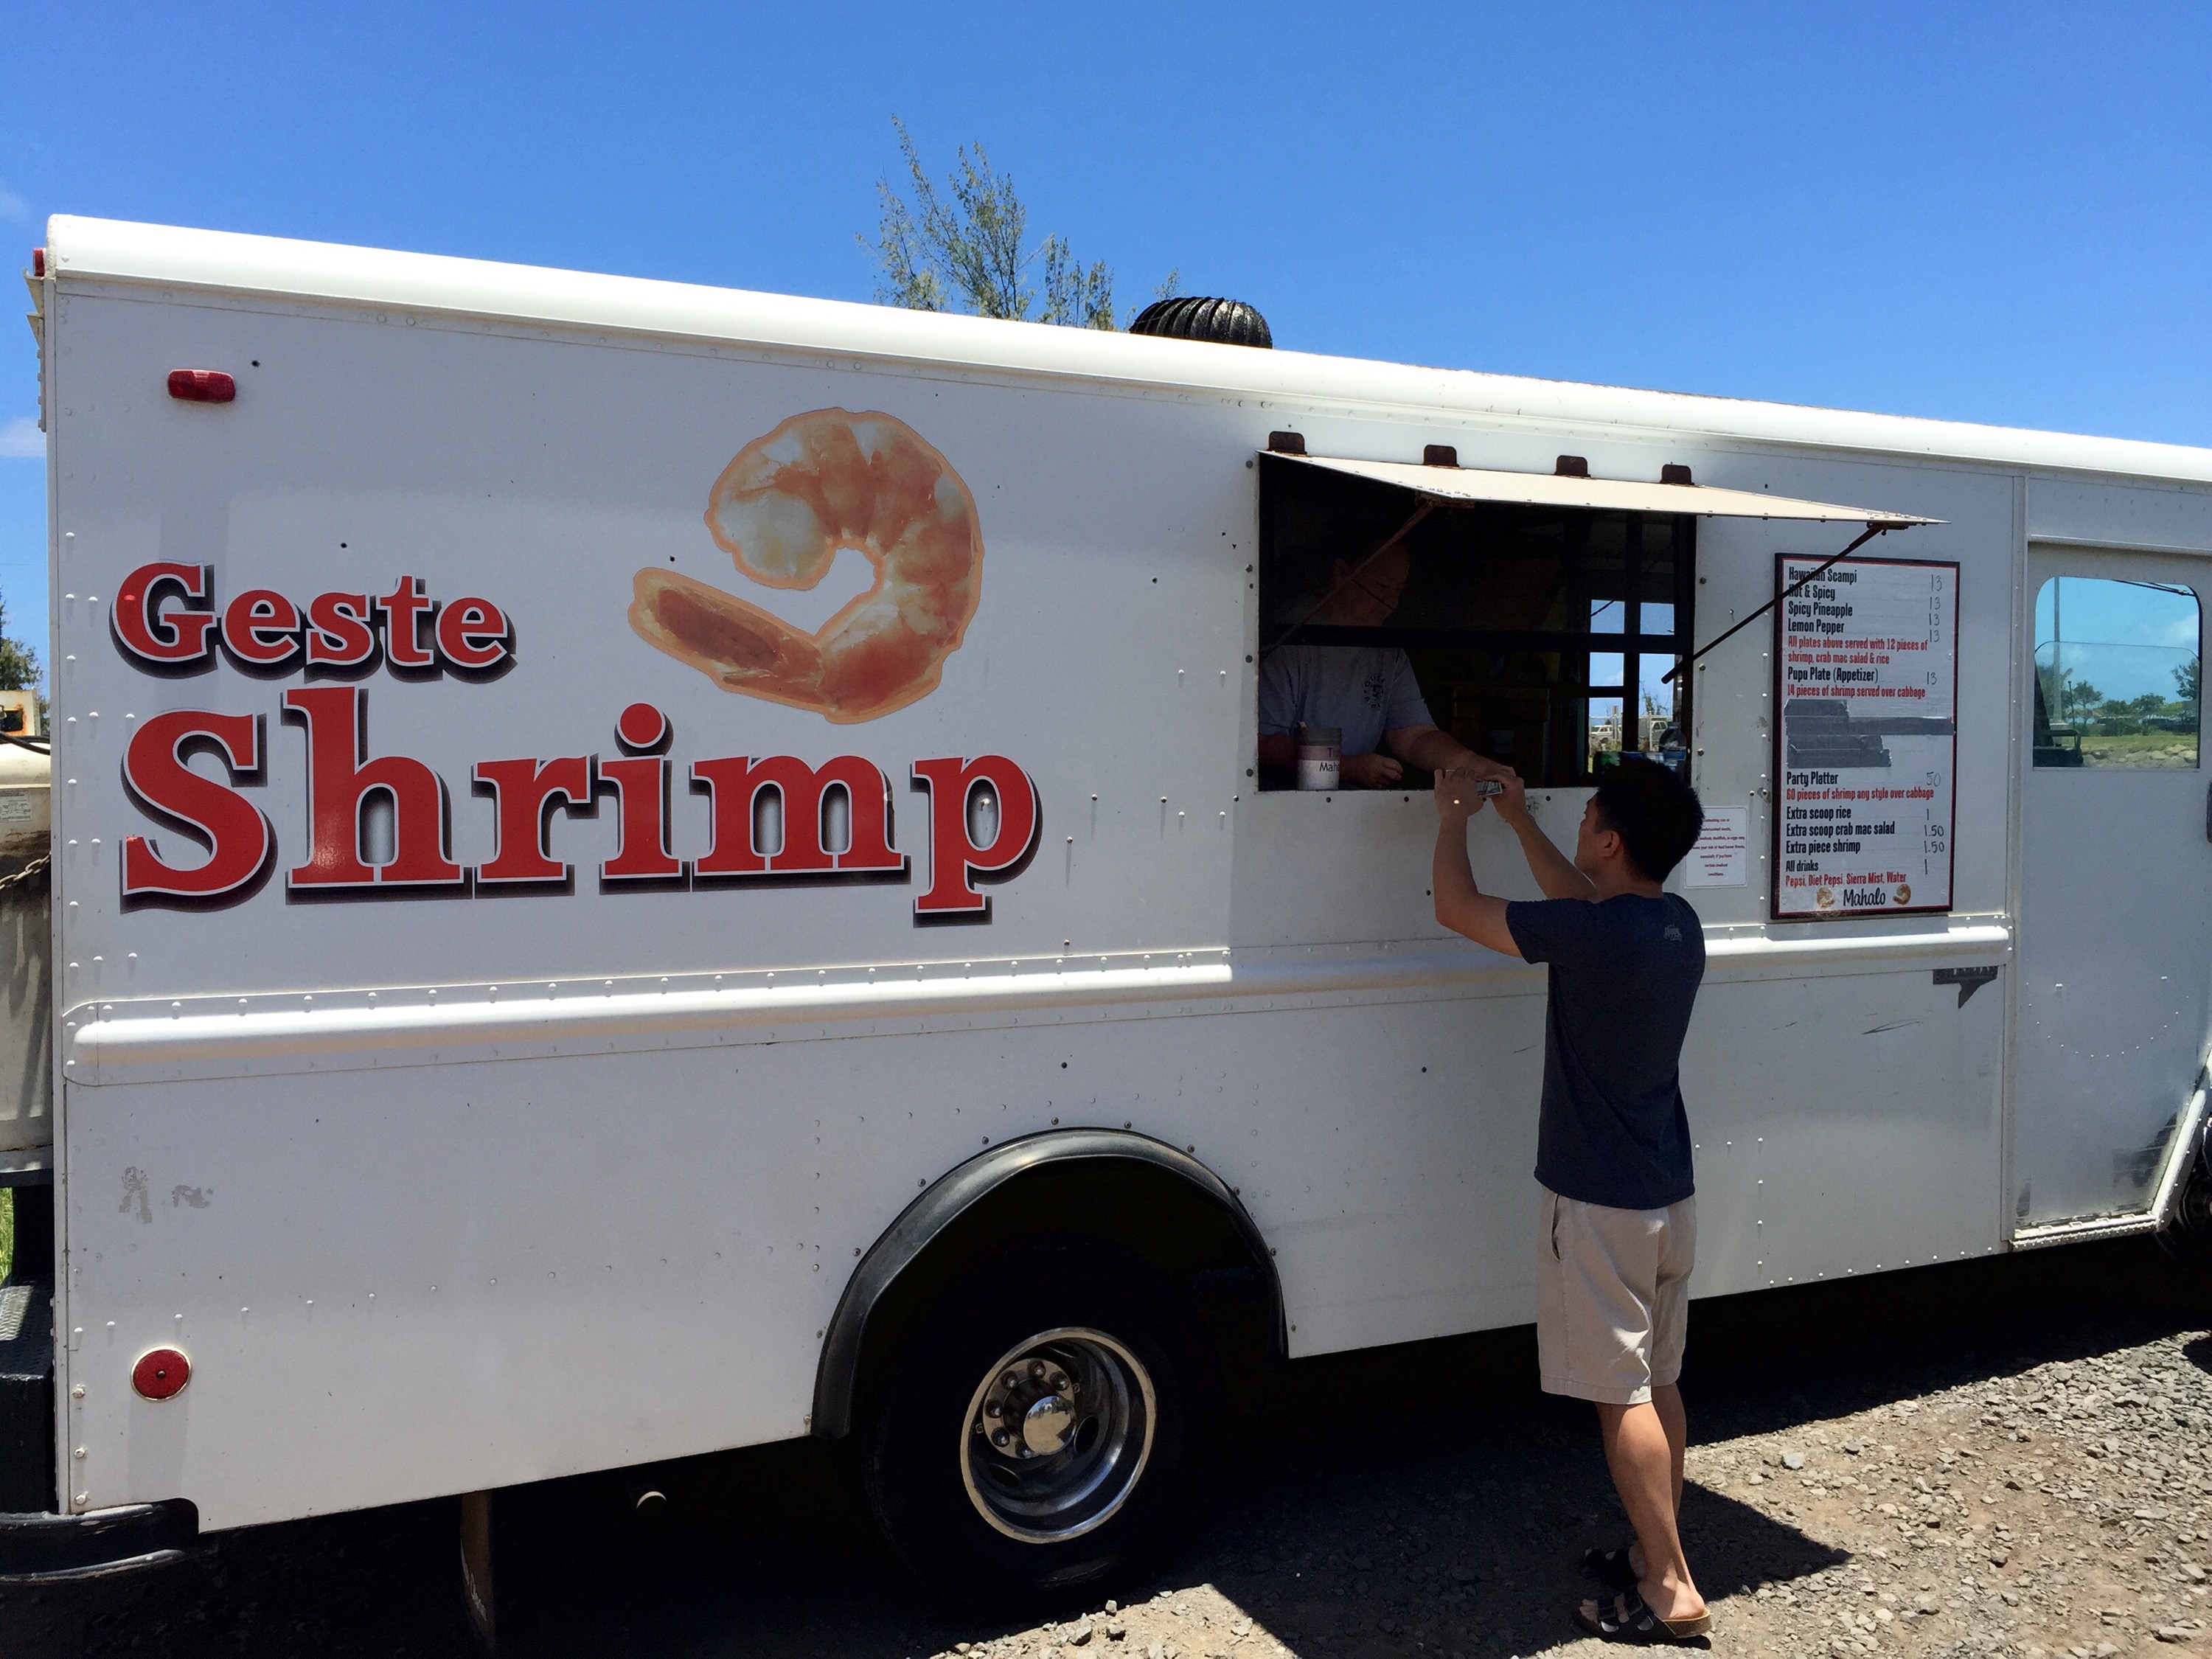
This is my kind of tourist attraction.
The wait was slightly annoying but bearable, and before long our order was called. The cashier handed me a Styrofoam container, two forks, and a HUGE stack of napkins through the dingy, cramped window. Shawn and I went back to the car, bemused at the enormous pile of dead trees we’d been given, and opened up the container.
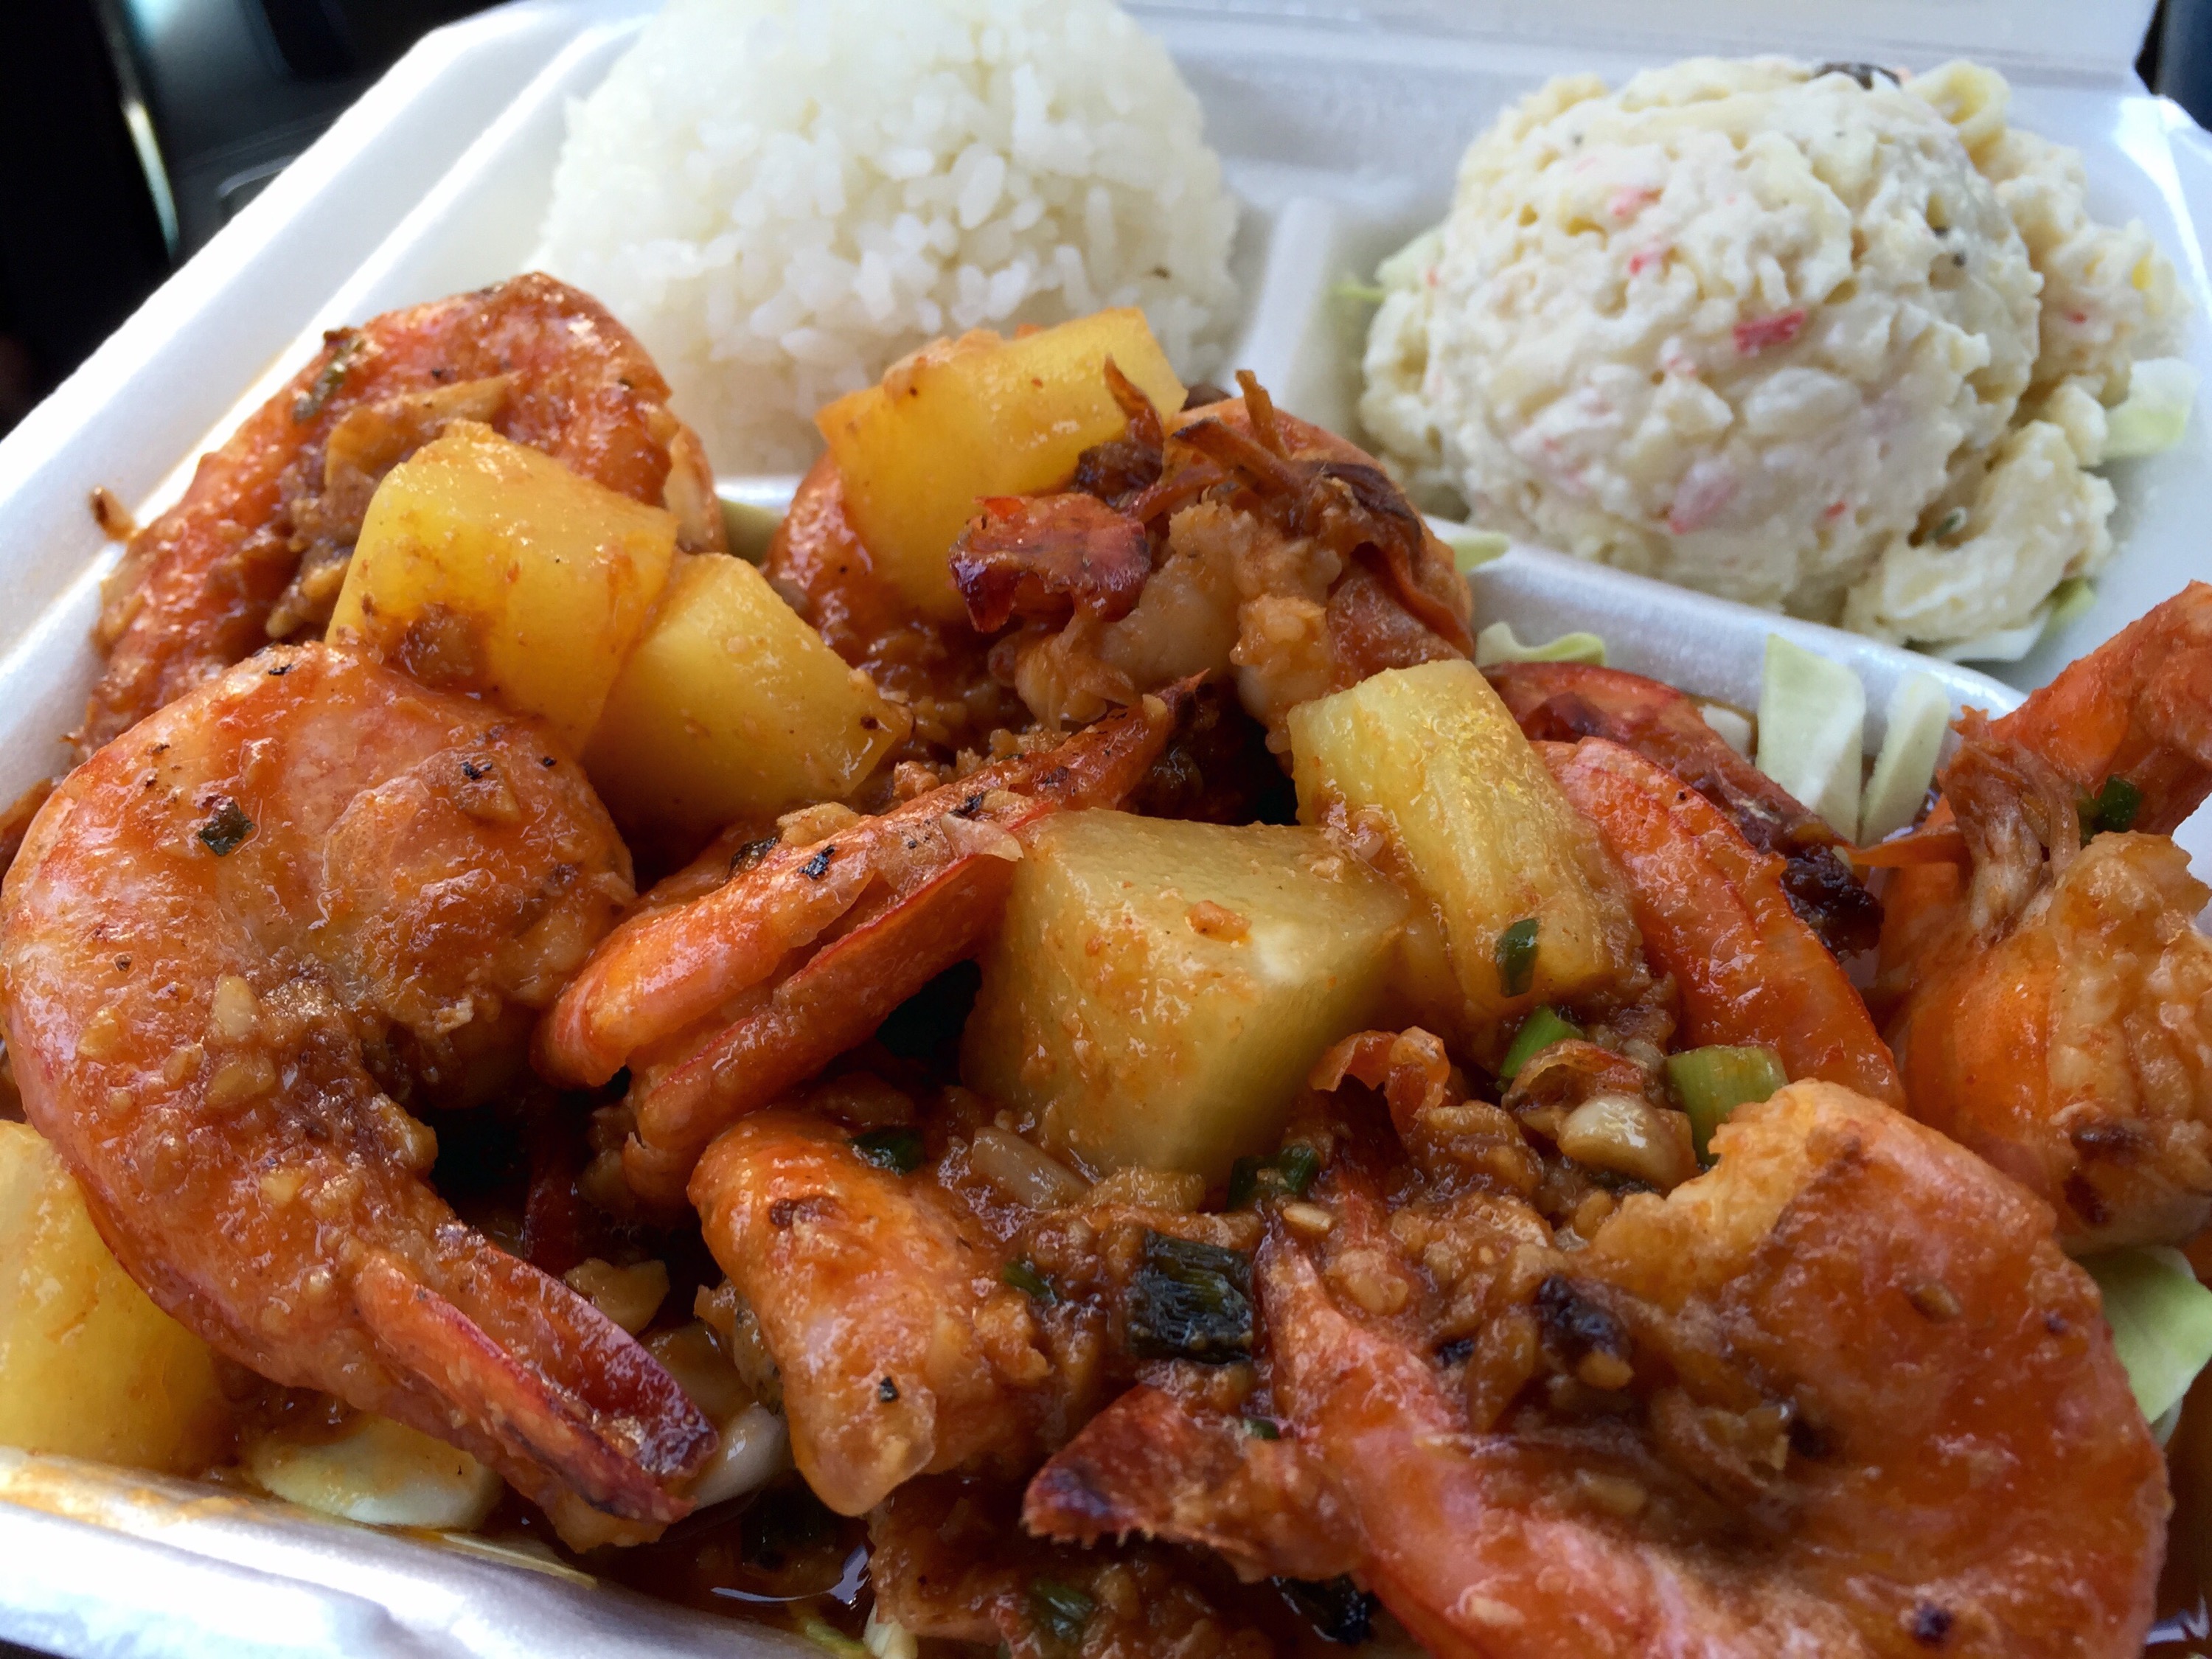
Three things were immediately apparent: 1) This was no typical food truck meal, 2) our rental car was never going to smell the same again, and 3) we were going to need a lot more napkins.
The generous helping of shrimp and pineapple chunks were absolutely swimming in an even more generous lake of wickedly seasoned butter. We plastered the car and our clothes with napkins, precariously perched the brimming food container on the center console, and started peeling shrimp.
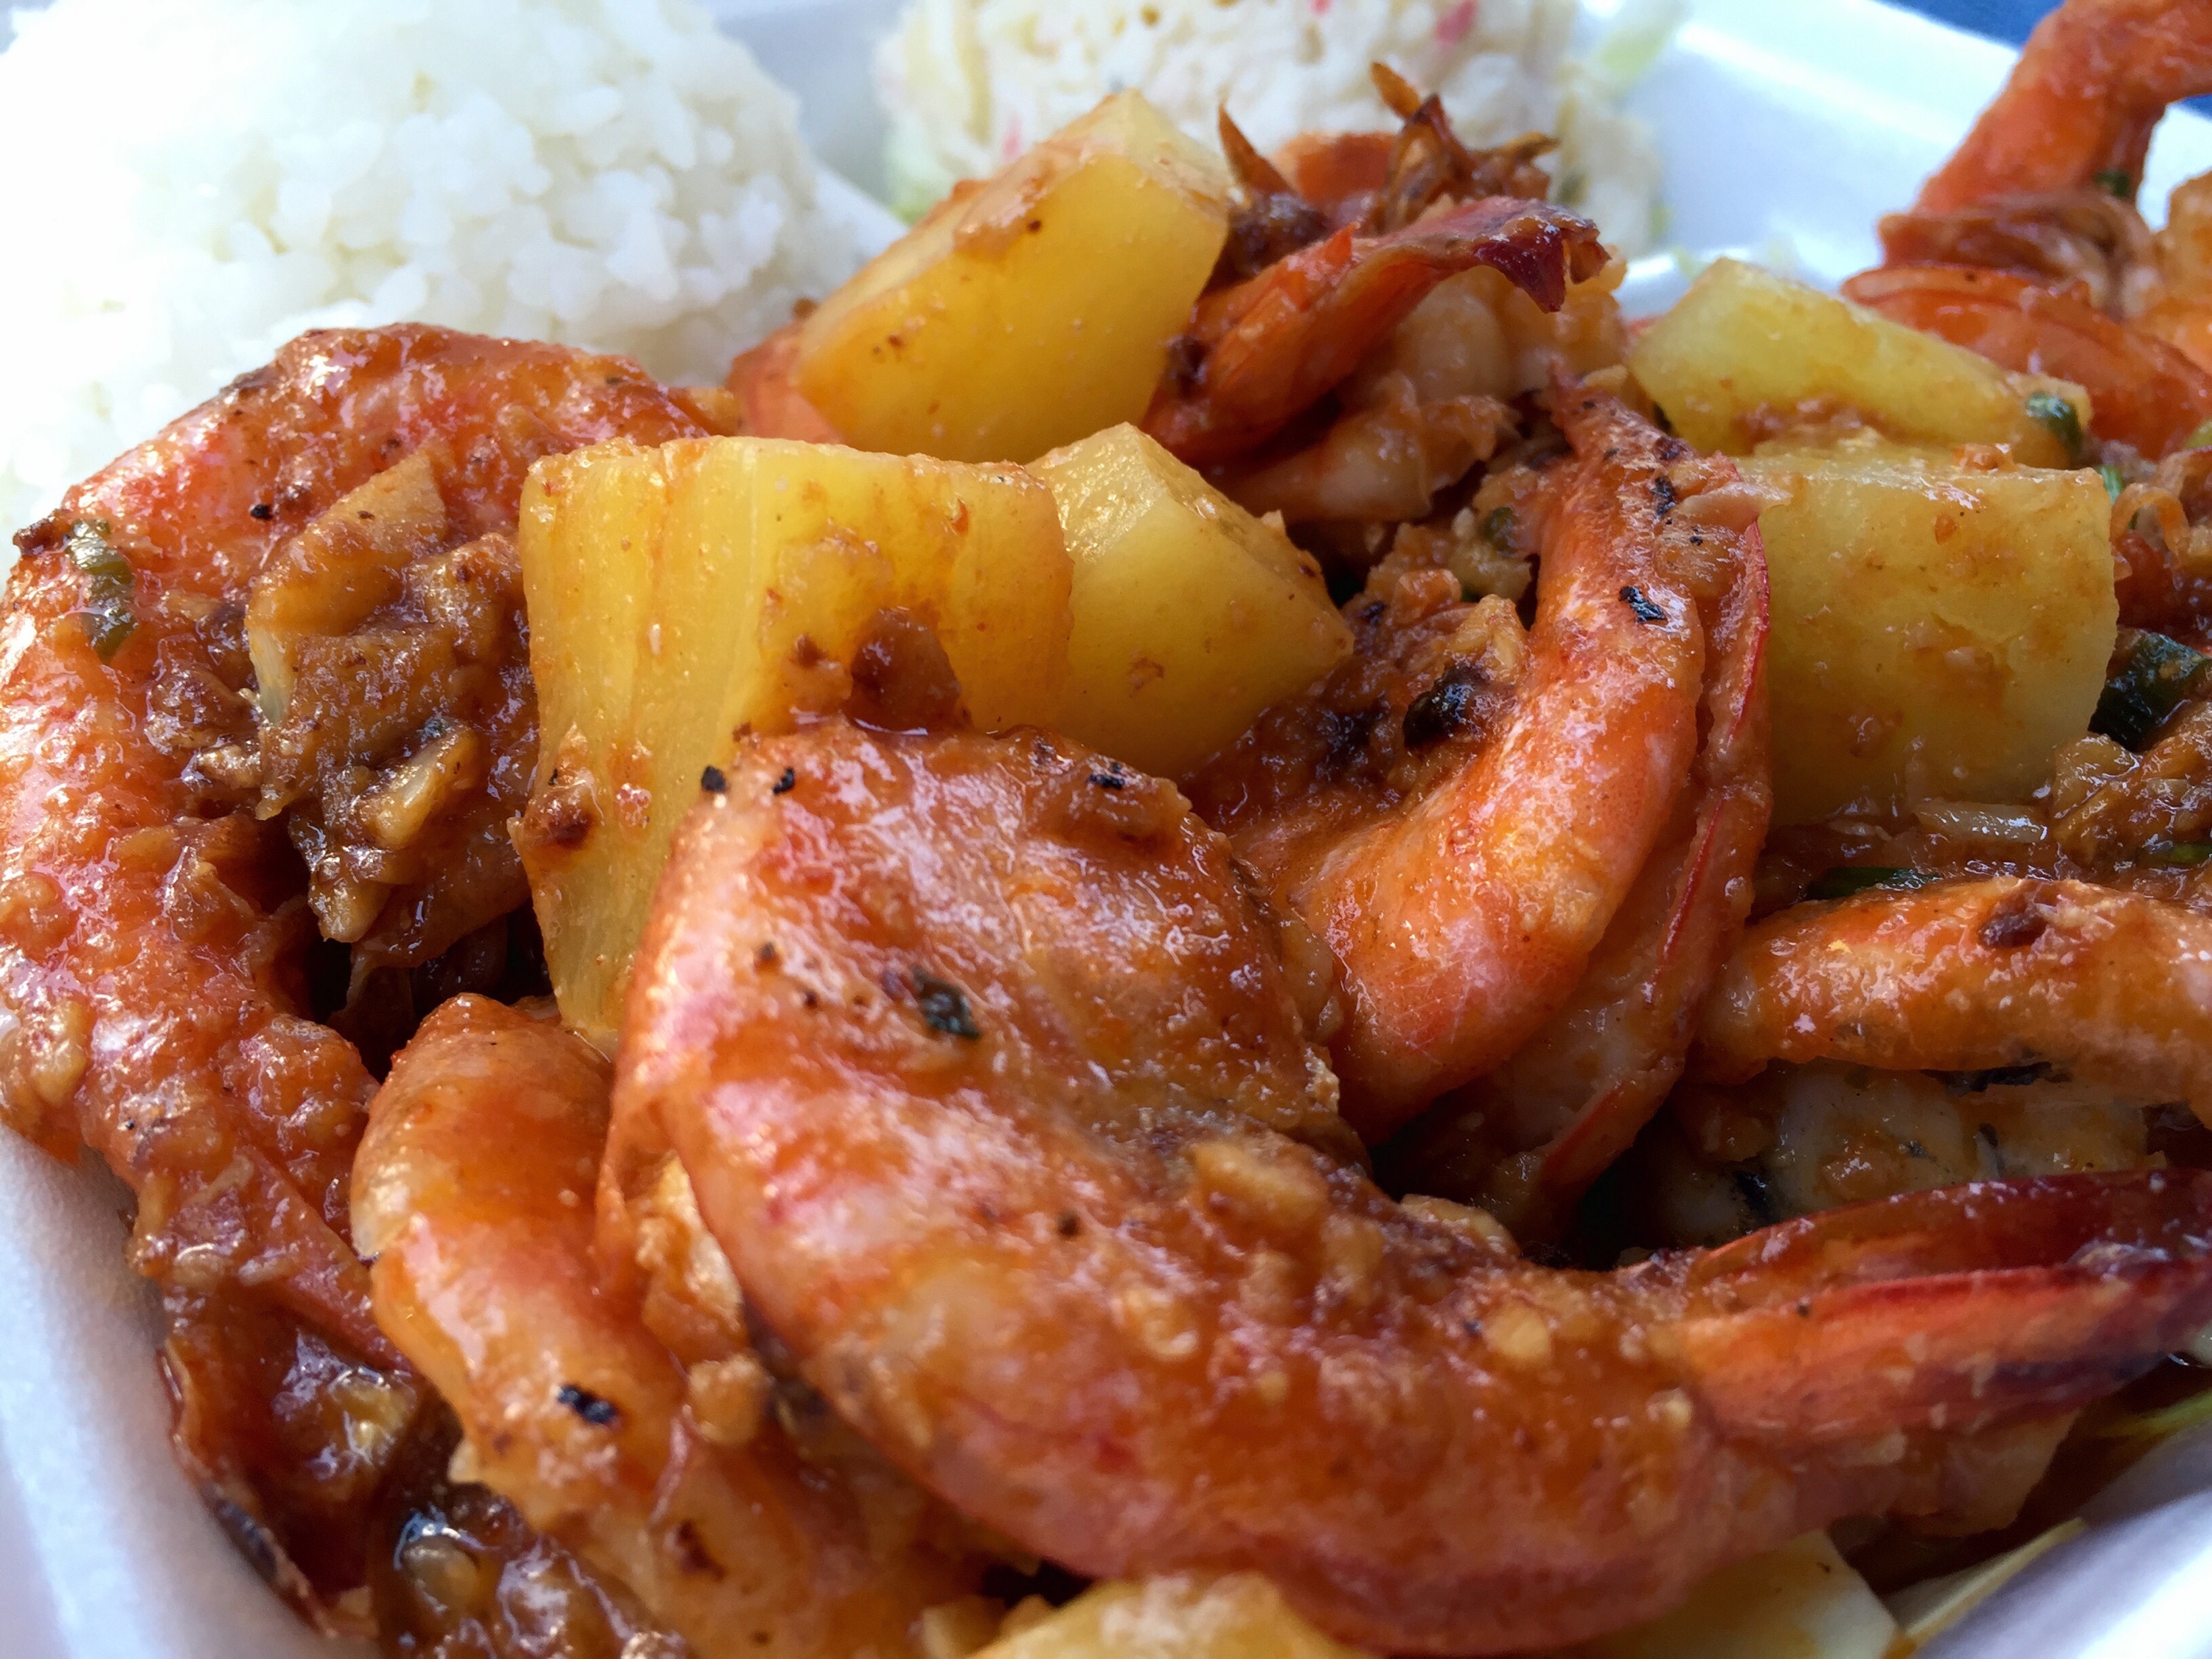
There is no way mere words can explain how good this tastes.
Oh. My. Goodness. That flavor.
Those were the most incredible peel-and-eat shrimp I have ever experienced in my life. I didn’t even bother complaining about my burnt fingers, I just kept peeling shrimp and stuffing them in my face. I looked up at Shawn and she was in the same boat as me – loving the amazing flavor of those shrimp but making a total mess of everything. The conversation over the next ten minutes went something like this:
“Oops.”
“What?”
“I got some butter on my clothes. Crap! Twice.”
“Here take another napk… Damn it, I dropped some in my lap.”
“We should have brought a Tide pen.”
“Yeah, we.. Ack! Don’t move. There goes a shrimp tail.”
“I’ll get it before it falls between the seats.”
“Too late.”
“I’m glad this isn’t our car.”
“No kidding.”
“I dropped some shell down there too.”
Fortunately for us, week-old garlicky seafood odor is not explicitly called out in Hertz rental contracts, otherwise we’d be purchasing a brand new interior for a Kia Optima. And that, boys and girls, is reason number 783 for not ever buying a used rental car. Randomly Edible, bringing you restaurant reviews, recipes, and automobile buying advice.
Just like that, Geste Shrimp made the number one spot on our tastiest-meals-of-the-trip list. It might be the very best shrimp dish of any kind I’ve ever had, and it was certainly the messiest. Everything was amazing about the meal, even the crab macaroni salad and the sticky rice. Twenty minutes was no time at all to wait – we would have been fine with twice that. Geste Shrimp earns a nearly perfect rating of 89 out of 90 lost shrimp tails, darn near worth the price of a plane ticket to Maui just to try their food. You will never experience shrimp like this anywhere else, and neither will the upholstery of your car.
| Pros + Best shrimp you may ever eat + You’re in Hawaii! |
Cons – MESSY – All other shrimp will seem terrible after this – Nowhere to sit and eat |
Geste Shrimp
Kahului Beach Road
Kahului, HI
(808) 298-7109
www.gesteshrimp.com
Best meal I’ve had in Hawaii by a long shot