This easy-to-make, satisfying recipe is one of my favorite party foods. It’s delicious, doesn’t mess up your whole kitchen, and requires no real planning ahead. It comes together as quickly as a box of brownies, and it’s far less likely to be duplicated by other party patrons. It’s also hearty enough to act as a makeshift dinner, should you find yourself starving to death amidst a forest of pretzels, chocolate-dipped strawberries, and inexpensive cheese cubes.
I was first introduced to this recipe some years ago by my wife. At the time I had assumed that, like her, Ro*Tel sausage dip heralded from Texas. Upon further research, however, I discovered that nobody really knows where the hell it comes from. I know where it’s going though, and that’s in my belly.
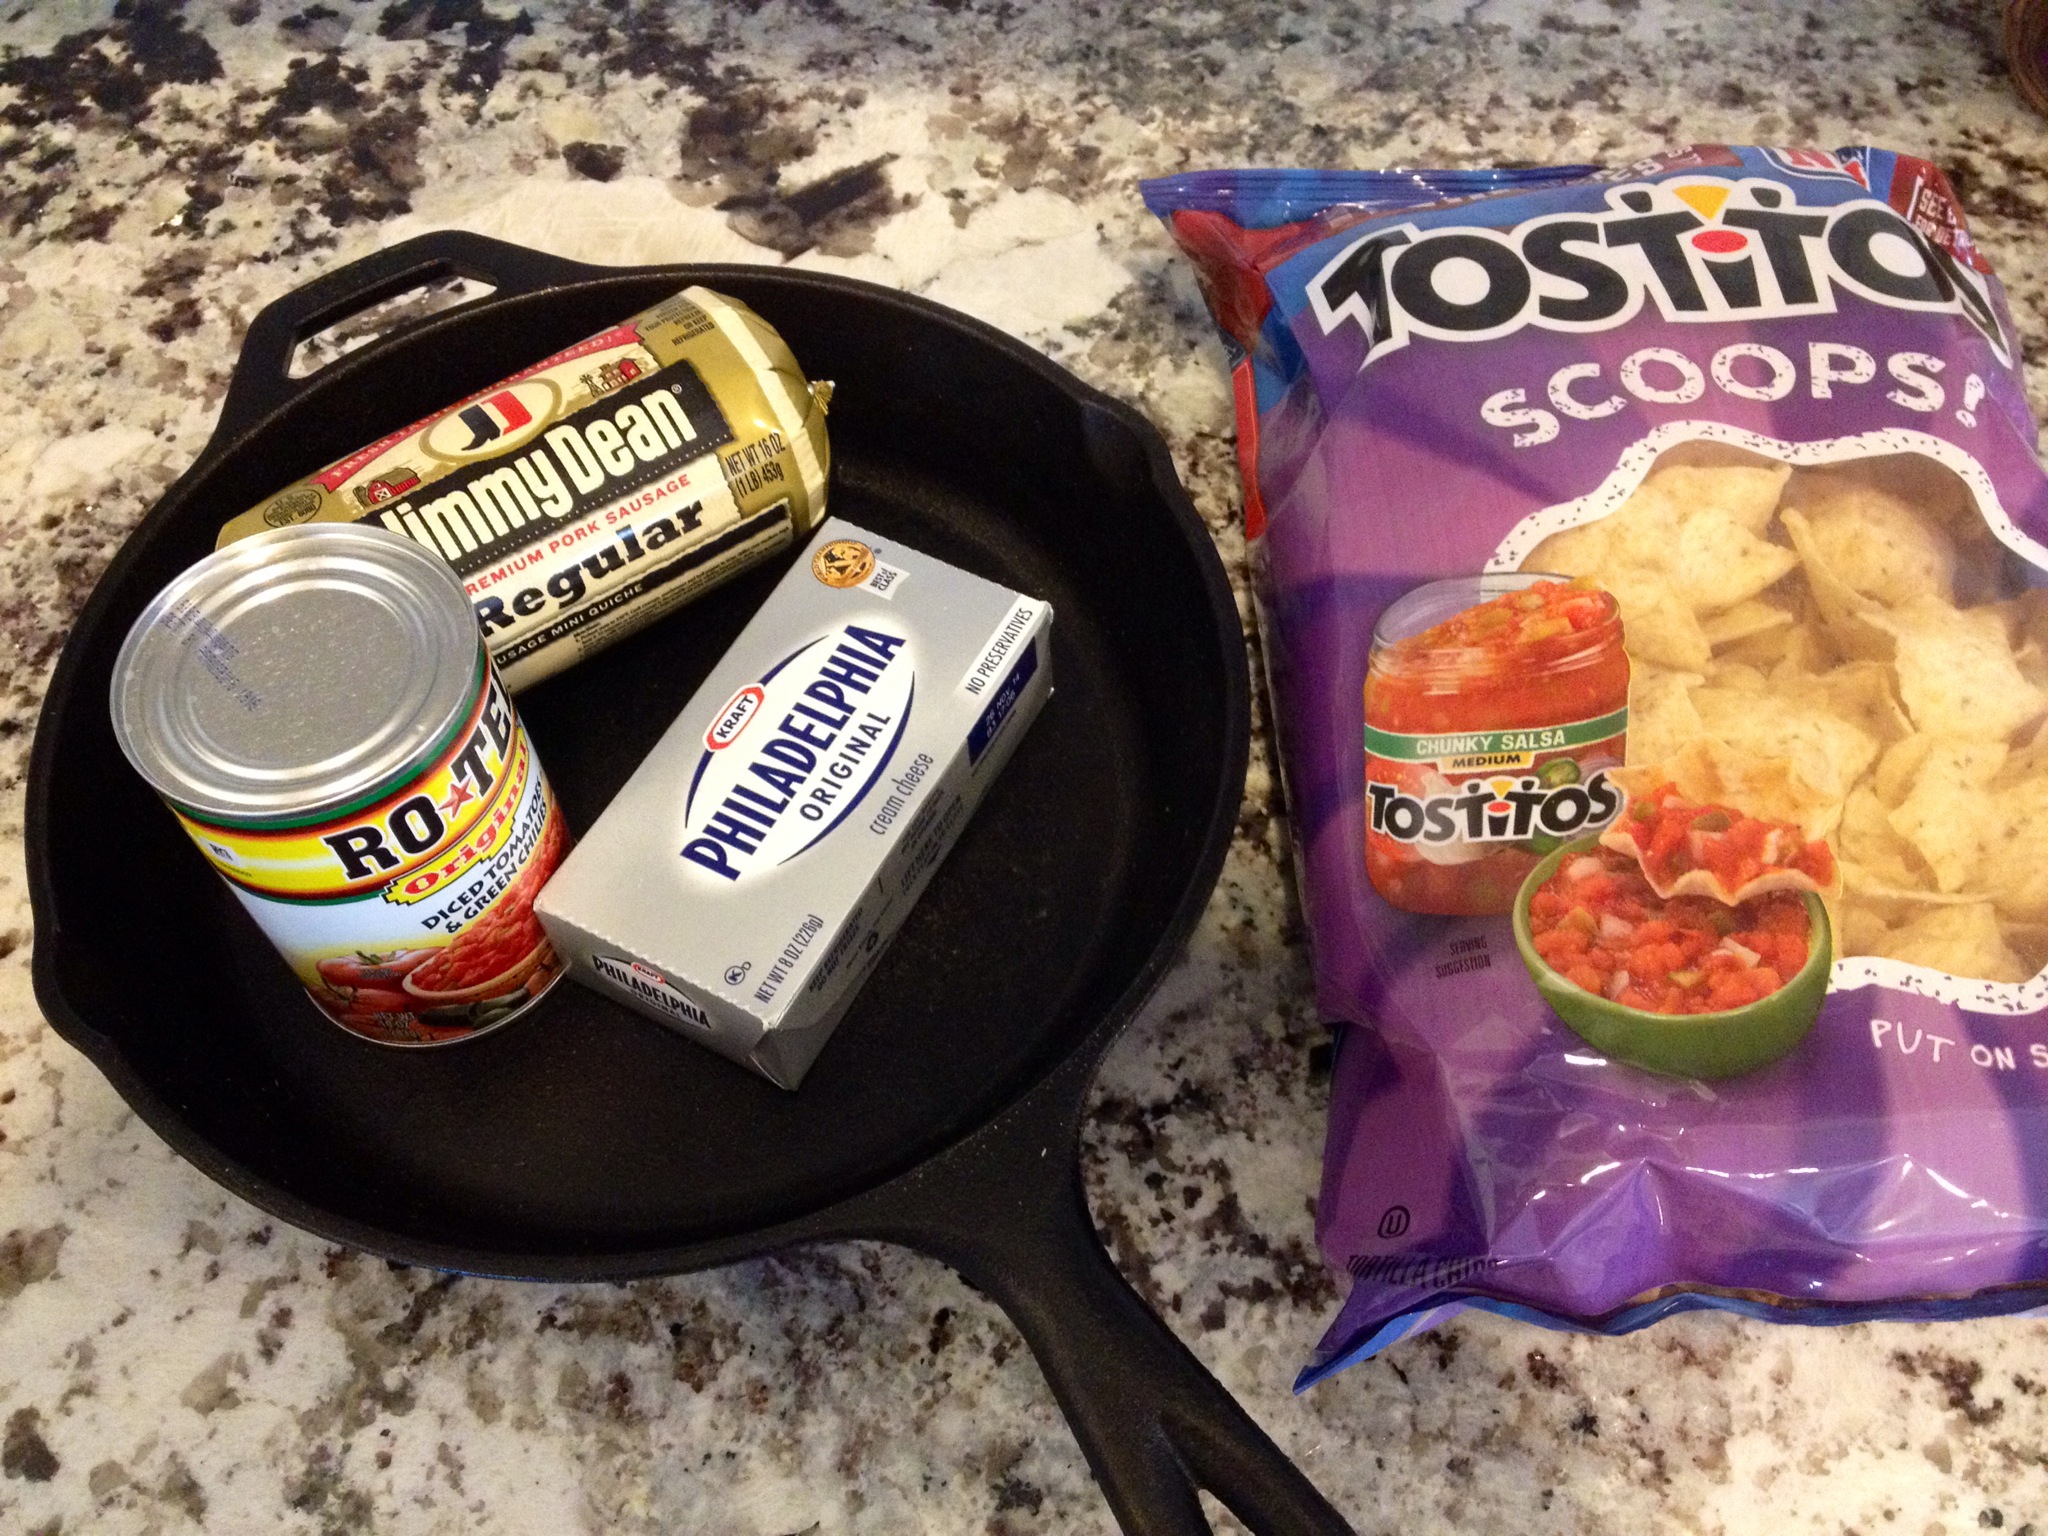
This picture makes my blog look like a Penny Saver ad.
Ingredients
Your first task is to collect the items you see before you. I strongly recommend against substituting anything, as the strength of this recipe lies in the synergy of its simple ingredients. To goof around with any of the three main components is to invite disappointment. If you have a hard time locating the Ro*Tel, look wherever your grocery store stocks canned tomatoes.
- 1 lb Jimmy Dean bulk pork sausage
- 1 can Ro*Tel (10 oz)
- 1 brick (8 oz) Philadelphia Cream Cheese
- 1 bag Tostitos Scoops
Directions
Preheat your oven to 350 degrees F. Before you do anything else, take the cream cheese out of the fridge and set it on the counter to soften – this will make it easier to work with later. On medium-high heat, brown the sausage in a large frying pan. Or, if you have a cast iron skillet, use that instead. Not only does it do a better job of crisping up the sausage, but it can go straight into the oven as well.
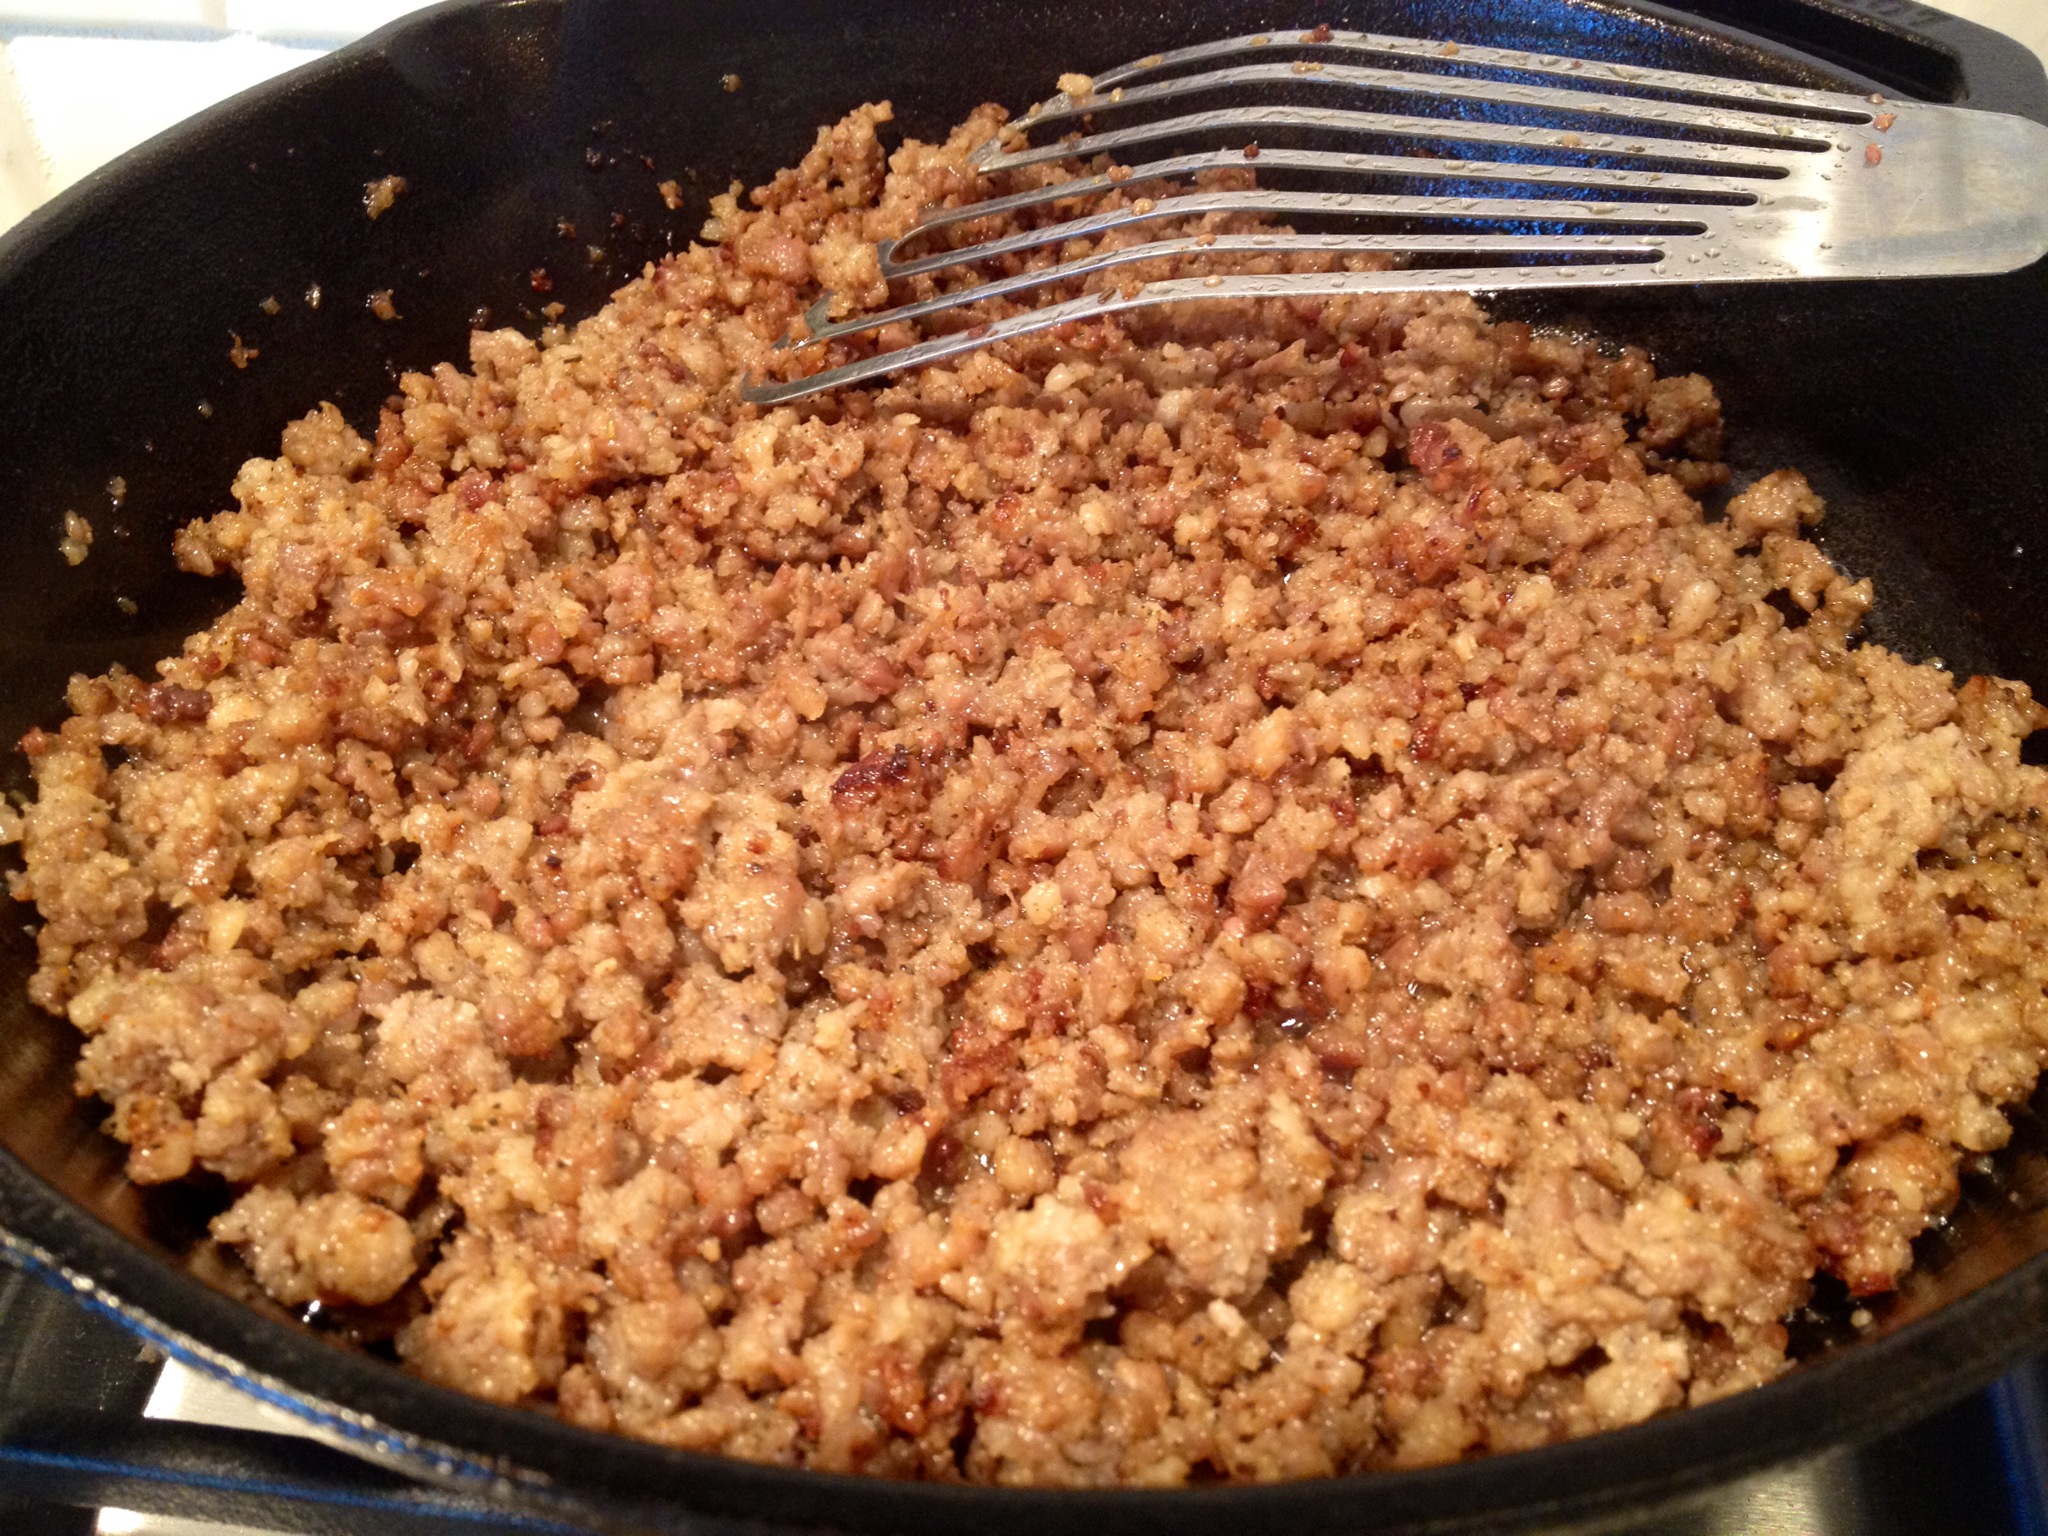
Brown that little piggy. Brown him good.
Break up the larger chunks of sausage as it cooks, making sure it’s done all the way through. If the grease freaks you out, drain it off.
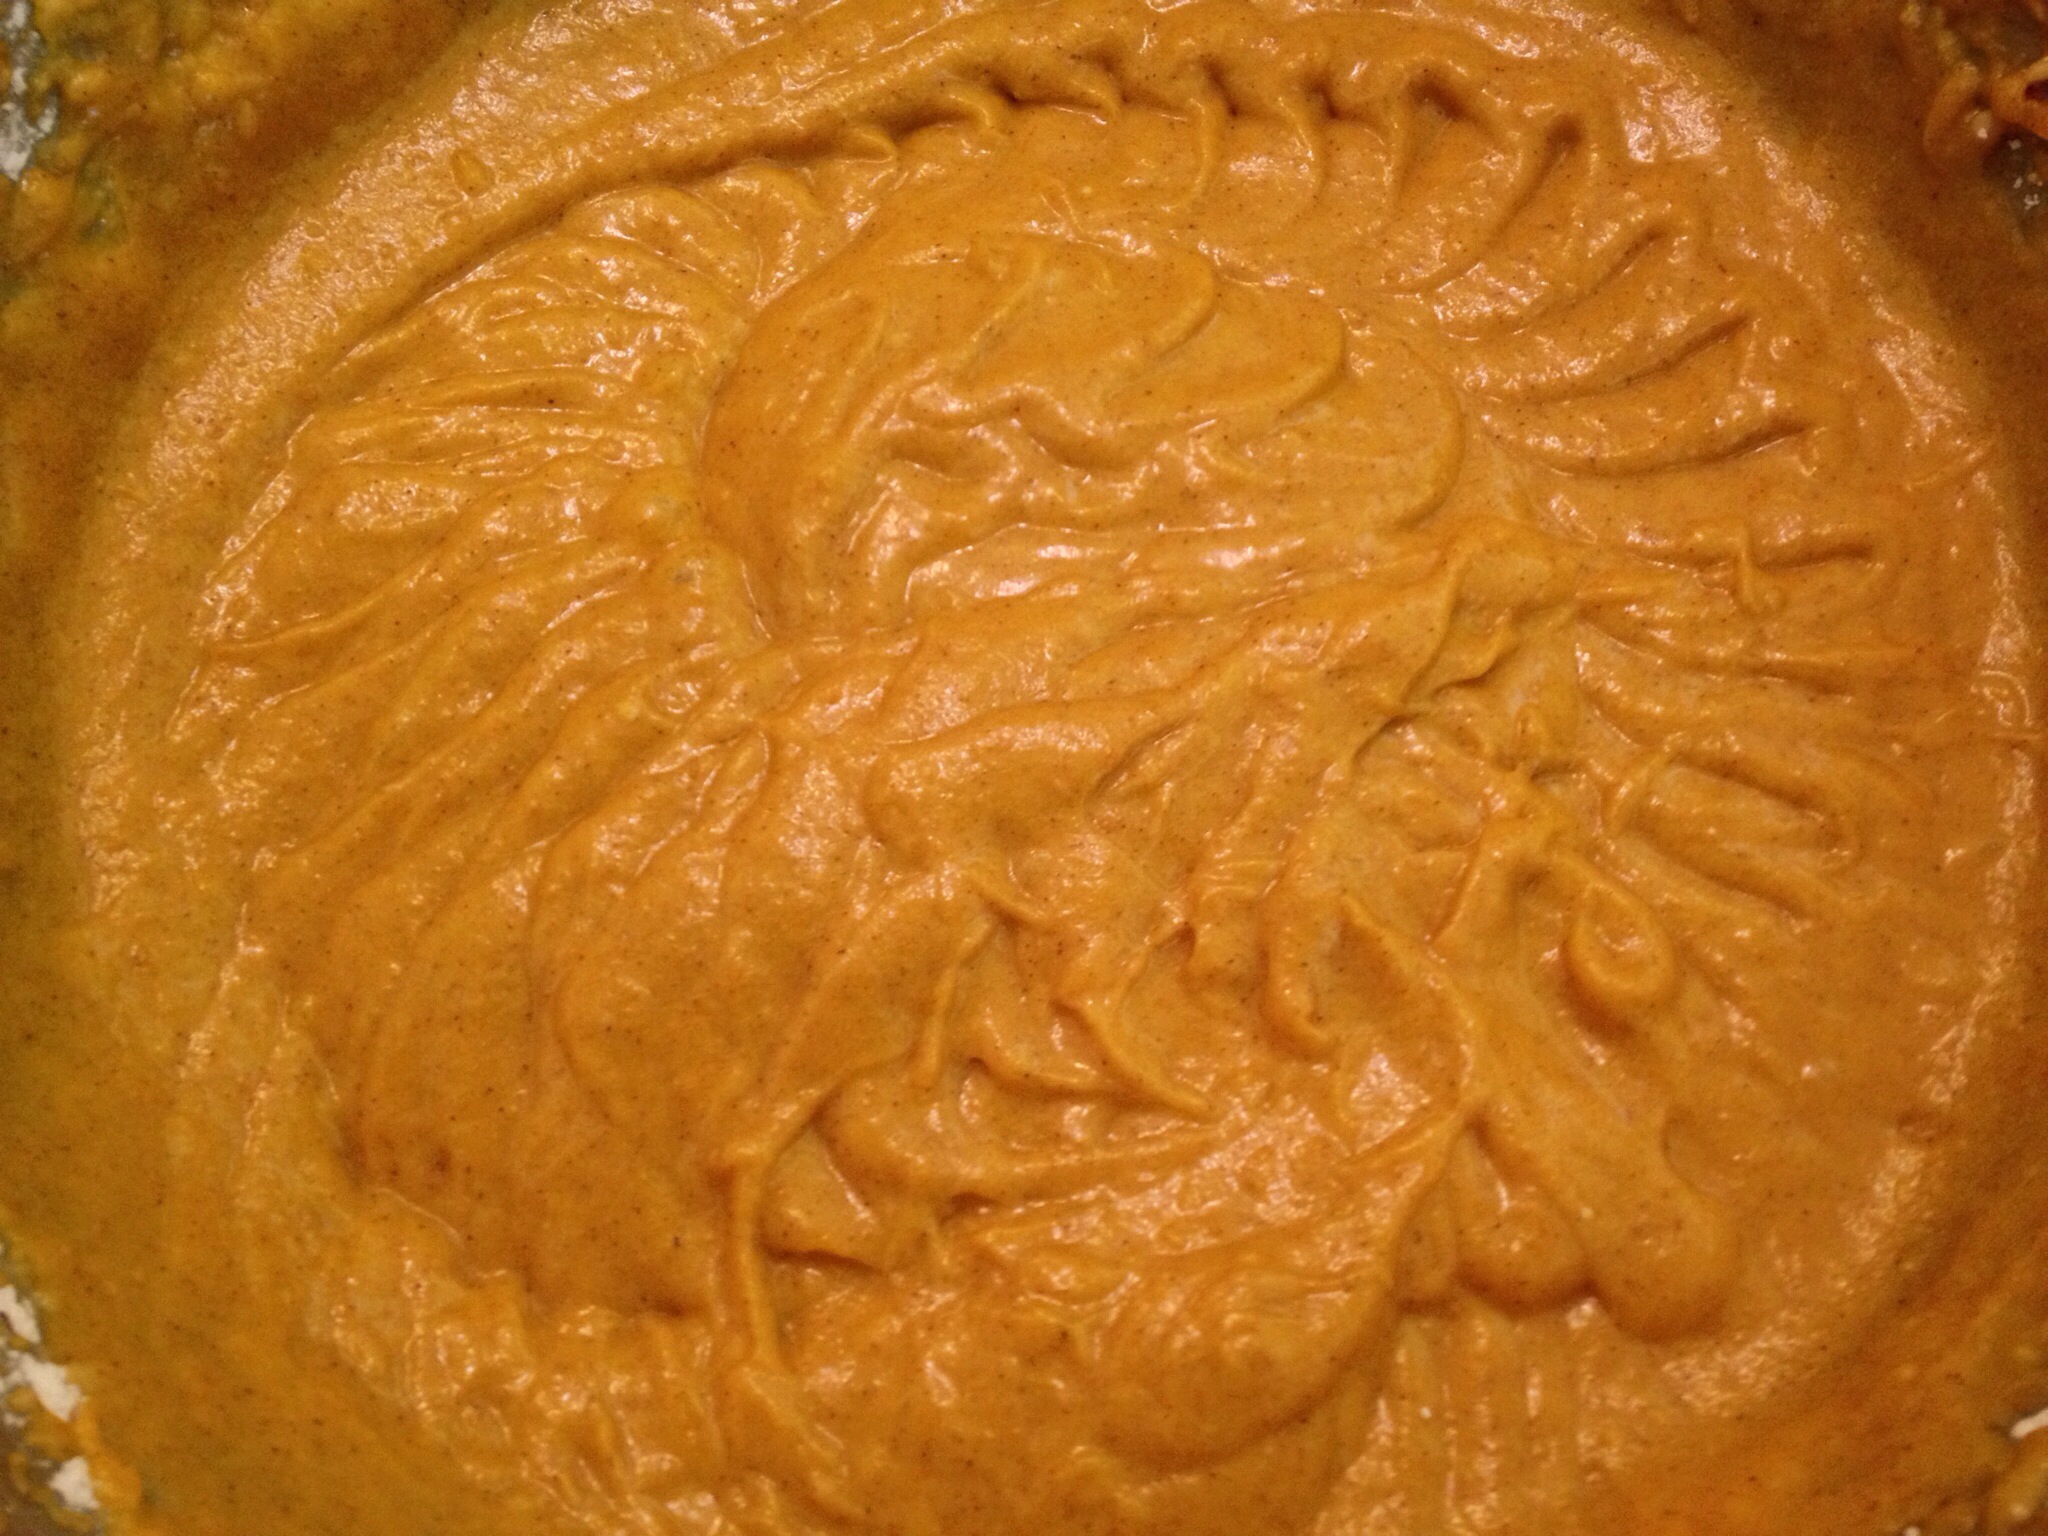
Reduce heat to medium and add the cream cheese and can of Ro*Tel. There’s no need to drain the Ro*Tel, just dump it in there juice and all.
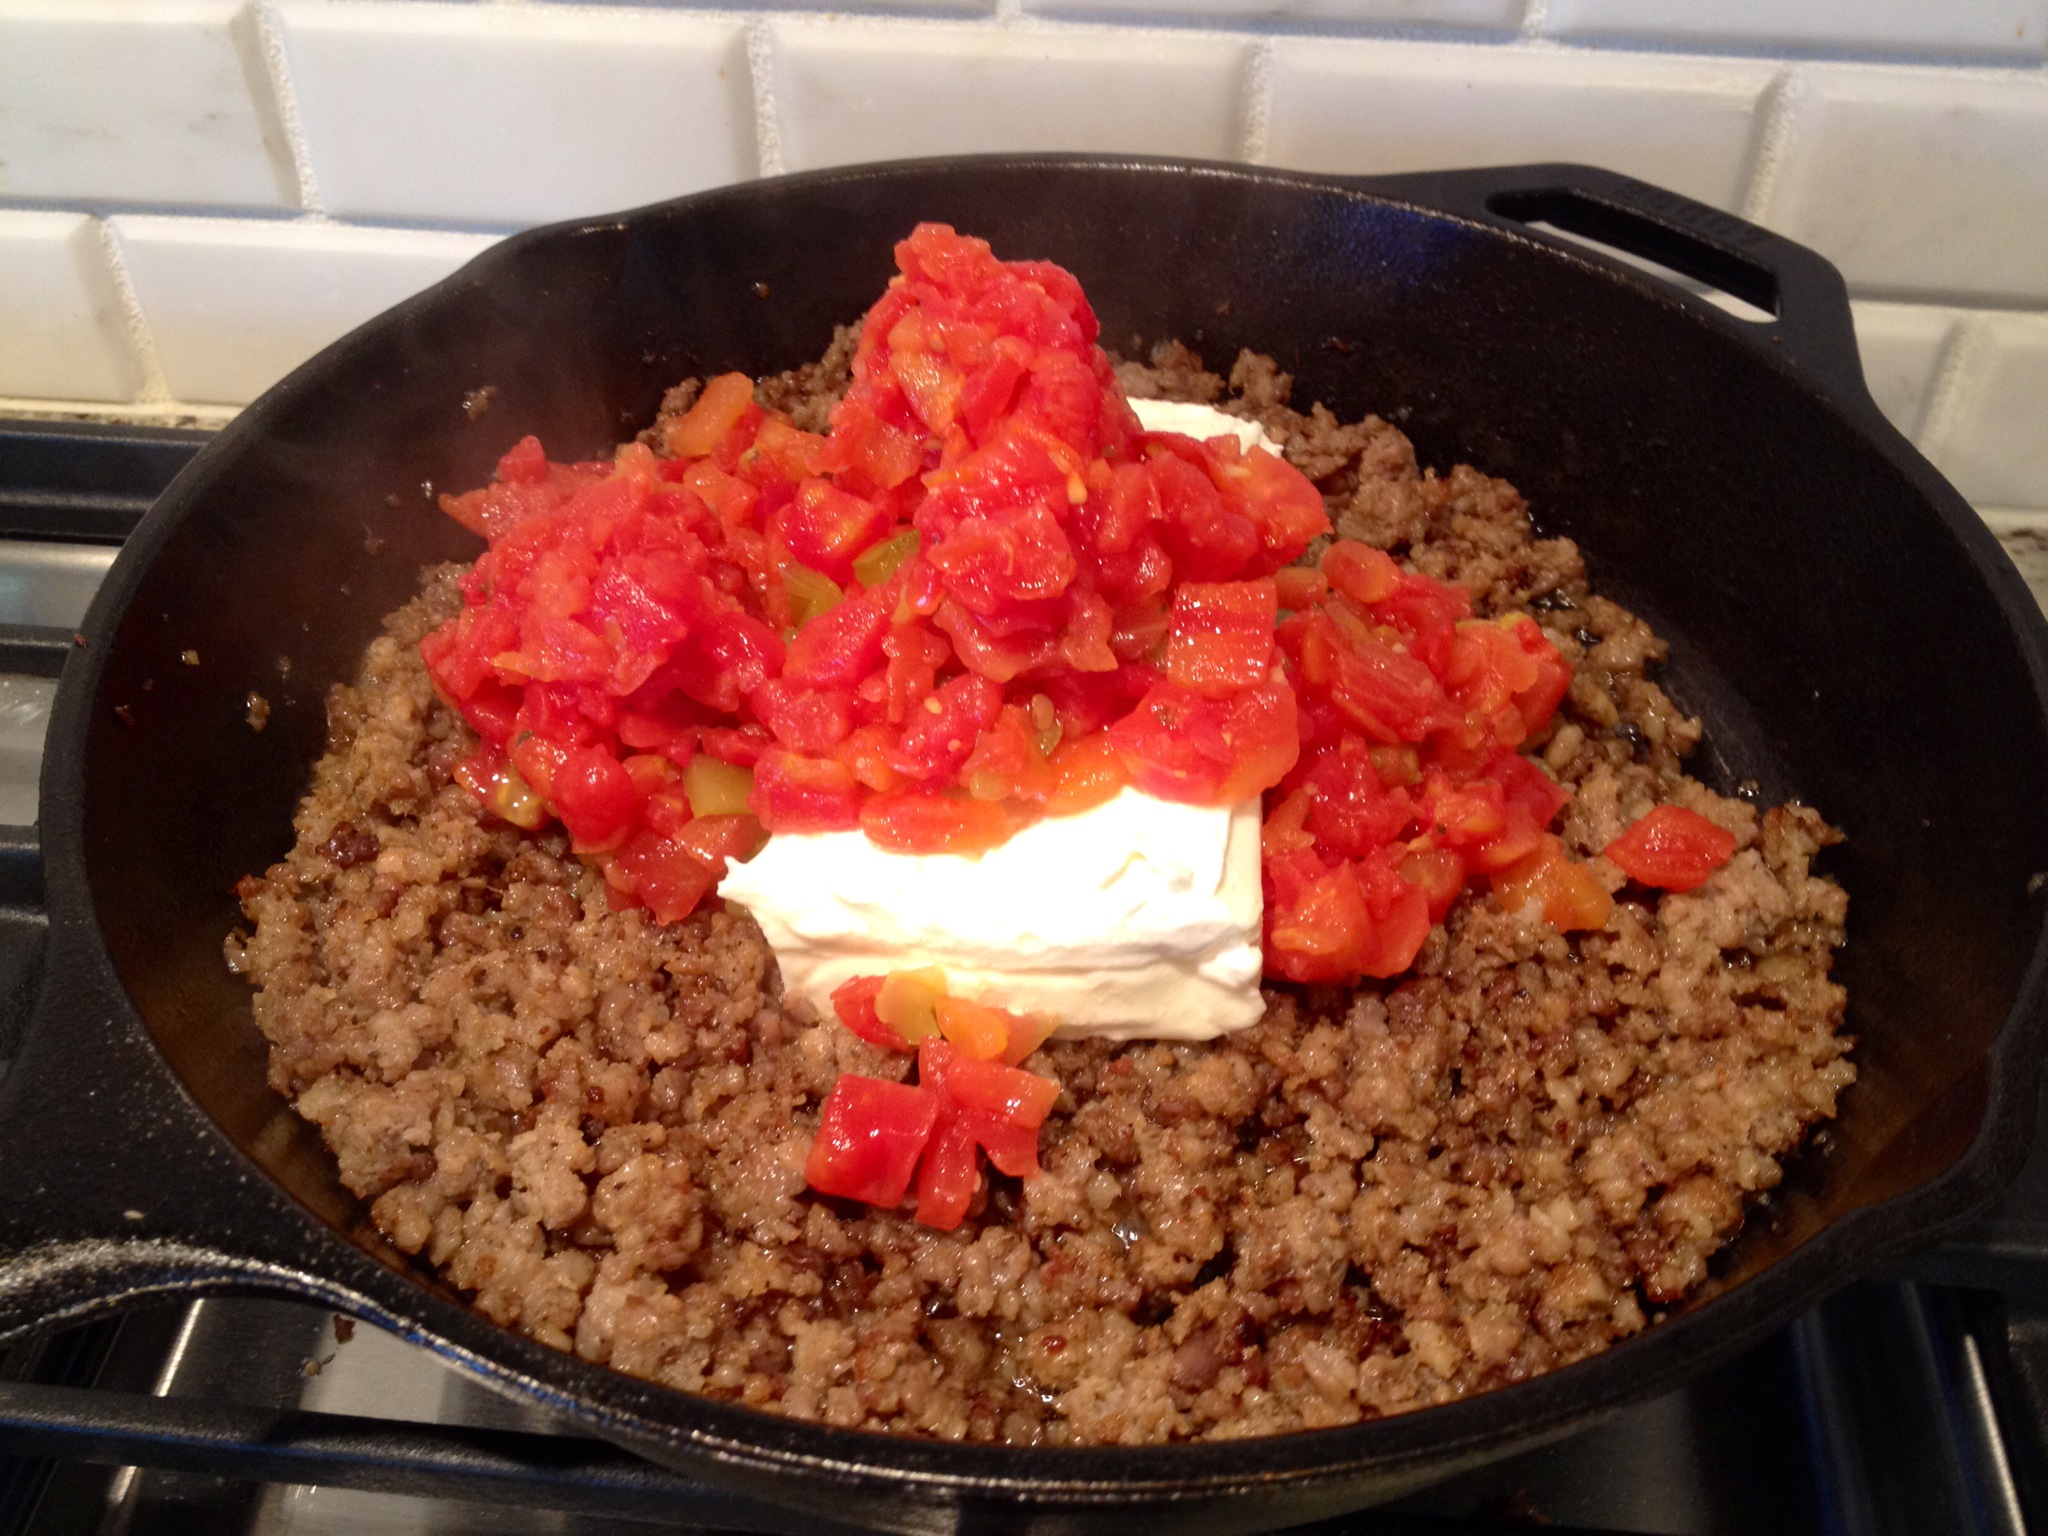
Everyone in the pool!
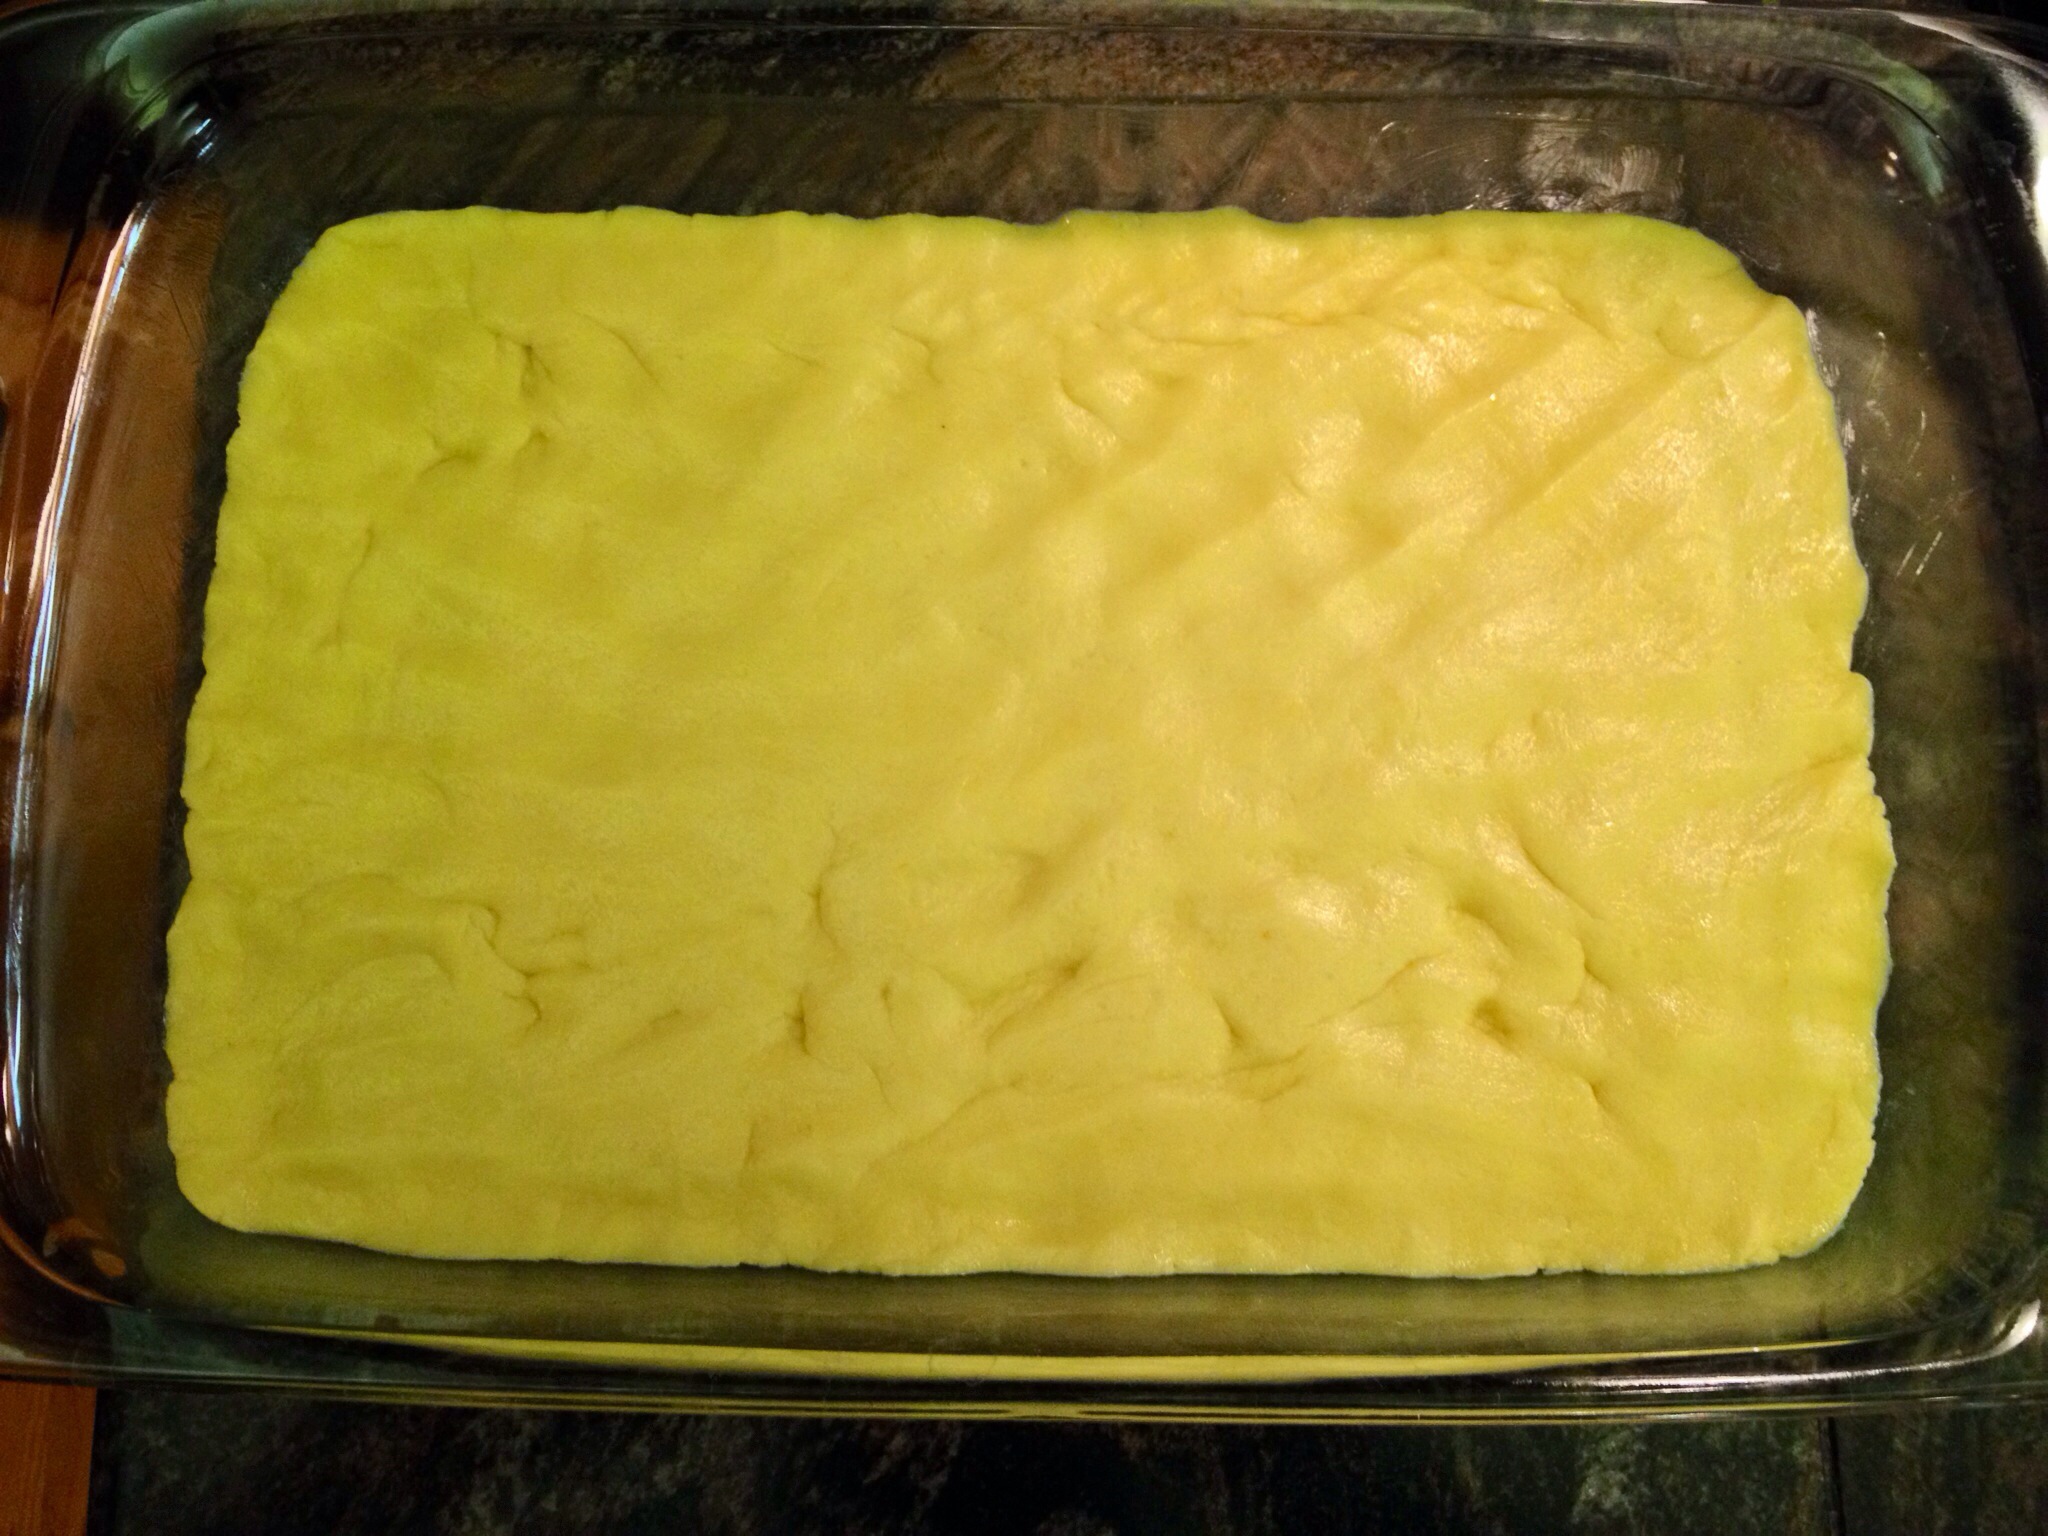
Stir carefully until the cream cheese has completely melted and the mixture is evenly blended, then turn off the heat and transfer the whole mess to a casserole dish of some kind. A Pyrex baking dish is a good choice; any size will do as long as it can hold all of the sausage mixture without overflowing.
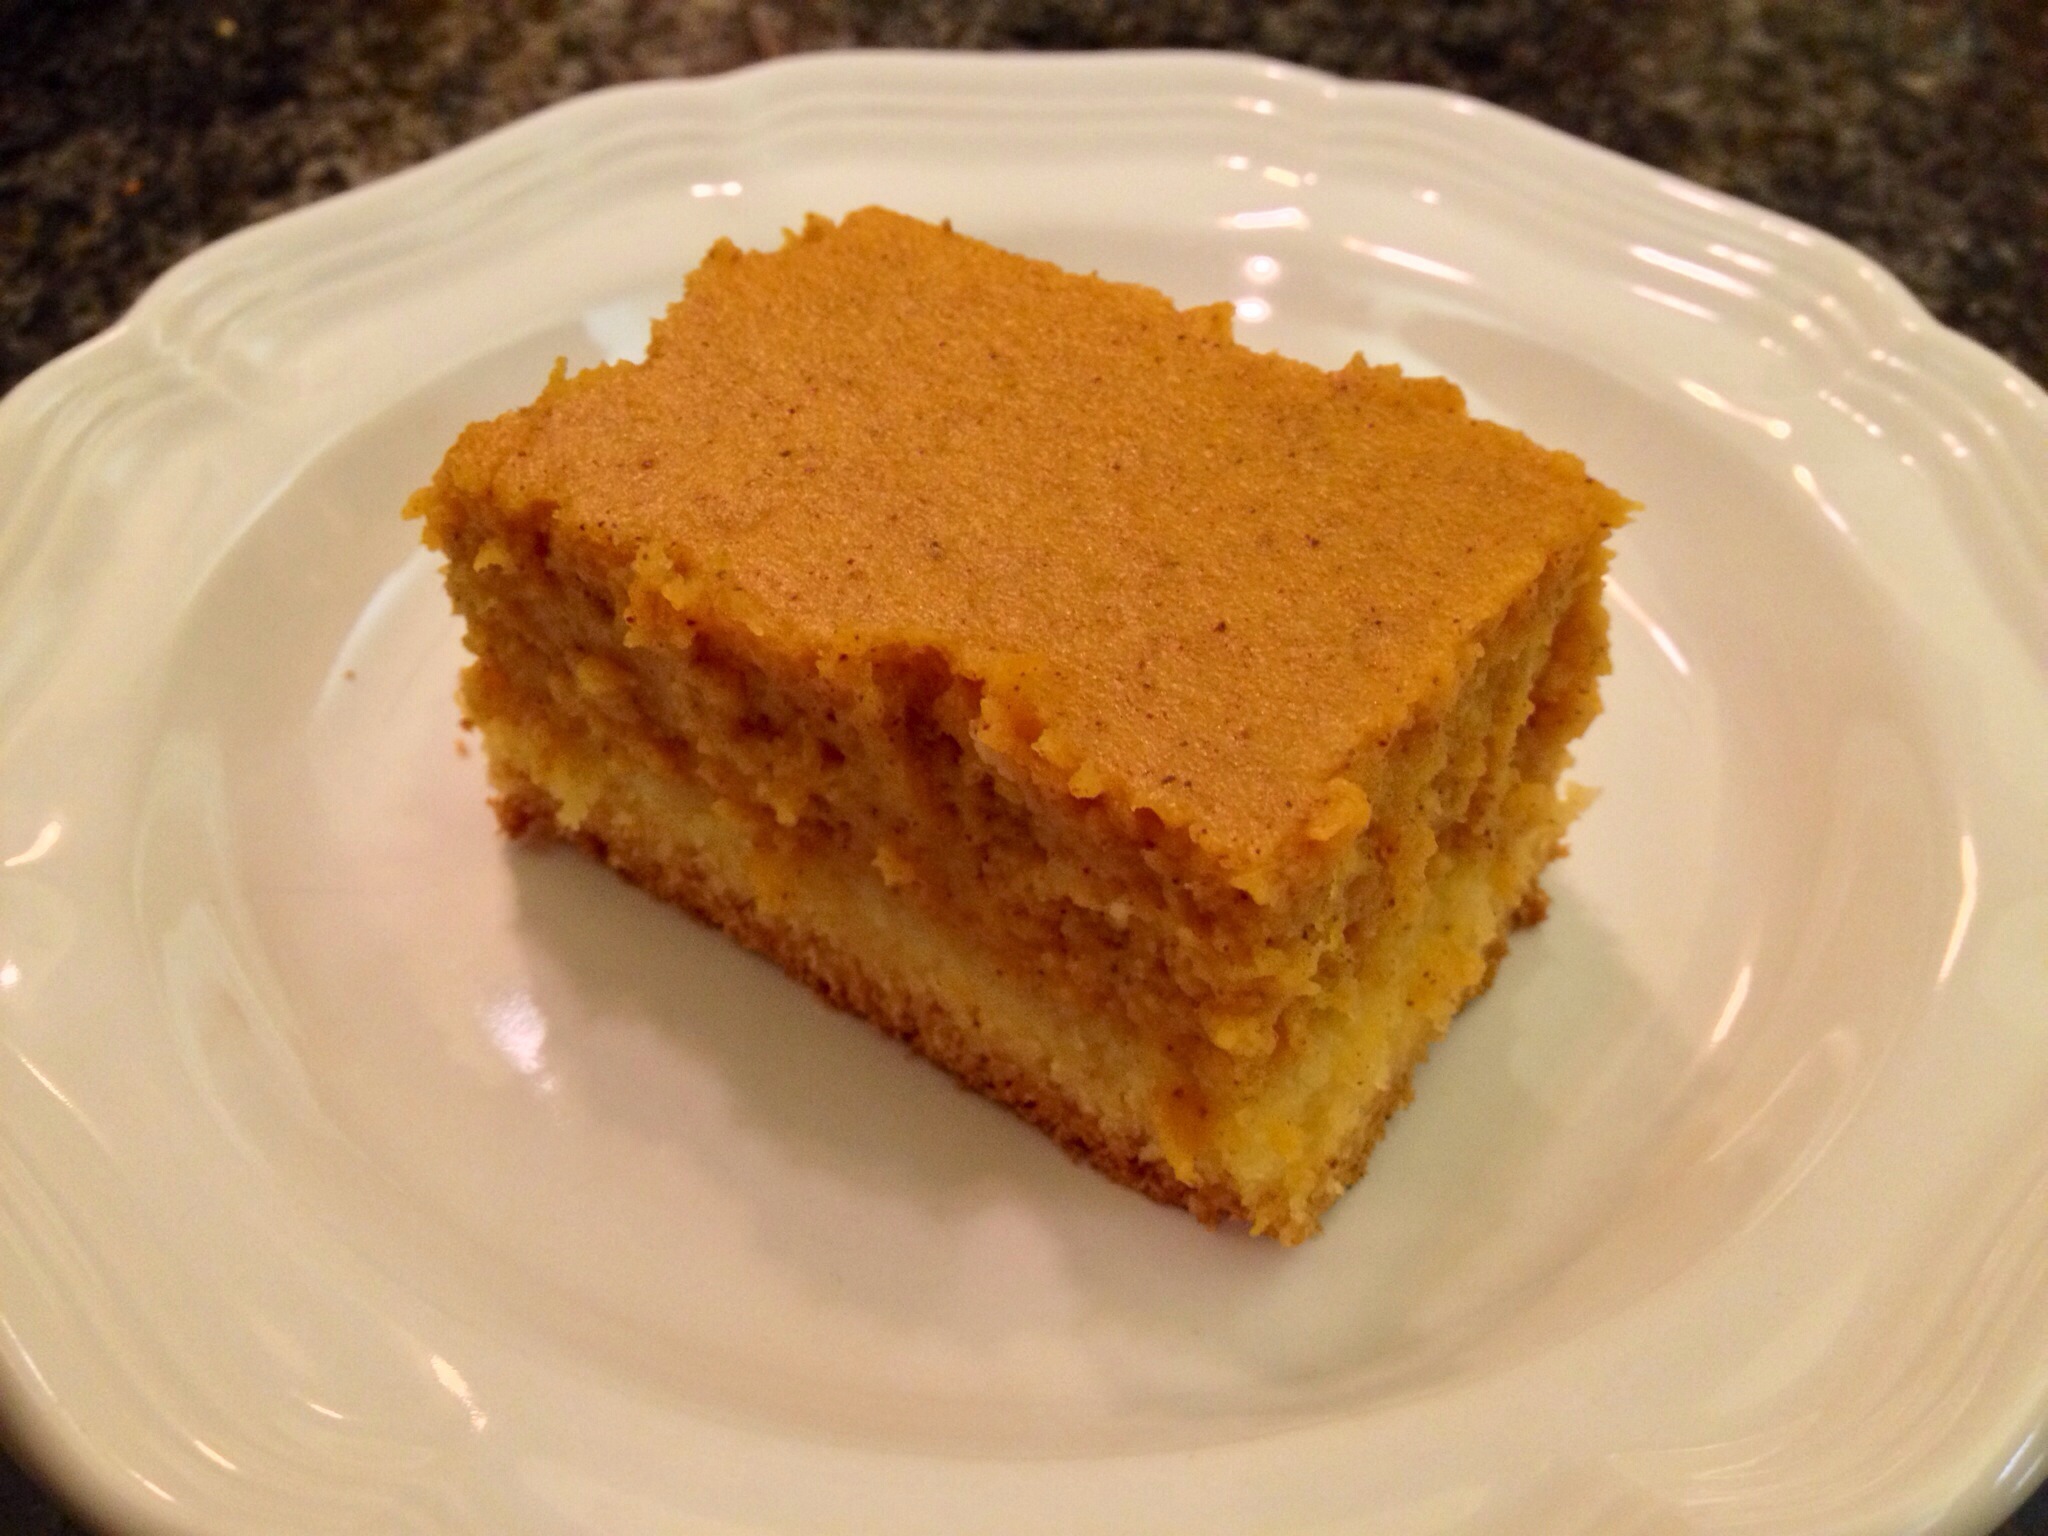
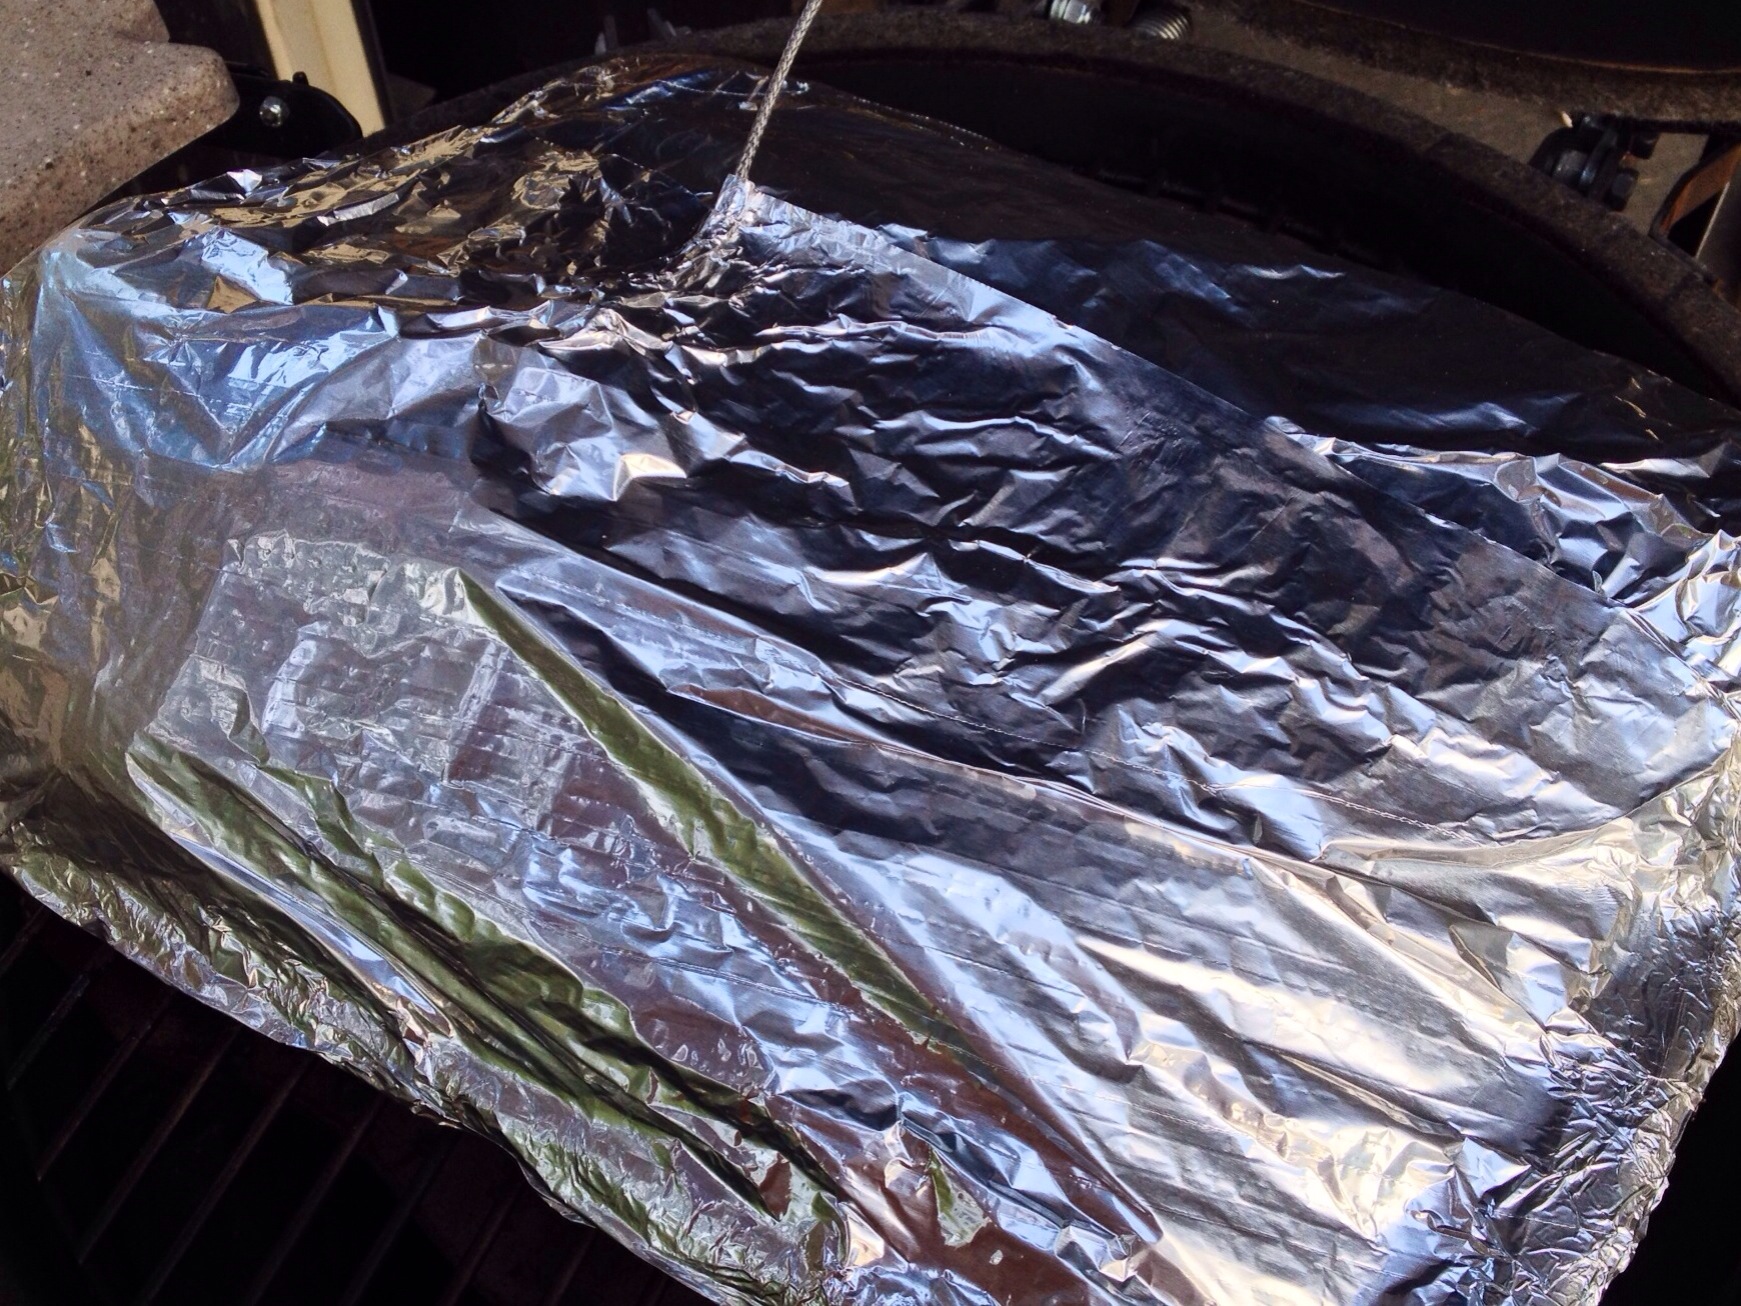
Bake uncovered for 10 or 15 minutes, until your newly created sausage dip is bubbly and awesome. Break out the Scoops and dig in, but remember not to burn away all the flesh from the roof of your mouth. If you’re going to take this to a shindig at someone else’s house, cover it securely with aluminum foil, wrap it in an old (but clean!) bath towel, and lay it flat in the trunk of your car. It will stay hot for a couple hours this way – no reheating necessary.
Enjoy!

Warning: It’s 3,697 degrees hotter than you think it is. Consume slowly.
tl;dr
Ro*Tel sausage dip
Ingredients- 1 lb Jimmy Dean bulk pork sausage
- 1 can Ro*Tel (10 oz)
- 1 brick (8 oz) Philadelphia Cream Cheese
- 1 bag Tostitos Scoops
Directions
Preheat oven to 350 degrees F. Brown sausage, add undrained can of Ro*Tel and cream cheese. Stir until cream ceese is evenly mixed in. Transfer to baking dish, bake for 15 minutes or until bubbly. Serve hot with Scoops.
See also
Standard Recipe Disclaimer
I don’t come up with a lot of my own recipes (unless you count my own personal milk-to-Grape-Nuts ratio), and chances are the recipe posted above belongs to or was inspired by a person other than me. So if you’re wondering whether or not I ripped somebody off, I probably did. Don’t get out the pitchforks and torches just yet though! I want to make absolutely sure I give credit where it’s due, so if you think someone deserves recognition for something that I haven’t already called out FOR CRYING OUT LOUD LET ME KNOW. Thanks, I appreciate it. Here’s a cookie.