Ha, fooled you! There’s no such thing as a “perfect steak”. This is because there are a thousand different types of steaks and a thousand different ways to cook each one*, and everybody likes theirs prepared a little differently. This of course means that, when cooking a steak, you are always guaranteed to delight some people while at the same time horribly offending others. The real trick is to only offend people who have no direct way of telling you that you’re an idiot, and if you can delight a few of the people within your immediate vicinity then that’s a bonus.
* Quantities are estimated
” The real trick is to only offend people who have no direct way of telling you that you’re an idiot “
I am not a steak grilling ace. I’m not bad, but I view myself as approximately average. I know the theory behind steak preparation quite well, but executing that theory skillfully is another matter. My father-in-law, on the other hand, makes the very best steaks I have ever had. His approach involves medium cut ribeyes, generous quantities of onion salt, a hot grill, and experience. I have yet to replicate his results, but I’m working on it.
The technique I prefer to follow is the “steakhouse style” sear-then-bake approach. I like this method not only because it produces nom-worthy steaks, but also because it’s fairly forgiving. Even if you get the searing completely wrong, you can easily adjust the baking portion to end up with something that’s still edible.
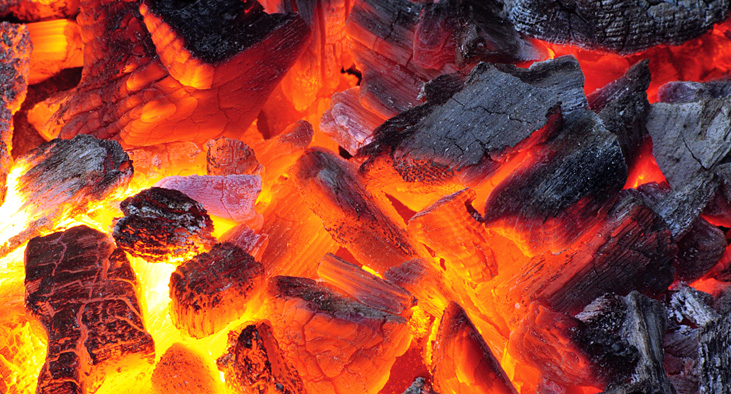
Coals ready? Good. Let’s grill.
Ingredients
- Steaks (Do I really need to tell you this?)
- Olive oil
- Steak seasoning of some kind (Salt and pepper will do just fine.)
Directions
Skillet and oven
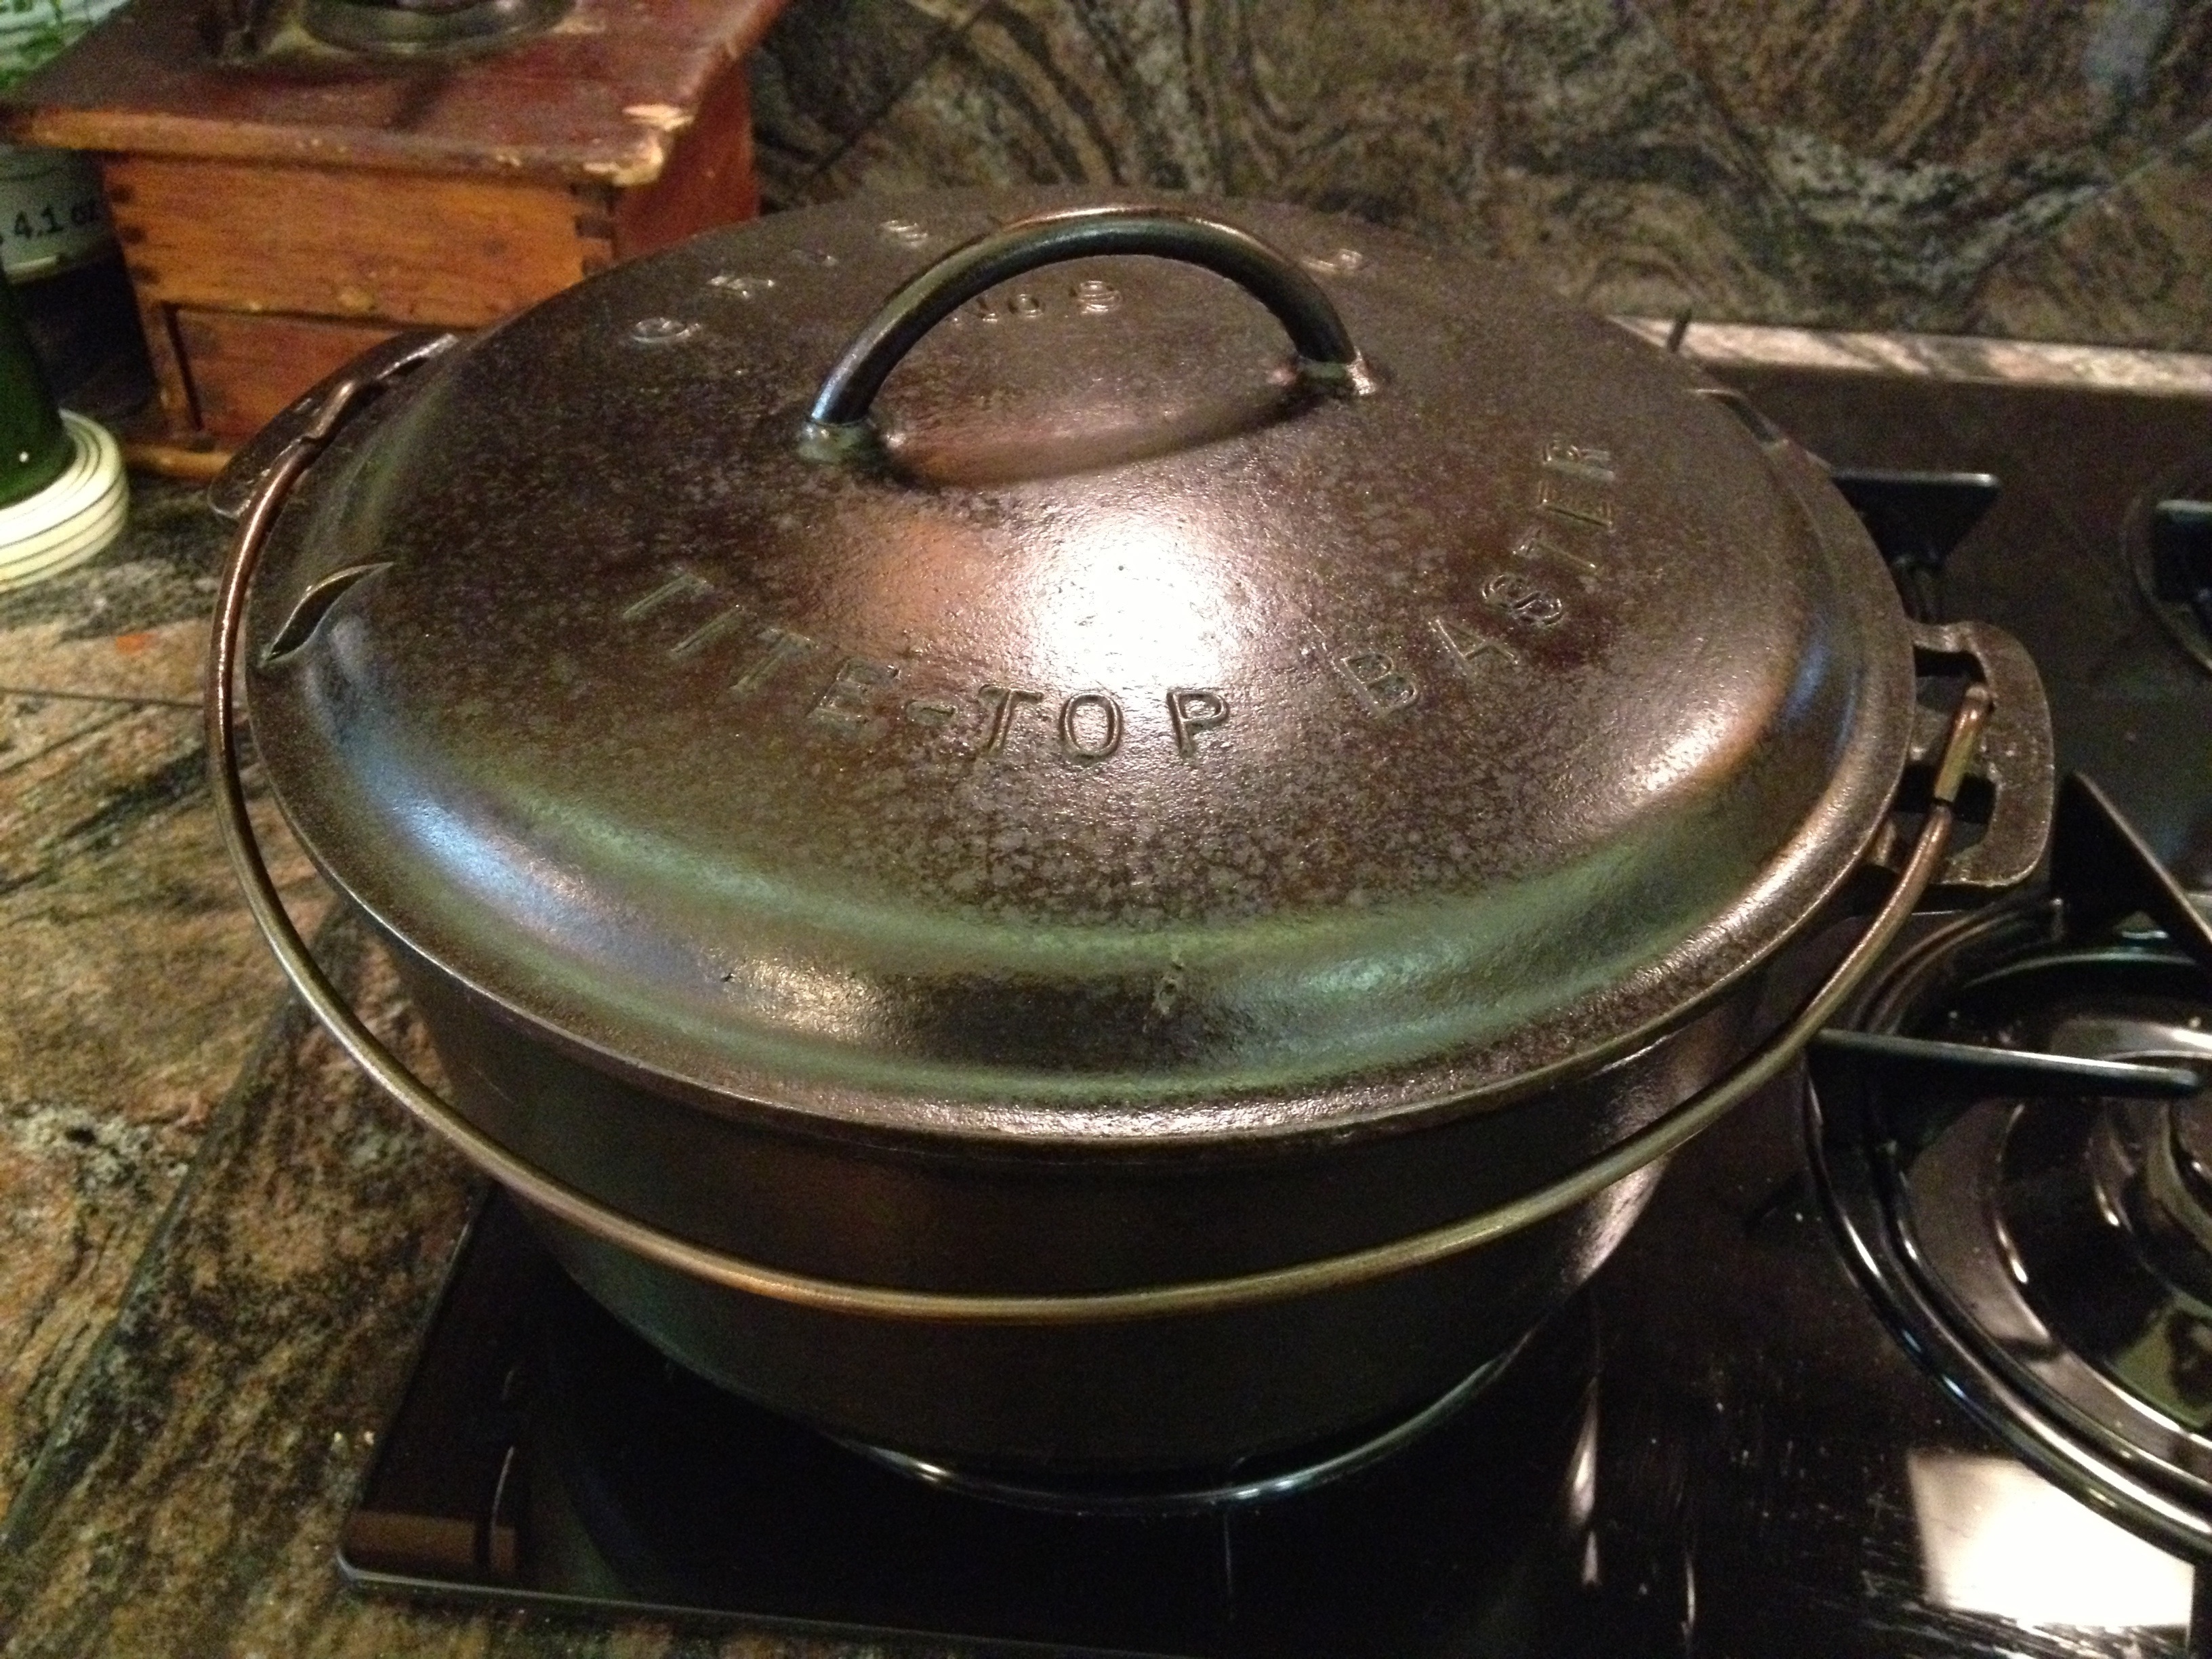
Preheat your oven to 450 degrees F. On your stovetop, preheat an oven safe skillet to a medium-high heat. If your skillet is cast iron (*cough* hint *cough*) it should smoke a little but not a lot. Rub your steaks with the olive oil and sprinkle your chosen seasonings on them. Put the steaks in the hot skillet and allow them to sizzle magically. The less you move the steaks the better, so don’t slide them around or peek underneath them if you can help it. After a few minutes there should be a nice, browned crust on the bottom of your steaks; flip them over and put the skillet – steaks and all – immediately in the oven. Check the steaks for doneness after a couple of minutes. You can do this either with a meat thermometer or, if you’d like to astonish your friends and family with your cleverness, use the “finger trick“. When the steaks are done to your liking, remove them from the skillet and allow to rest for five-ish minutes before unleashing your inner carnivore on them.
Barbecue/grill
Setup will be vastly different depending on the exact barbecue or grill you plan on using, but the basic idea is that you want a direct heat section for searing and an indirect heat section for roasting. If you have a gas grill, turn on one side to high and leave the other side off. If you’re using a typical charcoal barbecue, make your pile of coals off-center.
As above, rub your steaks with olive oil, season them, and put them on the hot side of your grill to sear. After a minute or two, turn your steaks 45 degrees to give them those signature cross-hatched grill marks that declare to the world you know what you’re doing. Flip the steaks over and repeat the process, a few minutes a side. If you don’t have nifty grill marks after this, your fire isn’t hot enough.
Move your steaks to the indirect heat area of your grill and close the lid. My grill (a Big Green Egg) allows me to change the height of the cooking surface, so at this point I just raise the grill up as high as it will go. Roast your steaks until the desired doneness has been achieved, allow to rest, and chow accordingly.
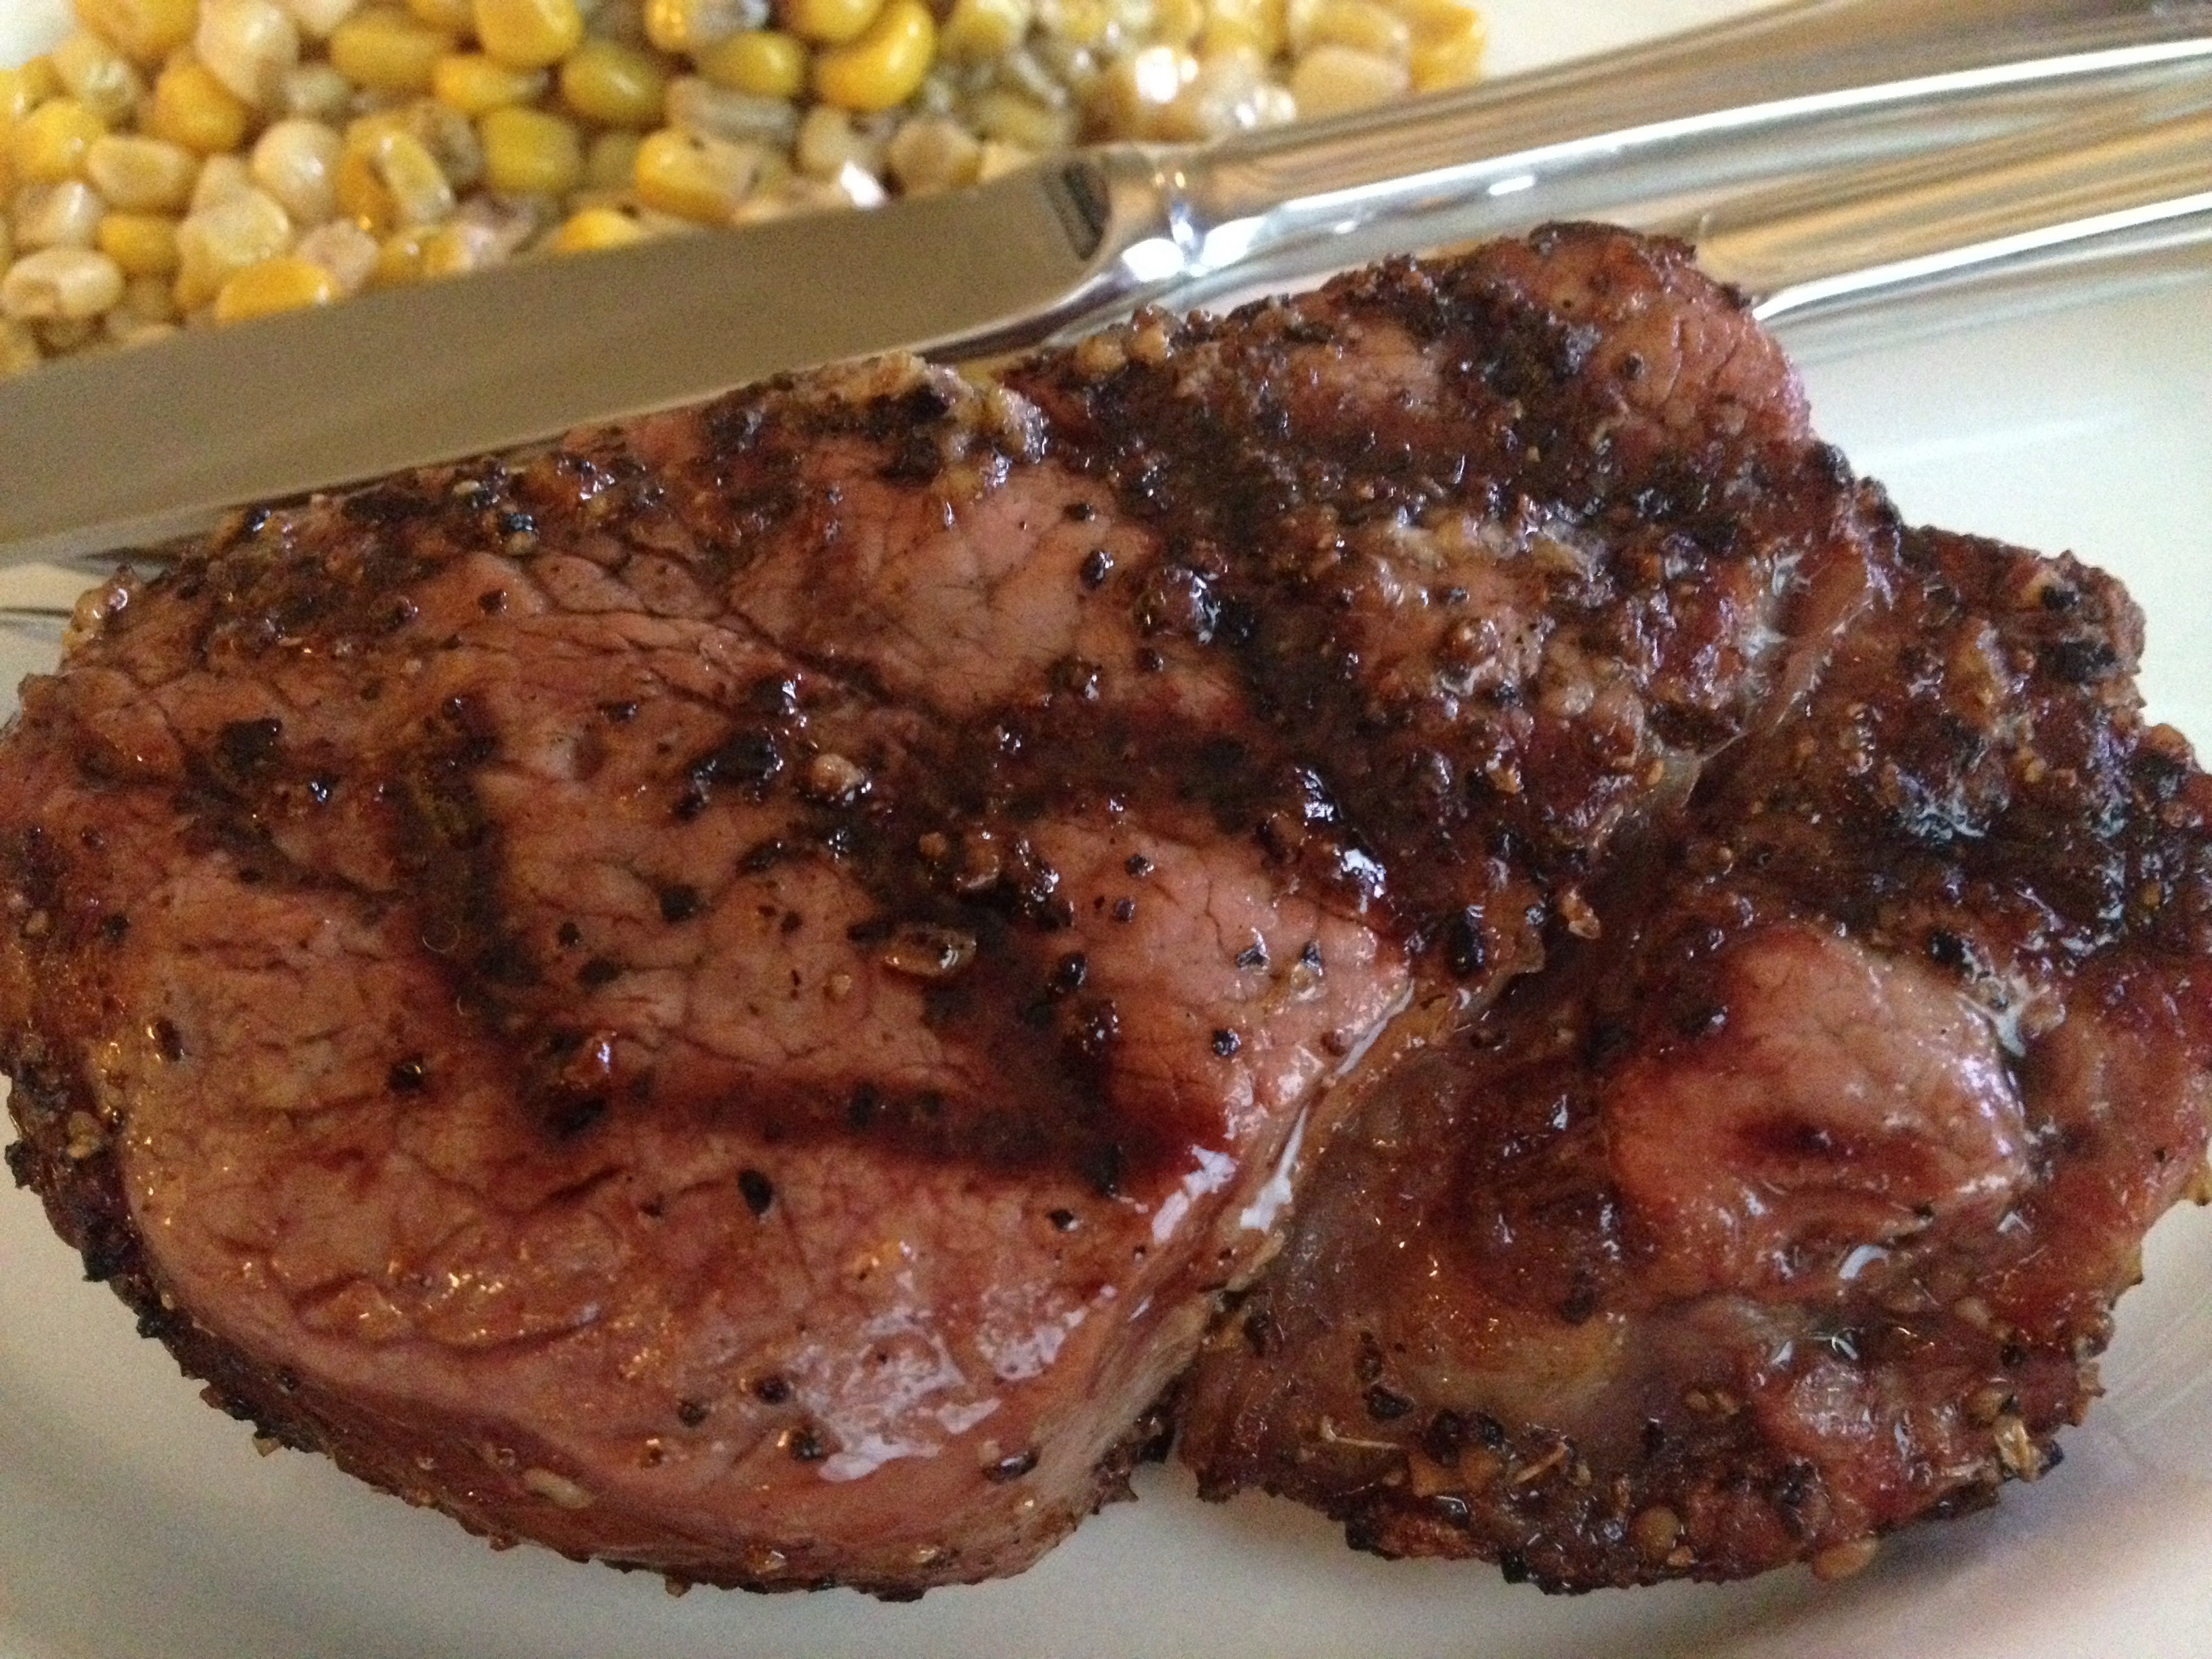
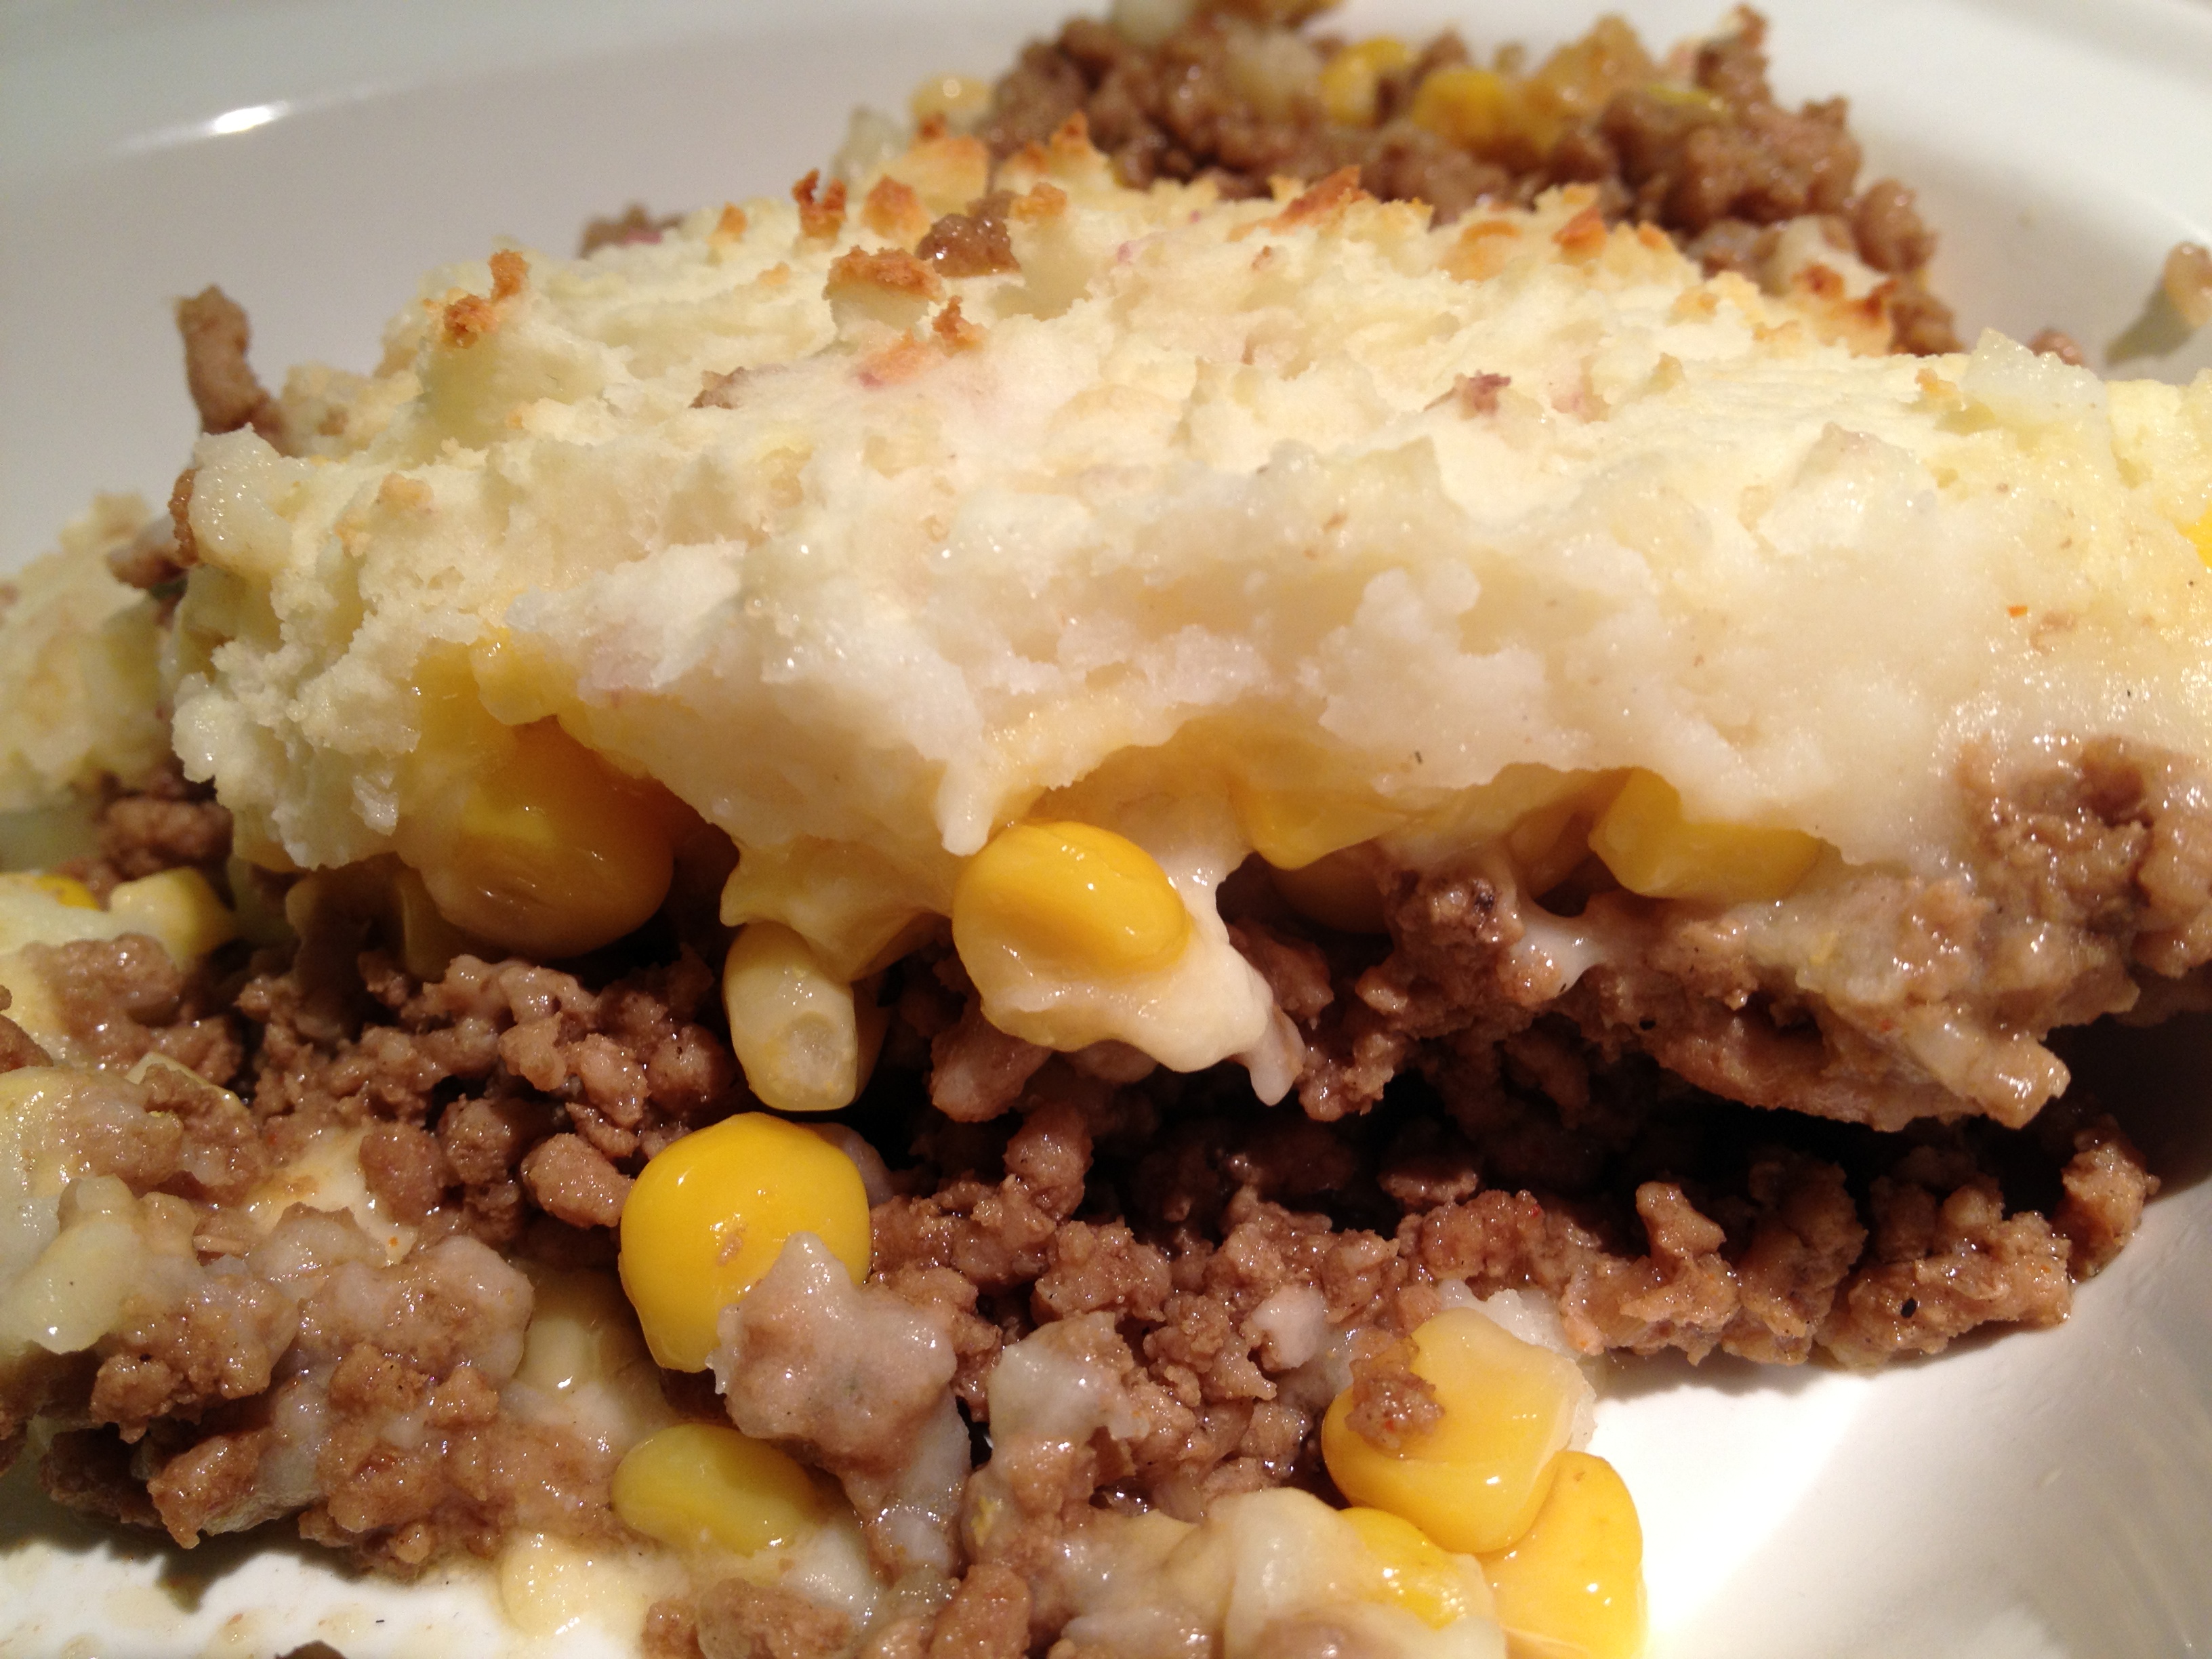
I made this. Be jealous.
tl;dr
How to grill a perfect steak
Ingredients- Steaks
- Olive oil
- Steak seasoning of some kind (Salt and pepper will do just fine.)
Directions
Skillet and oven
Preheat oven to 450 degrees F. On stovetop, preheat an oven safe skillet to a medium-high heat. Rub steaks with olive oil and sprinkle on steak seasoning. Place steaks in skillet. Sear for 2 or 3 minutes or until a crust has formed. Flip steaks over and place skillet in oven. Roast for several minutes, until internal temperature of steaks reaches desired doneness.
Barbecue/grill
Set up grill for high temperature, direct heat, retain part of the grill area for indirect heat. Rub steaks with olive oil and sprinkle with seasoning. Sear steaks on both sides, then move to indirect heat area of grill. Roast for several minutes, until internal temperature of steaks reaches desired doneness.
See also
- How To Cook A Steak Indoors: A Guide For The Winterbound
- How to Cook the Perfect Steak in a Cast-Iron Skillet
- Perfect Steak – From The Skillet, To The Oven, To Your Belly!